Smoked Pork Belly Burnt Ends!
Smoking-Meat.com is supported by its readers. We may earn an affiliate commission at no extra cost to you if you buy through a link on this page.
Read this article without ads
I have received a whole lot of questions about alternative ways to smoke pork belly in the smoker over the last few months.. folks, you had me at pork belly!
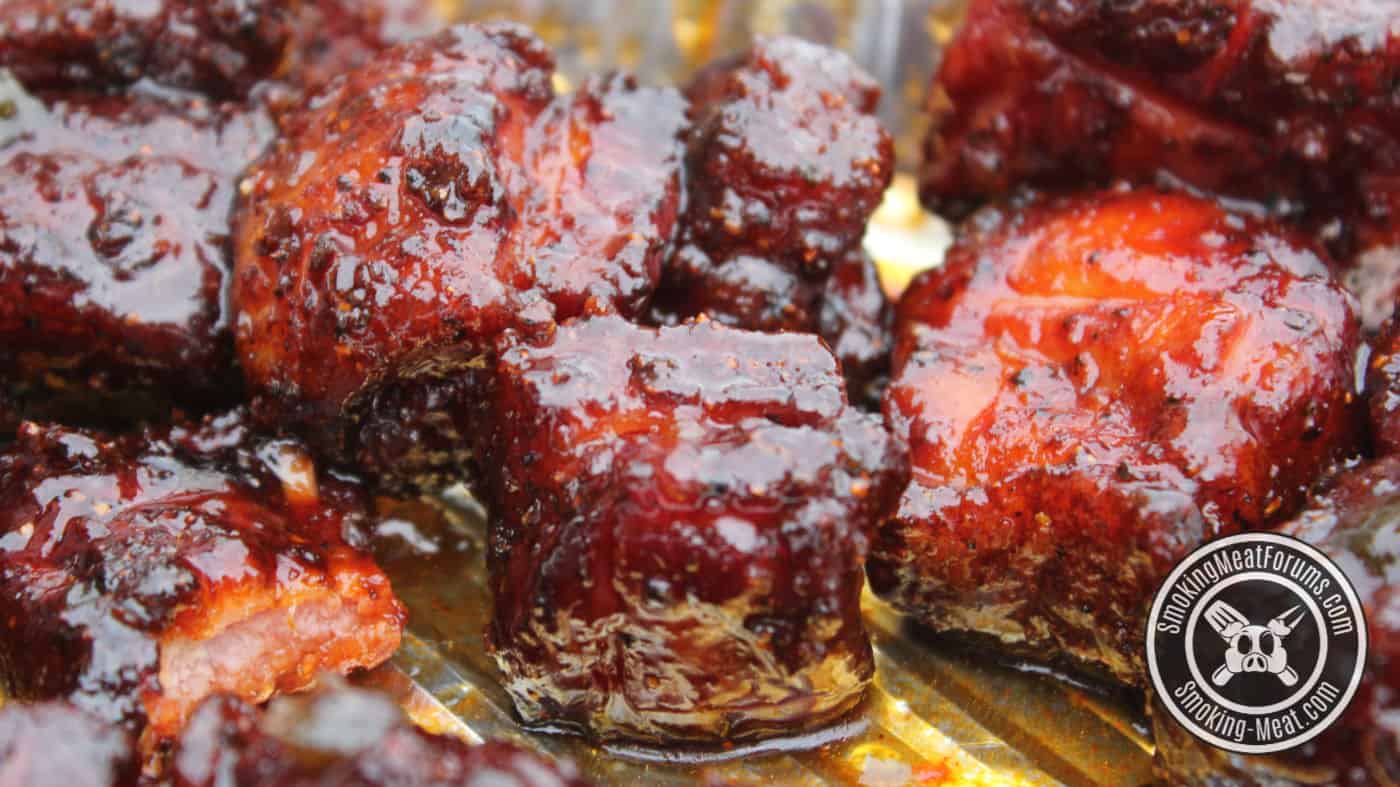
Here's my own personal take on smoked pork belly burnt ends, how to prepare them, season them with my original rub and smoke cook them to perfection.
I think you are going to be knocked off your feet at how good these are.. brace yer' selves!
- Prep Time: 30 minutes
- Cook Time: 4 hours
- Smoker Temp: 225°F (107°C)
- Meat Finish Temp: 200°F (93°C)
- Recommended Wood: Apple, Maple or Cherry (a mixture of these also works well)
- Pork belly (rind removed)
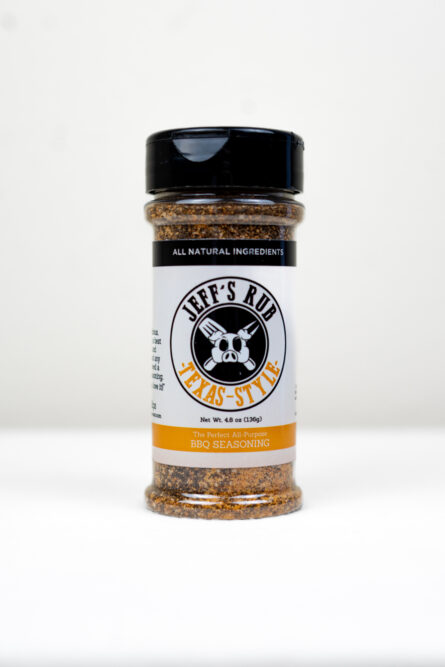
- Jeff's original rub
- Foil pan(s)
- Heavy duty foil
- Honey
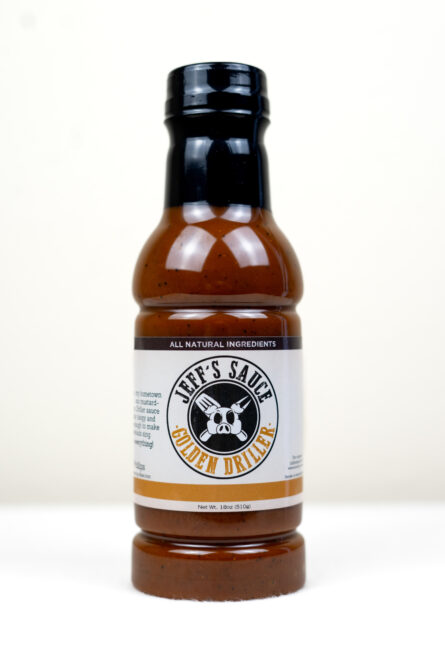
- Jeff's original barbecue sauce
- Hot pepper jelly (optional)
I don't like giving large chain club stores a lot of free advertisement but this pork belly came from a store that rhymes with Roscoe.. I'll let you figure that one out =)
Most meat markets and butchers should be able to get one of these for you and if they can't they will probably know where you can get one. Sometimes it's a matter of letting them know ahead of time so they can have one ready. Get to know the guys and gals where you purchase meat and they can usually hook you up.
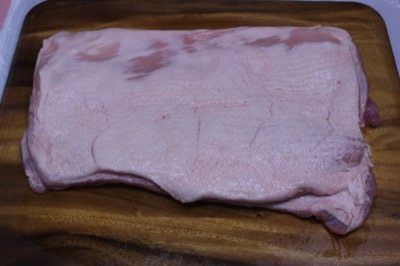
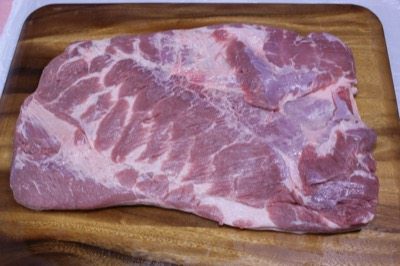
As I have mentioned before, I am no butcher but I can usually manage to get the skin off of a pork belly. My preference is to purchase them already prepped and ready to go which is how this one came to me.
If you've never taken the rind or skin off of a pork belly then you might want to watch a video or two at youtube to familiarize yourself with how it's done.
Here's a video that I found on the first search but there are probably a lot more where that came from.
Once you have the rind removed, it's as simple as slicing the thing into strips that are about 1 to 1.5 inches wide.
Tip: Something that makes this really easy is to place the pork belly in the freezer for 30 minutes or just long enough for the fat to get really solid. If you still feel like you're trying to nail a glob of jello to a tree, put it back in the freezer for a while until it gets to where you want it.
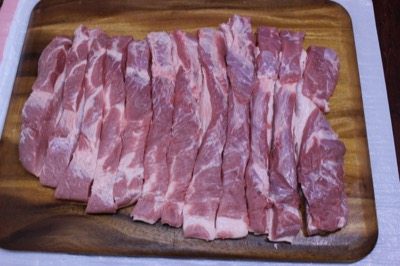
Full disclosure– I did not take the time to place mine in the freezer and by the time I got finished slicing, I felt like I had skinned a mess of slippery eels with my bare hands. You'll see what I mean if you try it. Luckily, I still have all of my fingers!
Now that's it's sliced into strips, just make cubes out of it, about the same width.. 1.5 x 1.5 inches.
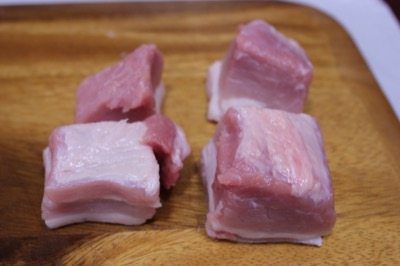
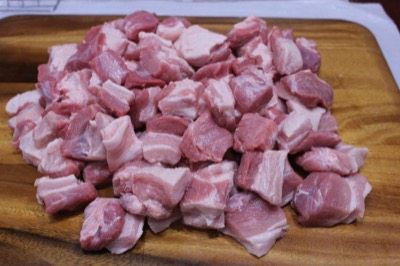
If you feel the cubes are too big, don't worry. The fat will render and the cubes will shrink a lot while they cook.
With that beautiful pig belly all cubed up, it's time to add the color, some great seasoning and move along with this project.
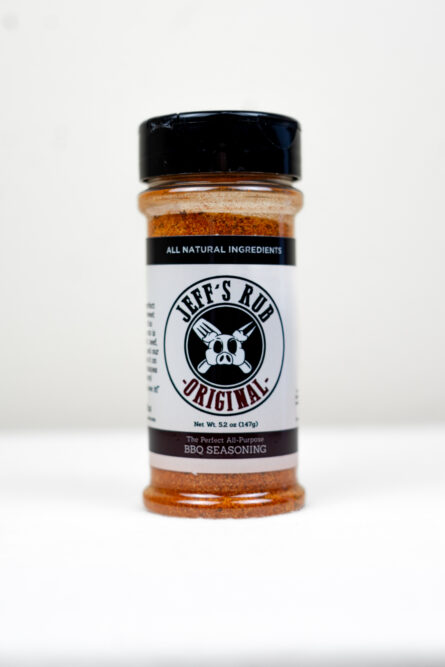
Don't settle for any old salty seasoning.. a cut of meat this lovely must have the very best. If you possibly can, use my original rub and you'll be so glad you did. If you already have it, then great!
My original rub was made for things like this.. it's a beautiful thing!
Place about 1 cup of my original rub into a large zip top bag.
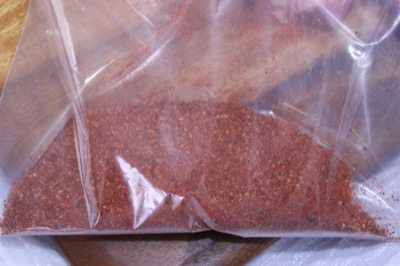
Place about 5 lbs of cubed pork belly into the bag, seal it up and give it a good shake and a massage to coat the meat.
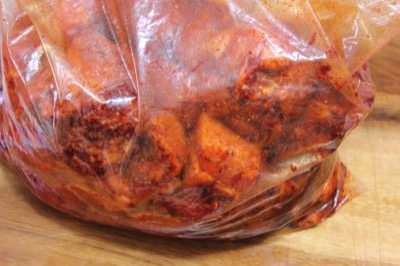
It's nice and sticky on it's own so you really won't need mustard or oil but if you want to add something, it won't hurt a thing.
With the meat all coated and looking pretty.. pour it out onto a cutting board or into a bowl.
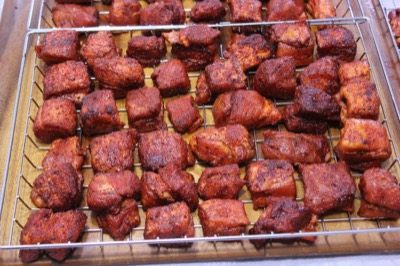
If you have a Weber grill pan or just a regular old cooling rack.. it'll work. I recommend using something like that to lay the cubes on while they cook to make it real easy to move the meat into and out of the smoker.
I packed mine pretty tight onto a few Bradley racks but I did manage to leave space between them so the smoke and heat could do their thing.
Set up your smoker for cooking at 225°F (107°C) using indirect heat with a good fruit wood for smoke such as apple or cherry or you can use maple, pecan, even hickory would not be a bad choice.
If your smoker uses a water pan, fill it up.
About the Smoker That I Used
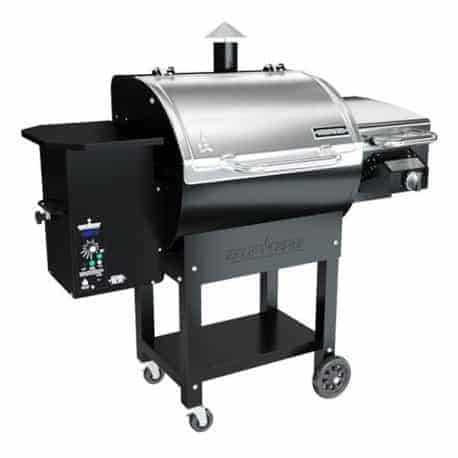
I've been using the Camp Chef pellet grill.. aptly named the Woodwind.. and it has handled everything I've thrown at it with such ease, it makes me want to use nothing else. My other smokers are getting jealous so I have to give them some love too.
I have been a huge fan of pellet smokers for a while having used the Traeger units, the REC TEC Bull and of course, the Woodwind. For the most part, they all work in a similar fashion but the Woodwind series has a few extra features that really makes it nice to have:
- An ash cup on the bottom of the unit to catch the ashes and make cleanup a lot easier. I am pretty particular and still vacuum out the smoker but you certainly don't have to do that often with this added feature.
- A chute opens on the bottom side of the hopper so you can dump the pellets into a container and replace them with a different flavor (nice!).
- A 2nd cooking shelf comes standard. You just can't have too much shelf space in my opinion.
- Available propane powered SearBox (grill) or SideKick (griddle) that attaches to the right side of the unit. This allows you to sear burgers, steaks, chicken, etc. once they are done cooking. You could also just use it to cook steaks or other meats at very high heat.
- 3 year warranty and free shipping ain't a bad feature either!
If you want to see my other smoker/grill reviews, check it out HERE.
If you are in the market for a smoker that is so easy to use a caveman could do it, introduces a ton of smoke flavor to your food and has the ability to cook from 160°F all the way up to about 500°F, with smoke, then this might be something you need to look at very closely.
Once the smoker is preheated and ready to go, it's time to smoke!
It's go time!
Place the racks of pork belly burnt ends on the smoker grate and close the lid for at least 2 hours. Every smoker cooks a little different and not every smoke thermometer reads exactly right so you sort of have to know your smoker so you can make adjustments as required.
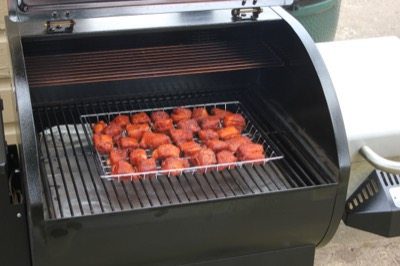
If you are using a pellet smoker like the Camp Chef Woodwind, Traeger, REC TEC, etc. then smoke is a default but in a smoker where you have to add wood chips or chunks, you only need to add smoke for about 1.5 hours and that will be plenty. Of course, it's always ok to add smoke for the entire time as long as you have good airflow.
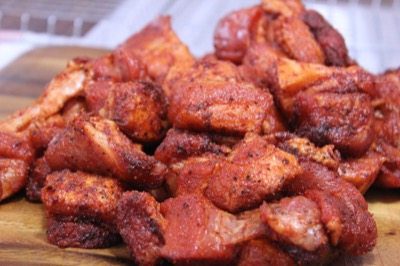
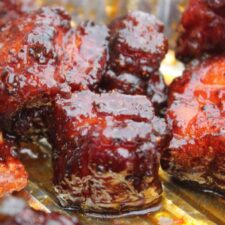
We want these burnt ends to brown real nice, render off some of their fat and get a real nice bark on the outside while remaining soft and tender on the inside. Check them occasionally and when they reach a really nice color, it's time to finish them off in a covered pan.
This can take anywhere between 2-3 hours depending on the meat temperature when they went into the smoker, how well your smoker maintains set temperature, how many times you open the lid and even things like wind, humidity and ambient temperature.
I mostly use a Thermapen or the “Smoke” wireless dual-probe thermometer to keep an eye on my temperatures and my pork cubes ended up being about 175°F (79°C) when the color and bark was right for me.
The newest thermometer from thermoWorks is the “Signals” which is a 4-channel Wi-Fi/Bluetooth barbecue thermometer that really has a lot of bells and whistles AND, it's so easy to use, you probably won't even have to read the instructions! I've been using mine and I have to say, it's pretty impressive.
I have posted an initial review of the “Signals” thermometer if you want to check it out.
Transfer the burnt ends to a foil pan or some other oven proof pan that you like to use and we are going to add a few ingredients to kick them up a little.
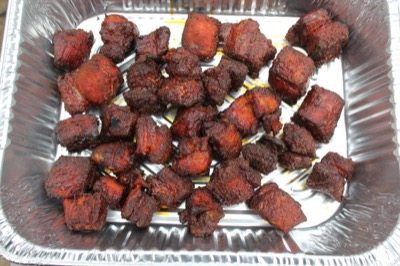
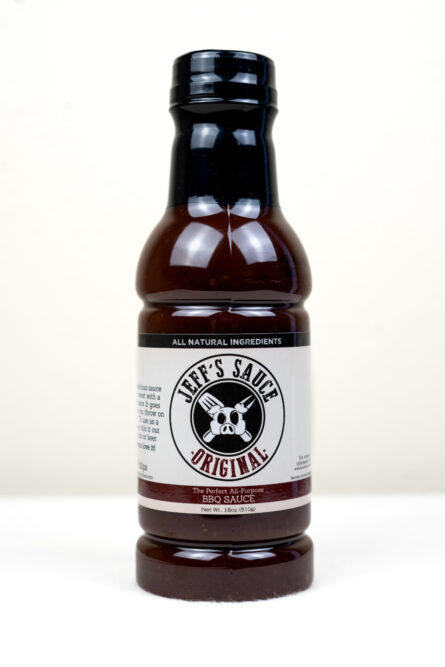
For half of the pork belly burnt ends, I added honey and my original barbecue sauce (Purchase formula here | Purchase bottled sauce) to give them sweetness and kick.
You really don't have to accurately measure the honey or the sauce, It varies based on how much meat you have, how sticky you want them, how sweet you want them, etc. so do a little experimenting to see what you like. At least enough to coat all sides of the meat pretty good.
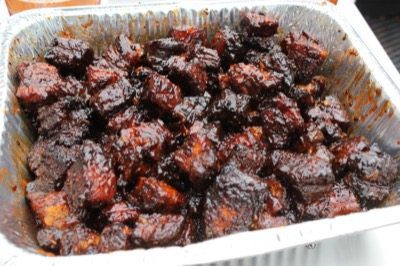
For the remaining half of the smoked pork belly burnt ends, I added honey and some really good hot pepper jelly. I love hot pepper jelly by the way and it adds such a nice flavor to these as well as ham, ribs, even on sandwiches. You get spicy and sweet all at the same time and it's wonderful.
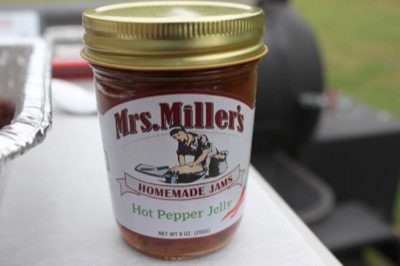
This particular brand had little bits of pepper in it as well as some of the seeds so you can imagine how good it was.
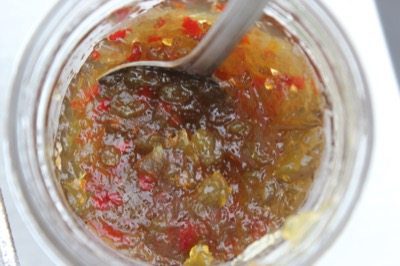
Add enough honey to coat all of the meat then a few heaping tablespoons of the jelly.
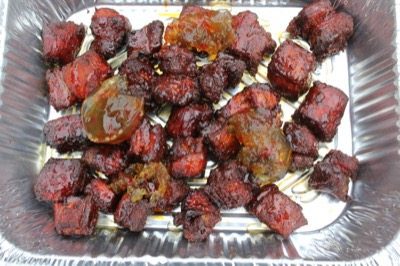
Stir it in real good and you are good to go.
Cover the pans of glazed meat with heavy duty aluminum foil and place them back in the smoker for 60-90 minutes to render more fat and let them tenderize.
No smoke required during this stage.
I checked the meat with my Thermapen handheld thermometer after 1 hour and removed them when they reached 200°F (93°C).
As always with me, the amount of meat that made it into the house was a little less than what went into the smoker. I am a firm believer in testing the quality of the product you are creating. It's a tough job but someone has to do it.
When the pork belly burnt ends have reached their perfect potential, remove them from the smoker and take them into the house.
Open the top and let them cool for a few minutes before serving.
If it's a party, you can also stick toothpicks in them to make them easier to grab and eat.
At my house, it's all fingers most of the time.
Enjoy!
Smoked Pork Belly Burnt Ends - Yes Please!
Ingredients
- 5 lb Pork belly (rind removed)
- 1 cup Jeff's original rub
- ½ cup Honey
- ¾ cup Jeff's original barbecue sauce
- ¼ cup Hot pepper jelly (barbecue sauce alternative)
Instructions
- Place the pork belly in the freezer for 30-45 minutes to allow the fat to get really solid so it will cut more easily.
- With the pork belly laying in front of you on a cutting board, slice the pork belly into pieces that are about 1.5 inches wide. Further cut the slices into pieces that are 1.5 inches wide giving you cubes of meat that are 1.5 x 1.5 inches square.
- Place 1 cup of Jeff's original rub into a large zip top bag and then place 5 lbs of pork belly cubes into the bag. Shake and massage bag to coat the meat with the rub. Pour the coated pieces of meat out onto a cutting board or bowl.
- Arrange the pieces of meat onto a cooling rack or Weber grill pan to make them easy to move into and out of the smoker.
- Set up your smoker for cooking at about 225°F (107°C) using indirect heat. If your smoker has a water pan, fill it up. When the smoker is ready, place the racks of meat onto the smoker grate and quickly close the lid/door.
- Let the meat cook and smoke until a crust forms and the meat cubes reach about 165°F (74°C) as measured by an instant read meat thermometer such as Thermapen.
- Place the meat into a foil pan and coat with about ¼ to ⅓ cup of honey and ¼ to ½ cup of Jeff's barbecue sauce per 2 lbs of meat. Optional, you can use hot pepper jelly instead of the barbecue sauce. Mix together to coal the meat.
- Cover the pan with foil and place back into he smoker for an additional 60-90 minutes or until the meat reaches 200°F (93°C).
- When the pork belly burnt ends are finished cooking, remove the foil and let them cool for a few minutes before serving.


A good recipe, easy to understand….. only reason it only got 4 stars is that I reserve that 5th star for my own recipes only!
Just wanted to say that pork belly burnt ends are the only way I like burnt ends….. Yes,, they are meat candy, but it’s also all about that mix of meat and fat in the pork belly that makes these burnt ends the meat candy of the gods……….
Thanks so much Jeff for this suggestion. I put a bit of a twist on it and used a Korean BBQ sauce, but of course I used Jeff’s rub on the cubes. Very tasty and certainly not “good” for you, but every now and then you need to splurge! Enjoyed 100% by all!
Made this a couple weeks ago and loved it. Making as a Christmas day surprise for the whole family. All the recipes here are incredible.
Jeff, I made this recipe and really enjoyed it. The second time I made it I finished them in the air fryer. It added a whole level of crispness to them. 10-15 mins at 275.
You are my go to resource for all things smoking. Thank you
Jeff…what would I do without you! Great recipes, sauce, rubs and tips…everybody loved the burnt ends…cheers!
I smoked the pork belly burnt ends on my Traeger pellet grill/smoker. They turned out amazing. I shared them with a bunch of friends that never had them before and they have requested them on a weekly basis now! Great recipe Jeff, I’ve duplicated many of your other recipes and they all turn out amazing! Also, after reading a lot about “brining” in your newsletters, I finally gave it a try about two years ago. I will not cook a pork loin or chicken now without brining! Awesome tip! Thank you for your dedication to this website! I feel like I should know you!
I read the news letter and headed to Costco, bought a 9.4lbs pork belly and cut it into 3 pieces. Froze two.
I had trouble removing the skin so just left it. Made twice as many slits as you did and packed rub in them.
Fired up my Bradley smoker and turned up the heat to about 280f. Used apple disks at 160f wrapped in foil and put in oven. Took out at 205f and let sit for 45 minutes.
Pork Belly was awesome my wife liked it.
Thanks for the great smoked meal.
Had no problem removing the skin. When all was done I had more fat on some of my cubes than meat. Yukk. I’d recommend when you take the skin off remove most of that thick fat cap under the skin. I’ll try again and hopefully end up with a more edible cube.
I don’t get why you talk about rendering the fat off what’s the point of pork belly with no or a “little” fat? The point of pork belly is it’s mostly fat with some meat otherwise it’s jus chunks of meat. Just saying.
I’m smoking Pork Belly and Pork Belly Brunt ends. We plan to eat the the Pork Belly using recipe from Carnival Eats (sort of a Ruben Sandwich using PB). I plan to serve the Burnt Ends the next day (Christmas) to my guests, Anything special I can do in cooking or reheating the Burnt ends the next day? How about how to keep them overnight (besides just in the refrigerator? Any ideas would be appreciated.
I made a version of these. The sauce I borrowed from a different site. But Oh. My. Lord. These are amazing. Well worth the effort.
This feels sneaky, but in a good way. Burnt ends in a few hours without having to work on the rest of the brisket! Can’t wait to try this.
I cooked these per your recipe and they were AMAZING!! The sauce was excellent with the ends as well!!
Great recipe Jeff, Followed your instructions to a T (well almost) turned out fantastic.
Thanks to you I now have another way of doing Pork Belly.
Why remove the skin? That is the best part of you if you crisp it up after smoking.