Smoking Ribs (and other meat) Without a Smoker
Smoking-Meat.com is supported by its readers. We may earn an affiliate commission at no extra cost to you if you buy through a link on this page.
Read this article without ads
Welcome to this edition of the Smoking Meat newsletter! I have quite an interesting article lined up for you today and it involves traveling, visiting relatives and needing to smoke ribs. This is precisely what happened to me and I took it as a rare opportunity to show that skill is a greater asset in smoking meat than the tools and equipment used to actually smoke the meat.
As some of you may know, I am out of town visiting relatives this week and upon my arrival it became clear that I would need to smoke some ribs however, there was no smoker or covered grill to be had and I did not bring any of my normal supplies or smoking gear with me so this was going to be a bit of a challenge and I figured I was just the man for the task.
Together with the supplies I could find at the local stores and a large charcoal grill at the park, I made it work and I have to say the ribs ended up being, not only, better than expected, but, in the top three of the best ribs I've ever cooked.
This is my challenge to you to not allow lack of equipment or supplies to keep you from doing what you love to do when you are out of town or traveling but to find a way to make it work.
Previous Newsletter:
Special Labor Day 2012 Edition
Missed a Newsletter somehow? Check out the Archive
Smoking Ribs Without a Smoker or Covered Grill
Note: No smoker, no previous preparation, and no previously owned smoking tools or supplies were used in this experiment.
What do you do when you are traveling, visiting relatives and you need to smoke some ribs, or some other meat and you have no smoker, no supplies and not even a covered grill? Well you get real creative and start figuring it out. It is not a problem that can't be solved and with a little skill you can make things work. I am going to show you how I did it and even give you some other ways that this could have been done.
What You'll Need
- (6) Foil oven liners
- Heavy Duty Foil
- Lighter or matches
- Canola or vegetable oil
- Newspaper
- Charcoal (Lump is best, briquettes will work
- Smoking wood chunks (I used mesquite)
- Grill brush (wad of foil will work)
- 3 – 4 Large foil pans
- 3-4 Racks of Baby Backs
- (1) batch of Jeff's Rub Recipe
- Yellow mustard
Finding a Grill
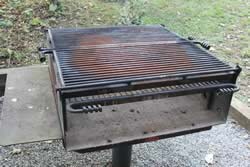
The best way that I came up with to smoke the ribs was to find a grill and since there wasn't one located where I was, I opted for one of the open charcoal grills at a local park. These can be on the small side but I was fortunate enough to find one that was quite large.
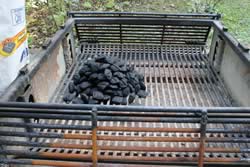
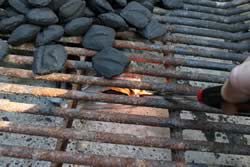
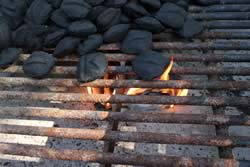
To provide heat I needed charcoal.. unfortunately, I could not find lump charcoal so I opted for regular briquettes. I started with about 4 lbs in a pile to one side of the charcoal grate.
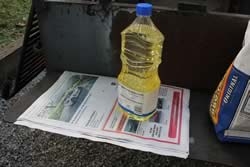
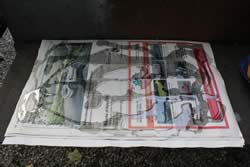
I am not one to use lighter fluid and I wasn't about to start now. I could not find any type of firestarting blocks or anything similar so I used the old trusty newspaper with oil trick to get the charcoal lit
While the fire was getting the coals started, I worked on the ribs..
Preparing the Ribs for Smoking
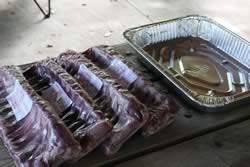
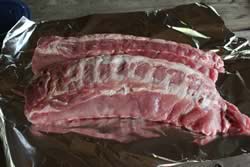
I purchased 4 racks of baby backs, some yellow mustard and all of the spices and other ingredients to make up a batch of my rub. I also purchased several foil pans for prepping the ribs, cooking the ribs and carrying the ribs back to the house.
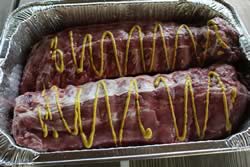
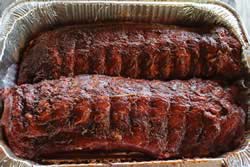
I also had a table to work off of but I could have easily done this on the ground in the foil pans. Mustard and rub was added to the ribs and massaged in. Notice that I did not remove the membrane on the back of the ribs. I have always removed the membrane but I decided to reduce a little of my time and effort by skipping this step.
After the fact, I did not like the membrane being still attached to the meat. Some folks probably don't care or know the difference but I prefer it to be removed and I should have taken the time to remove it. I highly recommend removing this every time.. no exceptions.
While the ribs sat there for a few minutes covered in foil, I went to finish getting the grill ready.
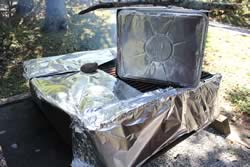
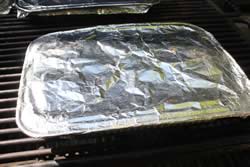
The only problem with this grill and any open grill such as this is that you will need to construct a contraption to smoke the meat in some sort of enclosed box. To do this I found some oven liners that I thought could make a great box when they were attached together at the edges. I also used the oven liners to cover the top.
The oven liners came (2) to a pack and were held together with a metal clip. I used the clips to keep them together.
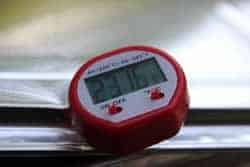
I found a cheapo thermometer at a local store which was a great find but it was not completely necessary. I have smoked enough meat to know what smoking temperatures feel like. With a little trial and error, I was able to find a place on the grill that allowed enough heat to go in to keep it within my heat range. I decided early on that I would have to be ok with 200-275 or so. I held it pretty close for most of the time by moving the coals around.
I wrapped the grill on one side and across the top with foil to direct the heat and smoke into the box for a true smoking experience. I also used a 3 foot stick on top of the box to keep the wind from blowing off the top oven liners. The large rock in the center, kept the foil from blowing up in the wind.
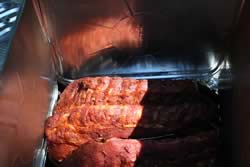
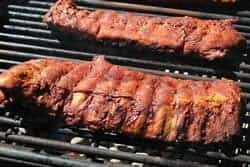
I placed the ribs in a rib rack that I found on a clearance rack at the store. I could also have rolled them into a barrel shape with a skewer through them to make the most of my limited space and after the fact, I think this might have been a better option for cooking in this situation. Here's a peek at the ribs in the box:
I needed to add plenty of smoke in order to flavor the ribs and hopefully get a good smoke ring for appearance sake.
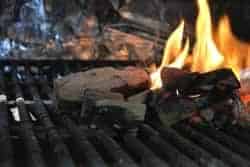
I placed the mesquite wood close enough to the flames to make them smoke but not close enough to catch fire.. this took some trial and error but I finally found the perfect location.
To maintain the right temperature, I was constantly adding more coals as well as moving the coals around. This was not a sit down and wait ordeal like it usually is. I opted to apply smoke for about 2 hours then cook them the rest of the way in a pan in a sort of modified 2-2-1 format.
After 2 hours I put them in a foil pan covered in foil and placed them just close enough to the coals to hear a slight sizzle but not close enough to burn them.
After about 1 hour in the pan, I placed them directly on the grate a little ways away from the hot coals and cooked them indirectly for about 30 minutes.
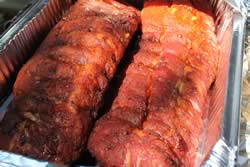
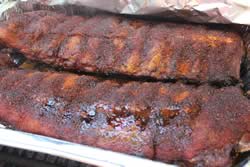
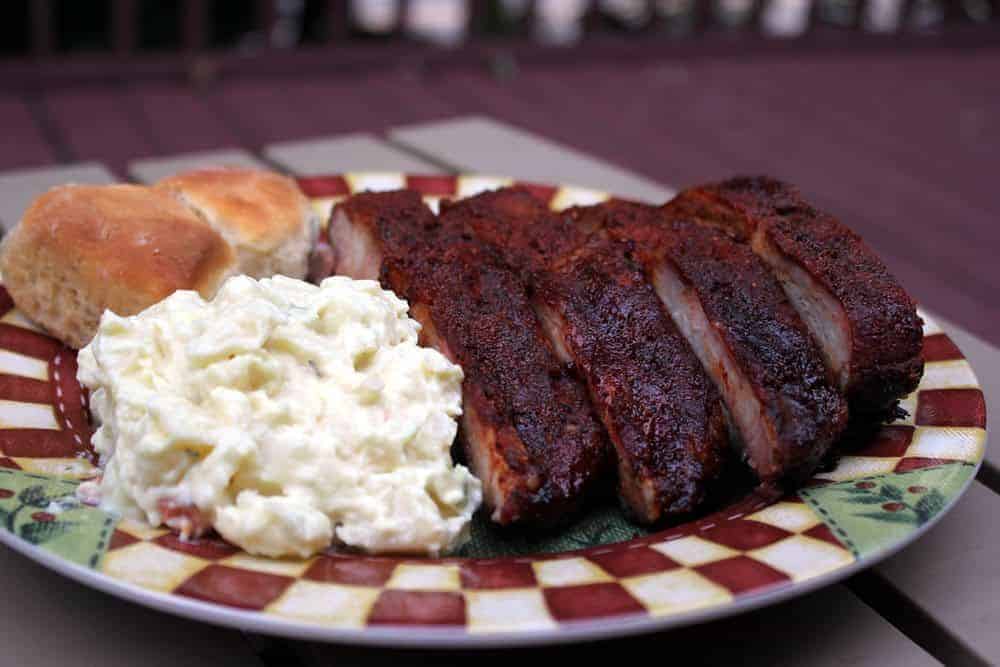
I placed them back in the pan at this point and kept them there until they were as tender as I liked. This took an additional 2 hours for a grand total of 5.5 hours of cooking. The ribs were not falling off the bone but were very tender and tasty.
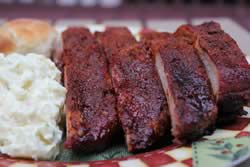
We served the ribs with potato salad and rolls.. a perfectly delicious meal.
Notes
- In the absence of a park grill, I could also have dug a hole about 3 feet in diameter and about 1 foot deep with a oven grate over the top and used the same concept to smoke the rubs. The park grill created a better scenario but I am trying to show you that this can be done even with the most meager of equipment and supplies.
- I also could have wrapped the entire grill in foil to hold in the smoke and heat but I felt that the box gave me a better way to adjust the amount of heat that got in thus regulating the temperature.
- Ribs are not cooked to a set temperature. They are safe to eat at 145 degrees but they will acquire that temperature way before they are tender. When they are tender enough, they are ready to eat. So how do you test for tenderness? Pick them up on the end with tongs or whatever you have and when they bend 90 degrees they are done.
- In a pinch, I could have smoked them for 2 hours at the park grill then placed them in a covered pan and took them home to finish in the oven (still in the pan) for about 3-4 more hours at 225-240 degrees.


