Holiday Meat Smoking Tips
Smoking-Meat.com is supported by its readers. We may earn an affiliate commission at no extra cost to you if you buy through a link on this page.
Read this article without ads
It's been a great year and I can think of no better way to end it on a good note than to spend time with family and great friends sharing wonderful food smoked in your own backyard.
In an effort to help as many of you as I can, I will be giving a lot of tips, tricks and general information about a large variety of meats that can be smoked and cooked in your smoker and even a few non-meat items as well.
Let's not forget the lobster tails and pork crown roast that I wrote about in recent newsletter which would make any Christmas meal a huge success.
From my home directly to yours, I wish all of you a great holiday season!
- Purchase a whole packer brisket for best flavor in the 9-11 pound range.
- Trim fat to about 1/4 inch then score the fat horizontally, vertically and diagonally at 1″ intervals to allow the seasoning and the smoke to get to the meat a lot easier.
- Use mustard or cooking oil to moisten the surface of the brisket before adding rub as this will help the seasoning to stick to the meat.
- Use about 1-2 cups of my rub recipe on the brisket for amazing flavor and crust.
- Place the brisket fat side up directly on the grate for a nice bark and to allow the fat to melt and baste the brisket.
- Keep the smoker at about 225 degrees to keep the rub from burning and to end up with a great tasting brisket
- If you are using a charcoal, electric or gas smoker, keep the smoke flowing for at least 4-6 hours for a nice smoky flavor.
- I recommend hickory, mesquite and pecan or a mix of these for a great flavor.
- Cook the brisket in a foil pan for super juicy brisket. The downside is that the bark or outside of the brisket stays soft instead of forming a crust. Fat side up x 2 hrs, fat side down x 2 hrs then back to fat side up until it's done.
- Brisket is NOT done and will NOT be tender enough until it gets to about 200 degrees internally. Be patient and use a digital probe meat thermometer or a super-fast thermapen to let you know when it's done.
- Brisket is usually figured at about 1.5 hours per pound however, let the temperature rather than the time determine when the brisket is done.
- Let it rest for at least 20-30 minutes once it's done before slicing it to retain the tasty juices.
- Slice across the grain to accentuate the tenderness of the meat.
- If it doesn't seem juicy enough, mix a couple tablespoons of my rub recipe with a cup of beef broth and pour over the slices just before serving. NO more dry brisket.
- Buy the bone-in butt or boston butt instead of the picnic for best flavor. (my opinion)
- Apply a light coat of yellow hotdog mustard to help the rub/seasoning to stick real good. (don't worry, your pulled pork will not taste like mustard when it gets done).
- Pour on about 1 cup of my rub recipe and massage it in real good. Make sure to get the rub into every nook and cranny.
- If you are using a charcoal, gas or electric smoker be sure to keep the smoke flowing for about 6 hours to get that nice smoky flavor all the way through this thick piece of meat.
- Keep the smoker at about 225-240 to keep the rub from burning and to slowly prod the pork to it's full tender potential.
- Pulled pork is perfect when it's cooked to an internal temperature of 205 degrees. It will almost fall apart on it's own and you probably won't need bear claws to get the job done.
- Estimate time for pork at about 1.5 hours per pound + 2 hours padding, however let the temperature tell you when it's done rather than the time.
- If you like, you can wrap the pork butt in foil once it reaches 160 degrees and let it finish out it's time with just heat. This will speed things up a little usually and helps to hold in the moisture.
- To make foiling the pork butts really easy, place the meat down in a foil pan with a large piece of heavy duty foil in the bottom and hanging over the side. When it's time to foil, you can just pull the foil up and over the top of the butt to wrap it.
- Pull/shred the pork while it is still hot even if you are going to save the pulled pork for later.
- If it gets done early, simply bring your smoker down to about 180 degrees or so and hold it there until dinner time or you can place the foil-wrapped meat down in empty ice coolers wrapped in a thick towel. Fill in any remaining space with more towels, blankets, pillows, etc.
- If refrigerated, you can reheat in a covered container with a little beef broth, water or apple juice (just a cup or so usually) added to the bottom until the pulled pork is a good eating temperature.
- Brats are super easy and require very little effort, furthermore, they are always great when friends are over.
- Smoke at 225 degrees or whatever temperature your smoker happens to be at for other items.
- Do not overcook these.. they are done in about 2 hours. Much longer and they will be tough and overcooked.
- Most other sausages including boudin are great on the smoker and can pretty much be smoked in the same manner as brats. (hint: there is nothing better than boudin and fried eggs for Christmas morning breakfast)
- (for spare ribs only) Remove the skirt or flap of meat that runs down the center of the meaty side of the ribs. Just cut it off even with the top of the slab.
- (for spare ribs only) Save the flap/skirt meat and cook it along with the ribs for some tasty treats. Be sure to add some rub to them. They will take about an hour or two to get tender depending on how thick they are.
- Remove the membrane by prying up this thick piece of skin at one corner of the bone side of the ribs and pulling it clean off. Use a paper towel or some catfish pliers for a better grip.
- Apply a light coat of yellow hotdog mustard or a little olive oil to moisten the outside of the ribs.
- Sprinkle my rub recipe onto the top and bottom of the ribs thick enough that you can no longer see the meat. This is perfectly seasoned.
- Spare ribs need at least 6-7 hours in the smoker at 225 degrees. Baby backs will need 5-6 hours depending on how meaty they are.
- I like to apply smoke the entire time the ribs are cooking even if I am using a charcoal, electric or gas smoker. Be sure to apply at least 2-3 hours of smoke for a nice smoky flavor.
- It is almost impossible to check the temperature of ribs with a thermometer so it is best to just check for tenderness. When they get tender enough, they are done.
- To test for tenderness, hold them at one end with a pair of tongs and when they bend almost 90 degrees, they are probably about right for eating.
- If you like ribs that are “falling off the bone” then you need to use the 3-2-1 method as described below:
- If you like “wet” ribs then apply some of my sauce recipe a couple of times beginning about 30 minutes before the ribs are done and then again about 10 minutes before they are finished.
Note: All (3) steps below are with heat set to 225-240 degrees. Step 2 does not need smoke since the ribs are wrapped in foil.
- Place the spare ribs directly on the grate, bone side down for 3 hours.
- Wrap the ribs in foil. Splash on about 1/4 cup of apple juice just before closing them up and place the wrapped ribs on the grate for 2 hours.
- Remove the ribs from the foil and place them back on the grate, bone side down for a final hour.
Note: Baby backs can be done this way as well except that it is more of a 2-2-1 method with 2 hours on the grate, 2 hours wrapped then a final hour unwrapped and on the grate to finish up.
As with anything, these are estimates, I recommend that you do them exactly to the plan the first time, then adjust to your liking for future rib smokes. The longer they stay in the foil, the more tender they will be. You may prefer them a little less tender and that might call for a 3-1.5-1.5 or similar.
- I recommend chicken quarters or chicken pieces instead of whole chickens for easier serving, better portioning and faster cooking.
- If you have time, I highly recommend brining the chicken for a juicier finish. Read more on brining here.
- The best way to season chicken is to place it down in a large zip-loc bag, pour about 1/4 cup of cooking oil then about 1/2 cup of my rub recipe per 6-8 pieces of chicken. Close the bag and shake/roll to coat the chicken. This method gets the seasoning under the skin as well as on the skin and is perfectly seasoned.
- Smoke chicken at 250-275 for crispier skin.
- Apply smoke the entire time the chicken is cooking, the chicken cooks fast and you need as much time as possible for the smoke to flavor the meat.
- Use a digital probe meat thermometer or a super-fast thermapen to make sure the meat is 165 degrees at it's thickest part before serving.
- Chicken pieces such as thighs/legs will take about 1.5 to 2 hours depending on how hot you run the smoker. Chicken quarters will take 3-4 hours.
- If you want to sauce the chicken, apply my sauce recipe liberally to the chicken about 30 minutes before it is finished smoking/cooking.
- If you do need to cook a whole chicken, consider butterflying (spatchcocking) it as explained HERE.
- These are a little pricey sometimes but they are worth it for a really special Christmas meal. Have the butcher go ahead and cut the bones off for you or you can have him make a cut down the bones so that they are still barely attached. Also have him tie it up for you. This keeps the prime rib together while it cooks and makes for a nicer presentation at the dinner table.
- Apply a little olive oil all over to help the rub to stick then apply a pretty good coating of my rub to the outside of the meat. The course spices called for in my rub recipe also makes for a very nice presentation.
- Smoke the prime rib at 225-240 for 4-6 hours or until it reaches about 135 degrees. This is medium rare and is where we like it. I do recommend medium rare for this cut but if you prefer it to be a little more or less done, then do so.
- I recommend pecan for the prime rib but I also love cherry or an oak/cherry mix as well.
- Once the prime rib is finished cooking, immediately take it off of the smoker grate and let it rest for about 10 minutes before slicing.
- If the butcher did not remove the bones completely, make a cut perpendicular and right next to the bones. Slice all the way down with your knife pressing against the inside of the all the bones at once to completely remove the bones from the roast.
- Slice the roast into 3/4 inch thick steaks
- These are very easy to smoke and extremely easy.. just don't overcook it. Use a good digital probe meat thermometer and make sure you remove it just as soon as it hits your goal temperature.
- More information HERE
- As is the case sometimes, you may find yourself having trouble with your smoker due to cold, blustery winds. Your best defense is a good windbreak made from pieces of plywood or some other large flat pieces of material that you can secure into place giving the smokers a break from the wind.
- You can also use water heater blankets to help insulate the smoker as long as you don't cover up any vents or get too close to the firebox. This may not be an option for some smokers.
- Placing the smoker in the doorway of the garage for protection on three sides. Make sure the smoke is able to get outside and is not filling up the garage. This works best when the wind is not facing the door.
- Allow extra time since even if you are only able to maintain 210 degrees, it will still cook the meat only a little slower.
- If it gets extremely and unbearably bad, you can apply smoke to the meat for a couple of hours then finish cooking the meat in the house oven. This is not a crime and it will end up a thousand times better than if it had no smoke flavor at all. “Do what you have to do” is my motto in these cases.
- Be sure to add boiling water to the water pan so your smoker does not have to spend it's energy in heating the water.
- Keep the door closed at all times unless you absolutely have to open it to add water or fuel. Forego basting and mopping in these cases in lieu of keeping the heat in the smoker.
- If you have a water pan, use it.
- Apply smoke for at least half of the estimated cook time if you are using a gas, electric or charcoal smoker. I like to apply smoke the entire time the meat is in the smoker whenever possible.
- Get the smoker going an hour or more before you need it to allow the metal to heat up.
- If you are having trouble getting the temperature high enough in a bullet smoker, leave the water pan dry so the smoker can apply all of it's energy to heating up the smoker instead of heating the water.
- Smoked Store-bought Ham
- Bacon Butter Turkey – CROWD FAVORITE
- Smoked Buttermilk Brined Turkey
- Smoked Cranberry Brined Turkey
- Smoked Pork Crown Roast
- Smoked Shrimp
- Smoked Lobster Tails – CROWD FAVORITE
- Country Style Ribs
- Smoked Steaks
- Smoked Pork Steaks
- Bacon Wrapped Chicken Breasts
- Bacon Wrapped Stuffed Sausage Fatty
- Smoked Chicken Wings
- How to Cold Smoke Cheese
- Smoking Times and Temperatures
- Smoked Mac n Cheese – CROWD FAVORITE


Bookmarked…..Thank you for all the great recipes
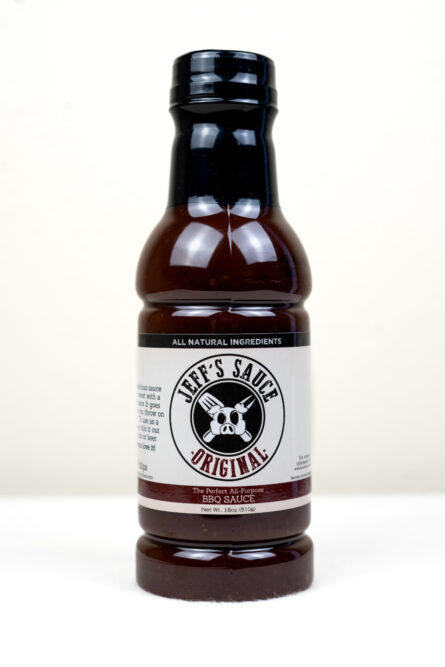
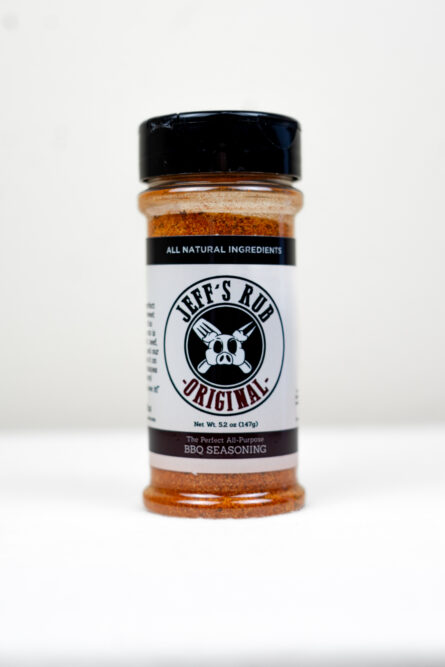
I bought the rub recipe love it! I’ve tweaked it a little, but I still wouldn’t have had as good of a base recipe to go off of . I’ve done marinades and all sorts of things but this was what I was looking for! Thank you for the good eats and making me drool over your recipes! :-)
"Happy Holidays" to all. Jeff Phillips has made my year complete.
I was getting about to give up on BBQ, I felt I had mastered the Gas Grill and spent ton's of money to accompolish that. Smoking revived my interest in foods again and with Jeff's help and newsletter, I hope some day far far away I can say I feel I have mastered Smoking meats knowing full aware that will never happen. So to Jeff I will only say "Thanks and God Bless.