Reverse Seared Burgers – Smoked Then Seared to Perfection
Smoking-Meat.com is supported by its readers. We may earn an affiliate commission at no extra cost to you if you buy through a link on this page.
Read this article without ads
When it comes to smoked hamburgers, as it turns out, you truly can have your cake and eat it too! I love that flame kissed grilled burger flavor but I also love that slow smoked flavor that I get when I do burgers in the smoker. The answer to getting both of these wonderful things is found in smoking the burgers first then searing them to perfection.
On we go to smoked burger nirvana!
- Prep Time: 30 minutes
- Cook Time: 1 hour
- Sear Time: 2-3 minutes
- Smoker Temp: 225°F (107°C)
- Meat Finish Temp: 160°F (71°C)
- Recommended Wood: Cherry
- Ground Chuck (80/20) 3 burgers per lb
- Jeff's Texas style rub
- Condiments and Fixin's
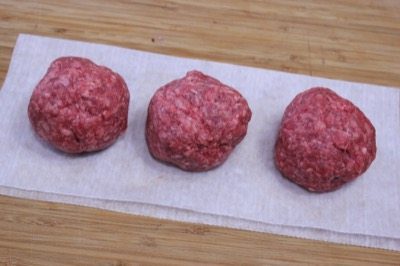
Well don't just stand there, grab up about a 1/3 lb of the ground meat and form it into a ball in your hands. Make sure the meat you purchase has at least 20% fat (if not more) 'cause as you know, that's what keeps it juicy, tasty and tender.
You can make as many of these as you like.. just know that you'll get about 3 patties per pound if you keep them at around 1/3 lb. You don't really have to weigh it on a scale but if you do, you're looking at about 5.3 ounces each.
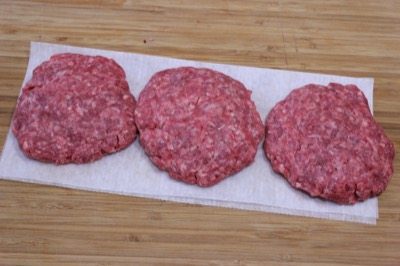
Once the “balls” are formed, go ahead and smash them into a patty about the same size as the buns you plan to use, maybe just a little larger in diameter since they will shrink some.
I like to press my thumb into the center of the meat and make a nice dimple. This keeps them at a nice and even thickness during the cook. If you like for them to be footballs, then simply omit the dimple.
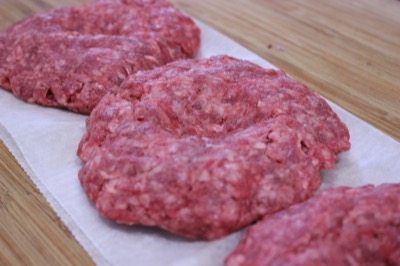
It's a great idea for the burgers to go on the smoker cold so the fat can melt a little more slowly and help to keep that burger nice and moist while it cooks. For this reason, I recommend making the patties at least a few hours in advance and once you have them formed and dimpled, you can place them back into the fridge to get nice and cold.
I often make these the night before and while the burgers are chilling out, I prep the vegetables and doctor up some mayonnaise.
Tomatoes
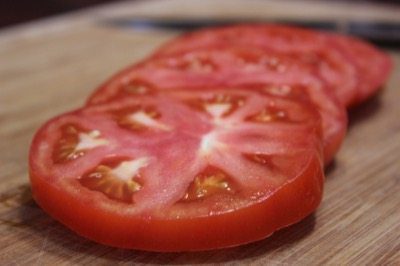
Go ahead and slice the big, vine ripened tomatoes at about ¼ inch thick. Once they are sliced, place them into a lidded container and into the fridge until you need them.
Lettuce
I like butter lettuce but you can use romaine, iceberg, baby spinach, whatever greenery you like on your burger. You can tear it into right-sized pieces and put it into a lidded container or ziptop bag ahead of time to make things easier.
Onions
In my opinion, this is the main vegetable on the burger. My teenage son would disagree adamantly.
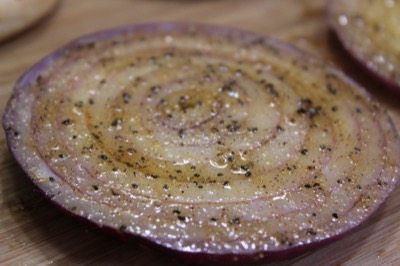
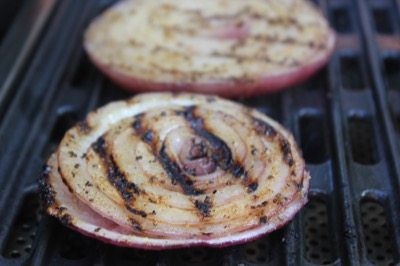
I like raw onions, strong flavor and all but charring those onions on the grill just can't be beat. Get you a big ol' red onion (my favorite) and slice it into ¼ inch slices. Be sure to keep all the rings intact if you can.
You can poke a toothpick through the sides so that it goes through all of the rings to hold everything together easier but I have found just a little tender touch will do the trick as well.
These also keep well if you place them in a lidded container or ziptop bag and into the fridge until you are ready to use them.
Just before grilling them, mix about ½ cup of olive oil with 1 tablespoon of the Texas style rub and brush that onto the top side of the onions.
Other Stuff
There's a number of other things that you can have available at the table if you like such as pickles, jalapeños, sautéed mushrooms, blue cheese, chili, etc.
Just use your imagination and the sky is the limit.
If you're not a mayo person then you can move on to the next step.. I'm that guy that asks for extra mayo and I want it dripping out of the burger onto my fingers.. gotta have something to lick off your fingers when you're done eating that big, beefy, juicy burger… right?
Well, mayo is great and especially if it's homemade but you can certainly add things to it to “doctor” it up and make it even better. I have added chives, jalapeño, Sriracha , etc. but this time I just added a tablespoon of my Texas style rub to about ½ cup of regular mayo and it was wonderful.
Note to self: doctor up the whole jar next time so I can use this tasty stuff on everything.
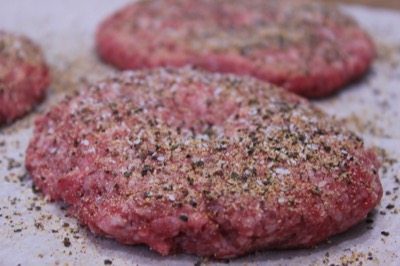
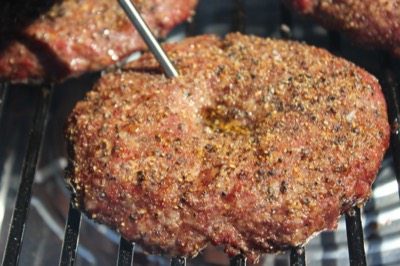
When I'm getting ready to preheat the smoker, it's time to add some seasoning to the burgers. Remove them from the fridge while the smoker is preheating and give them a good sprinkling of my Texas style rub. Mix up a big batch of the rub and put it into a bottle with large holes so you can sprinkle it on everything easily.
Because the burgers need a little more salt than what my Texas rub has, I add a little extra kosher salt. You certainly don't have to but I do recommend it.
Does that look good or what!
About the Smoker
Once again, and for very good reason, I used the Camp Chef Woodwind for the smoking part of this recipe and it performed like no other.. for these burgers to end up perfect they needed to be smoked slowly until about 10 degrees shy of done then quickly seared on both sides. This thing was built for recipes like this!
Regardless of what smoker you use, set it up for cooking at about 225°F (107°C) with indirect heat. If your smoker has a water pan, fill it up.
This is about as basic as you can get, place the burgers on the smoker grate and close the lid/door.
I placed a shallow pan under them to catch the grease and save a lot of time later on cleanup.
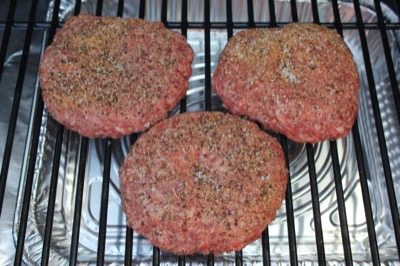
This will generally take about 1 hour to reach 150°F (66°C). We are intentionally shooting for about 10 degrees shy of their actual done temperature as they will come on up to temp during the quick sear.
Be sure to use a digital probe meat thermometer to monitor the temperature of the burgers while they cook. Fortunately, the Camp Chef Woodwind has a built in meat probe. I checked it against the Thermapen and it was right on the money.
Before the burgers get done smoking, get a nice gas or charcoal grill going so you can really put a sear on them.
My Woodwind has a sear box that attaches to the right side of the unit. It runs on propane and has the capability of getting up to about 900°F.
Note: If your Woodwind has the sidekick griddle, that will work great for this also.
I fired this up and just before the burgers were done, I grilled the onions and the buns.
To Grill The Buns
Butter the inside of the buns then place them on the grill for about 20-30 seconds depending on how hot your grill is. Pick them up and turn them 90 degrees and leave them another 15 seconds or so to get perfect grill marks.
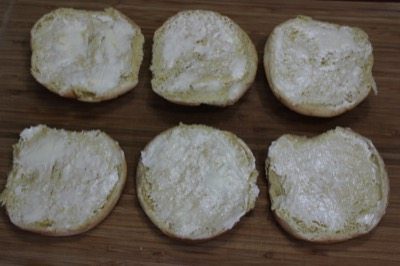
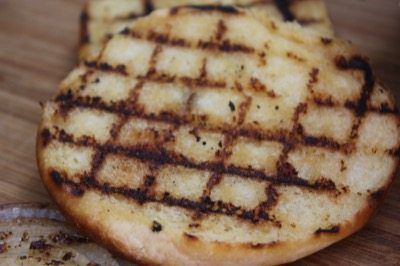
You can do the buns an hour or two ahead of time. Just place the buns in a bowl covered with foil until you need them so they won't dry out.
Beautiful!
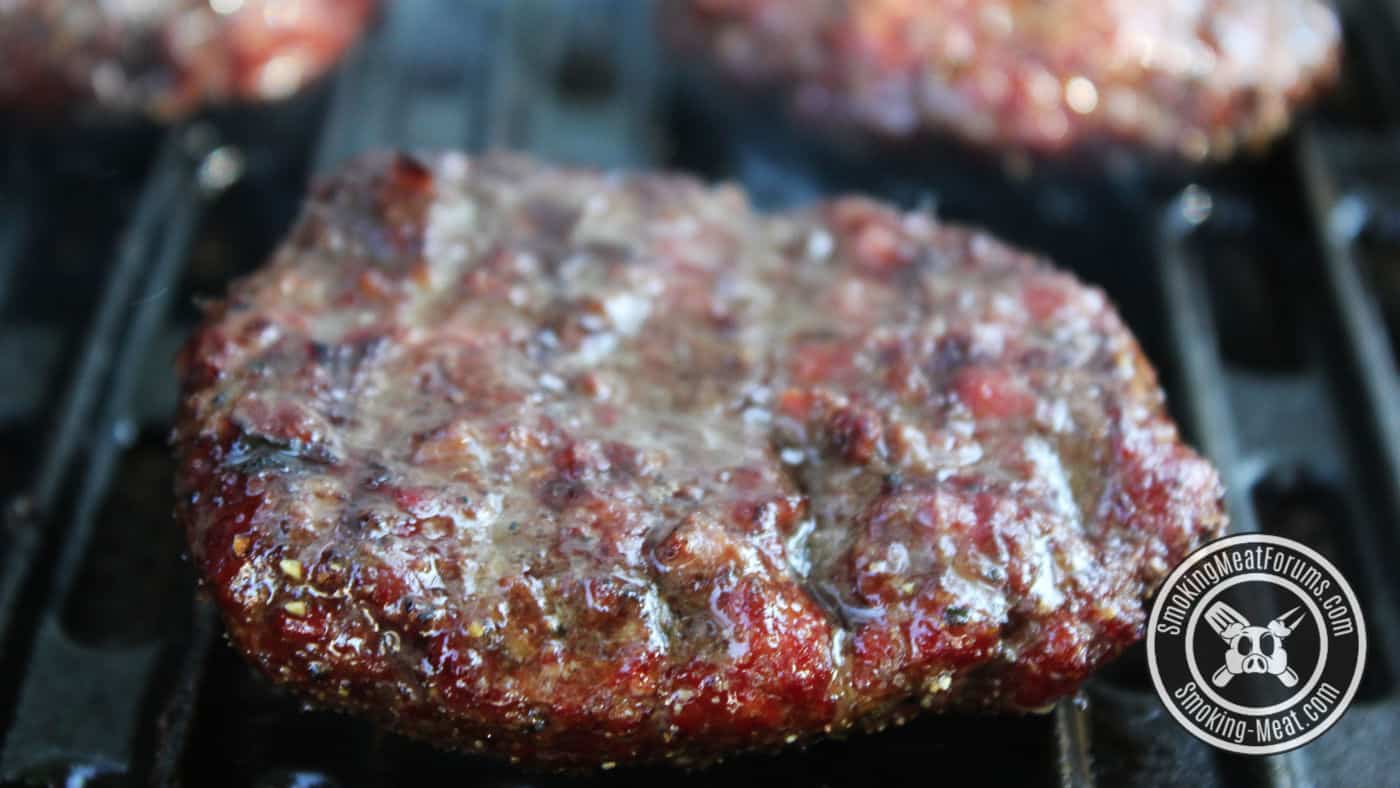
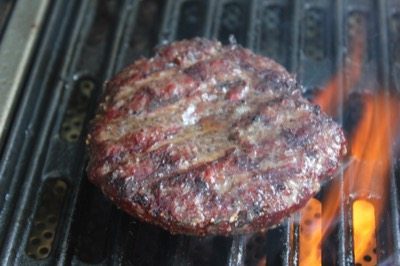
Once the burgers were finished on the smoker, they went directly on the cast iron grate of the sear box for about a minute each side or just long enough to give them a good sear. Room temperature cheese was added just as they finished so it could melt on top.
Here's the order that I use to build burgers. Not everyone does it exactly the same:
- Bottom Bun
- Mayo
- Lettuce
- Tomato
- Burger
- Cheese
- Grilled Onions
- Top bun
If you want pickles or mustard or some other condiments, that can be added as well.
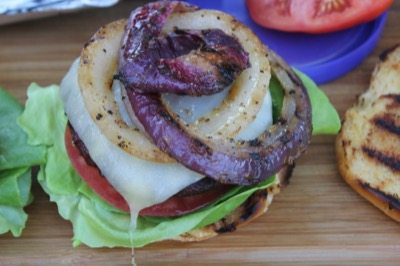
The Burger is ready to eat!
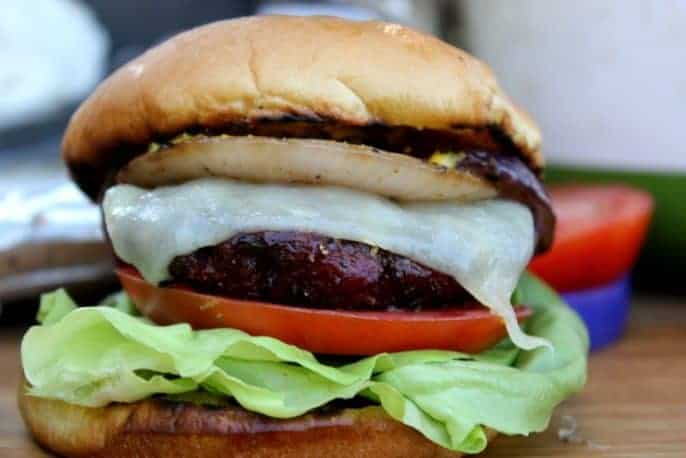
Reverse Seared Burgers - Smoked Then Seared to Perfection
Ingredients
- Ground Chuck (80/20 3 burgers per lb Jeff's Texas style rub Hamburger buns Mayonnaise Large red onion (or your favorite) Large tomato Lettuce Pickles Jalapeños Mustard)
Instructions
- Using ⅓ lb of beef, form balls in your hands. Smash them into patties that are about the same size as your buns.
- Use your thumb to dimple the center of the burger patty.
- Place the burgers in the fridge until ready to use them.
- Once ready to use, sprinkle the top side of the burgers generously with Jeff's Texas style rub.
- Preheat smoker to 225°F (107°C) using indirect heat. Place burgers on smoker grate and smoke for about 1 hour.
- While the burgers are smoking, prepare all of the vegetables, grill the onions if desired and grill the buns.
- Set up a very hot gas or charcoal grill and when the burgers reach 150°F (66°C), sear both sides for about 1 minute. They are done and safe to eat at 160°F (71°C).
- Just before the burgers are done, lay a piece of cheese over the meat so it can melt. Build the burgers or let each person make their own.


Anyone try this with frozen Bubba burgers ?
I’ve done this as to your previous e-mails, absolutely delicious, with secret sauce!
Jeff, You must have been looking over my shoulder … this has been my approach ever since I got my Camp Chef Woodwind. Everyone wants my burgers as soon as they get there, but you can’t rush perfection. I grind my own meat and smoke those burgers nice and slow. I’ve tried having them done early and putting them in the oven on WARM, but it just isn’t the same!
Instead of using butter on the buns try using your mayo mixture , works for me .
Jeff, for this smoked burger, when you butter the buns, use a compound butter for a garlic flavor.
Made it great burgers added Lipton beefy onion soup mix to hamburg meat.
I would suggest that when you are forming the burgers you mix your seasonings into the burger. This will infuse the burger with more flavor and I have found that when I grill the burger, they are juicier.
I have a Cook Shack Pellet Grill/Smoker. I love to do my burgers, brats, pork loins, and especially steaks this way. I smoke them on the indirect side until they are just below the temp I want then move them to the direct heat side to put a final sear on them. Everything comes out perfect, every time! I even grill my thick sliced onions on the direct heat side just before I put my burgers on the direct heat side. What an easy way to cook to perfection! I will compare my steaks with Texas Roadhouse steaks any day of the week! But you have to stay right there with them and monitor things closely. Thanks so much for your recipes and posts. I always get good ideas from your recipes.
YES, YES, YES!!!
I chop up raw bacon and mix with my ground chuck prior to making the patties. I figure one slice of bacon per patty. Everything is better with bacon!!
Ed
I made this on my PK grill and it was very easy since, I opened a cross draft on the vents with a small mound of wood and charcoal and let the burgers smoke shuffling the ones closest to the fire around periodically. Then, when I got to temperature I poured more charcoal on the in to raise the temp and spread them out for an even fire then charred them up. I got this idea from the smoking hamburger for maid rites, sloppy joes recipe and I really liked this article, too. Thanks
Very thorough instructions Jeff. Still using your rubs and the bbq sauce is the best by far.
Tomatoes should not be refrigerated. It kills the flavor.
Next time you’re at the produce section of the market, notice that tomatoes are never in the chilled section.
Allowing them to warmup before eating does not bring the flavor back.
Our burgers ended up with a wonderful flavor but overcooked, despite following recipe to the letter with instant-read thermometer. I think the reader who commented “safe temperature for hamburger changes dramatically downward with low and slow” is on point. Will try again but with lower temp for removal from smoker and lower temp for searing. Planning to lower both my 10 degrees.
Why are you cremating the burgers to 160?
Made these on the CampChef Wifire today after Jefff’s emailed recipe. Finished in the Sidekick Sear Box (first use). They were excellent. Many compliments from my family, including my picky teenage daughters. The only thing I did different was to add diced onion to the meat before I made patties.
Followed this ALMOST to the letter, except with two small differences:
1.) I used a charcoal-water smoker, because I’m primitive.
2.) Instead of searing them on the grill, I collected the drippings and seared them in a pan in their own smokey beef-render. The result was INCREDIBLE. I highly recommend giving it a shot sometime.
Thank you for the recipe! Best burgers I’ve made in my life.
I too have a Camp Chef…the Lux version. I have done a harem scarem version of this before and it was incredible, today I will go 50 minutes at 225 then finish over charcoal. The safe temperature for hamburger changes dramatically downward with low and slow. Camp Chef is the best with the ash clean out and responsive support.
Disappointed with the “smoked burger” recipe as I was REALLY looking forward to a wood-grilled-taste burger with crusty surfaces AND rare-med rare (critical to me). This appears to be a medium-well to well-done burger, not at all delicious to my burger buddies. No, liquid smoke, etc doesn’t cut it. Was thinking about very-cold smoking a couple #’s of raw quality burger first and then forming, chilling and smash on a screaming flat top……
Back to the thinking board, again…..unless, of course, some fellow grillers have solve this dilemma!
Can you smoke them, then freeze for later? If so, can I just thaw and sear, or do I need to grill to a high internal temp again?
[email protected]
I use ground brisket for my burgers. I love this method. I bought a big brisket and did not use the whole thing. I ground up and decided into patties , vacuum sealed and froze them 3 to a bag. I can pull out a bag and be on the smoker in 30 minutes.
Made these last night. They were great. Going to smoke 2 whole chickens today with 2 .can’t wait.
About 5 minutes before you are done smoking open up the chimney and vent to bring the egg up to temp. Then remove the burgers to a covered dish, remove the plate setter, and return the burgers to the grill.
Please, please, never refrigerate a tomato! It will kill the flavor.
Wayne, This is intriguing.. I have always placed sliced up tomatoes in the fridge and never noticed a flavor difference. Can you explain or show some scientific data on this? How do you store sliced tomatoes or perhaps you never slice them until you are ready to use them?
My wife says the same thing about refrigerating tomatoes. I ask why and it’s because my grandma says. Refrigerating tomatoes is fine, might make them tastier.
How would you adapt this for a BGE? I was thinking I would smoke it, then take of off and tent them in foil while i remove the plate setter and open up the vents to get it to a searing temp of like 500 degrees. Thoughts?