Smoke Ribs Fast on the Pit Barrel Cooker
Smoking-Meat.com is supported by its readers. We may earn an affiliate commission at no extra cost to you if you buy through a link on this page.
Read this article without ads
In this recipe post, we'll be learning how to smoke ribs on the Pit Barrel Cooker.
But, of course, you can follow the same recipe and cook them on your stick burner, electric smoker, or even the pellet smoker and turn out drool worthy ribs!
A while back, the Pit Barrel Cooker company sent me one of their cookers to try out and after having used it a few times, I'm nothing short of impressed. I started out with some Texas style pork ribs which turned our fantastic!
I also cooked a Thanksgiving turkey in the barrel and it was a raving success.. if you want to take a look at that recipe you can see it HERE.
You can also check out my review on the Pit Barrel Cooker if you want to.
I used baby backs for the ribs but you can also use St. Louis Style Spare Ribs which are just spare ribs that have been trimmed and squared up.
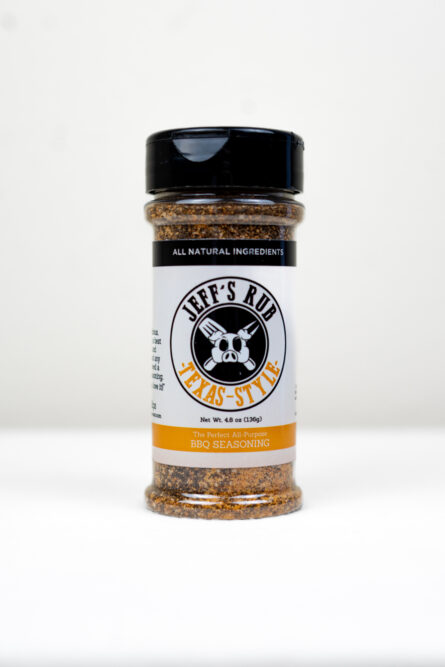
Of course, I used my Texas style rub, because, why not!
I'm dying to show these to you so let's get started!
- Prep Time: 10 minutes
- Dry Brine Time: 2 hours (better yet, overnight)
- Cook Time: ~3 hours
- Smoker Temp: 275-300°F*
- Meat Finish Temp: 195°F
- Recommended Wood: Mesquite, Hickory, Pecan
*If you are using a pellet smoker, I recommend keeping it set to no higher than 225°F (107°C) since this type of smoker creates more smoke at lower temps.
Here's 9 of my best pellet smoking tips for you folks with the pellet smokers/grills
- 2 racks of baby back pork ribs (St. Louis style spare ribs will also work great)
- 2 TBS Kosher salt (Morton's blue box)
- Jeff's Texas style rub
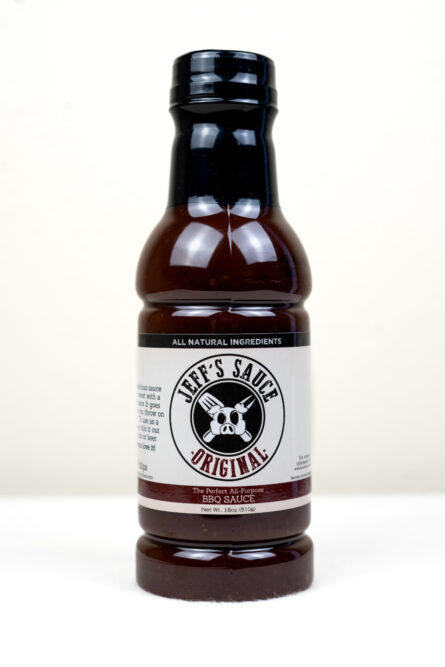
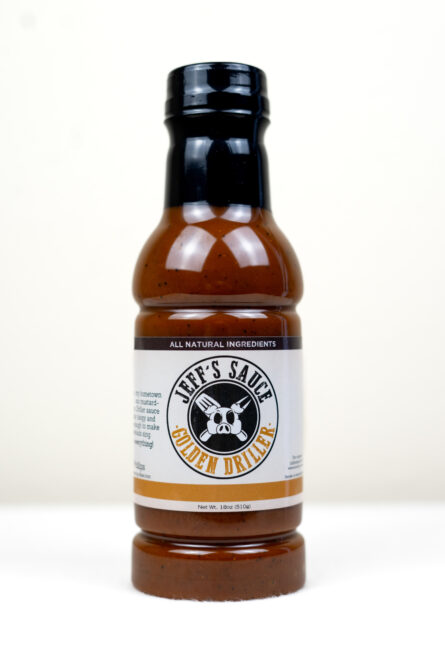
- Jeff's barbecue sauce (purchase formula | Buy Jeff's barbecue sauce already made)
To remove the skin, just place them bone side up on a cutting board and pry up on the outside layer of skin with a knife or even just your finger. Once you have something you can grab onto, use a paper towel for better grip or you can use catfish skinning pliers to grasp it and pull it clean off.
Those who follow my recipes and emails know that I like to dry brine meat.. well, of course! It's the neatest thing since sliced bread and the results I am getting are too good to continue only with steaks and chops.
These ribs are no exception.
Adding salt to the outside and letting them sit in the fridge that way for a couple of hours makes a huge difference in the flavor and tenderness of the finished product.
Leave them overnight for even better results.
So what is dry brining?
It's merely sprinkling kosher salt on meat and leaving it for anywhere from 2 hours to overnight or longer.
During this time the salt draws moisture to the surface where the salt and moisture combine into a salty slurry.
The salty mixture is then absorbed back into the meat making it more flavorful.
This process also locks in some of the moisture so it doesn't lose as much moisture during the cooking process.
This is very much science and physics but you don't have to understand all of that or even believe it right off the bat. You'll be able to taste the difference and that's all that matters!
The recommended application is ½ teaspoon per pound of meat but I usually don't measure precisely. I just add it till it looks right.
On these 2 racks of ribs, I used about 2 TBS of coarse kosher salt.
Some of it falls by the wayside and they were NOT very salty when it was all said and done.
Only the top or meaty side of the ribs is all that is needed.
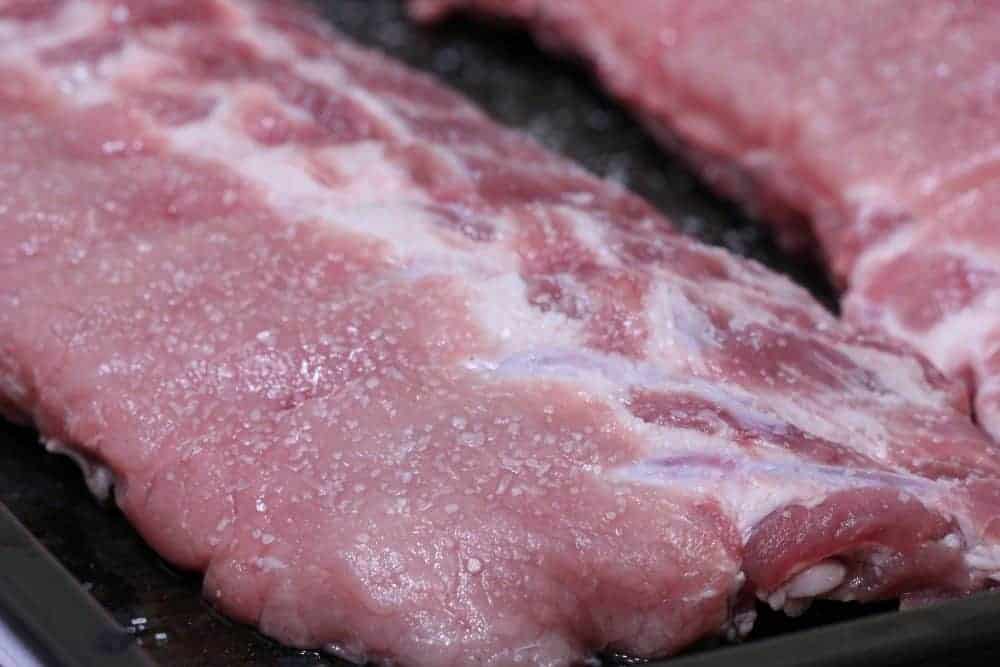
Here's the ribs just a minute or two after the salt has been applied.
See how the salt is already drawing moisture to the surface and how it's affecting the salt granules?
Place the ribs in the fridge uncovered to let the salt work on the meat. Leave them at least 2 hours but overnight is even better in my opinion.
No need to rinse after the dry brining process is finished.
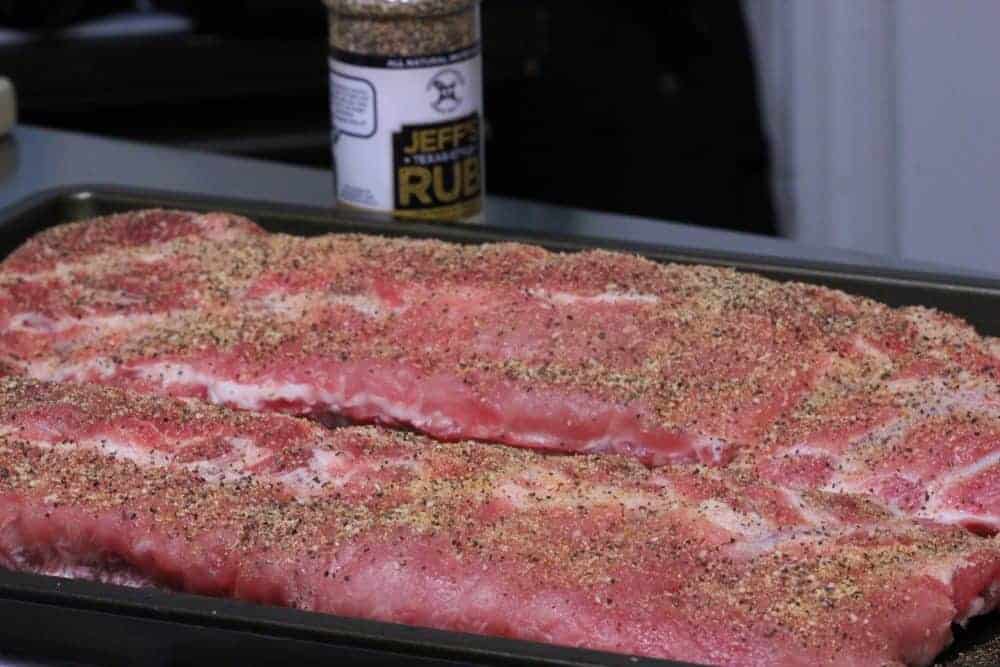
I sometimes add mustard or some other condiment or oil to help the rub to stick but the ribs already looked moist on the outside when I pulled them out of the fridge so I just applied the Texas style rub right then and there.
I used about 2 TBS of rub per rack of ribs.
Some of you may be very interested to know that the Texas style rub does not use sugar or sweetener of any kind.
Insert a Pit Barrel Cooker hook into each rack of ribs. I go through the meat between the 2nd and 3rd bone.
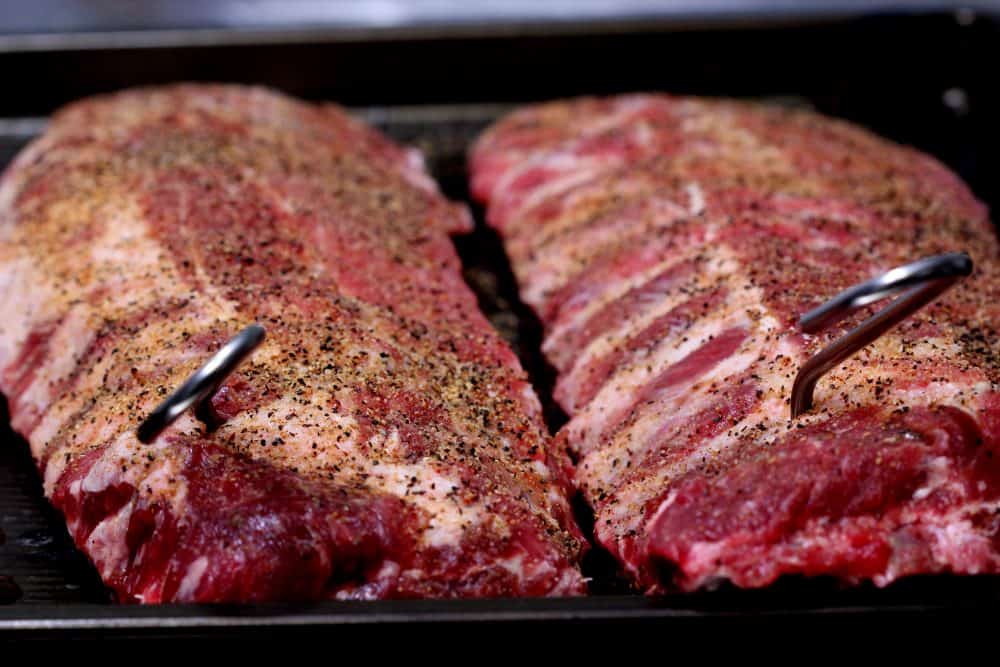
Leave the ribs sitting there while you go get the smoker ready.
I am using the Pit Barrel Cooker (PBC) for these but you can certainly cook these in any smoker, on the grill or even in the oven if you don't have a smoker or a grill yet.
For the (PBC) we are going to fill the charcoal basket level to the top with charcoal briquettes then remove 40 of them and place them into a charcoal chimney.
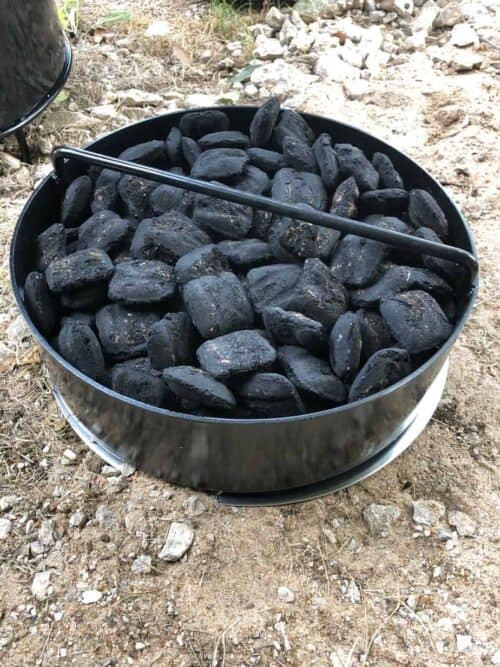
Light the charcoal chimney following the instructions on THIS PAGE.
While the charcoal is getting ready, lower the charcoal basket of unlit charcoal down into the barrel.
Once the charcoal is ready, pour it into the top of the charcoal basket and spread it out a little for more even heating.
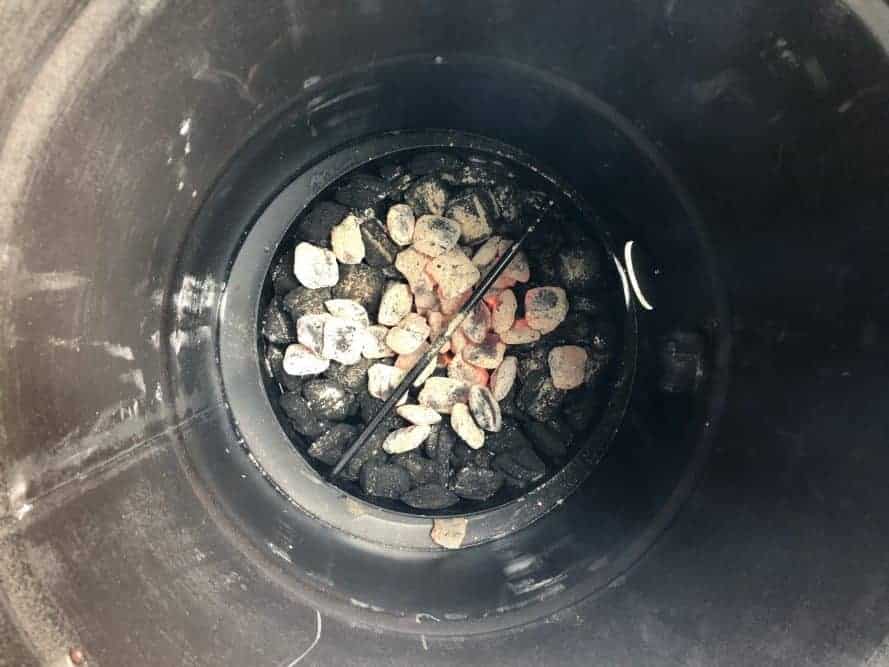
Drop 3-4 chunks of wood on top of the lit charcoal for some extra smoke. I used several chunks of mesquite. You can also use hickory, pecan or almost any other smoking wood.
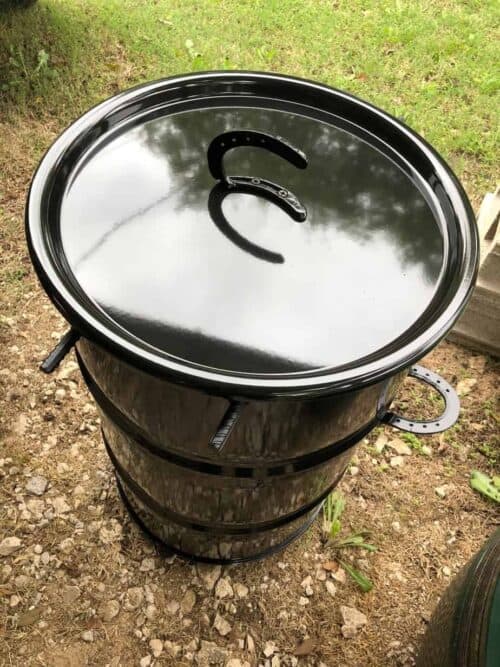
Place the lid on top and put the steel hanging rods into place in the PBC.
The PBC is ready to cook– Go get them ribs!
Hang the hooks in the ribs on the steel rods. These 2 racks will not take up much space and you can hang up to 8 racks at a time in the PBC. Enough for a crowd!
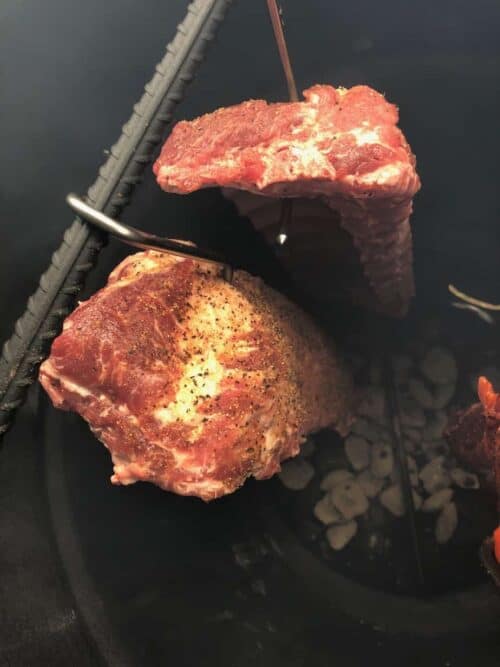
Replace the lid and leave them alone for at least 1.5 to 2 hours.
At the end of 2 hours mine had reached around 190°F per my handy dandy Thermapen as measured right between the bones in multiple places.
You can tell that the ribs get a little darker on the ends since they are just inches away from the fire. If this is bothersome, you could just cut the ribs in half.
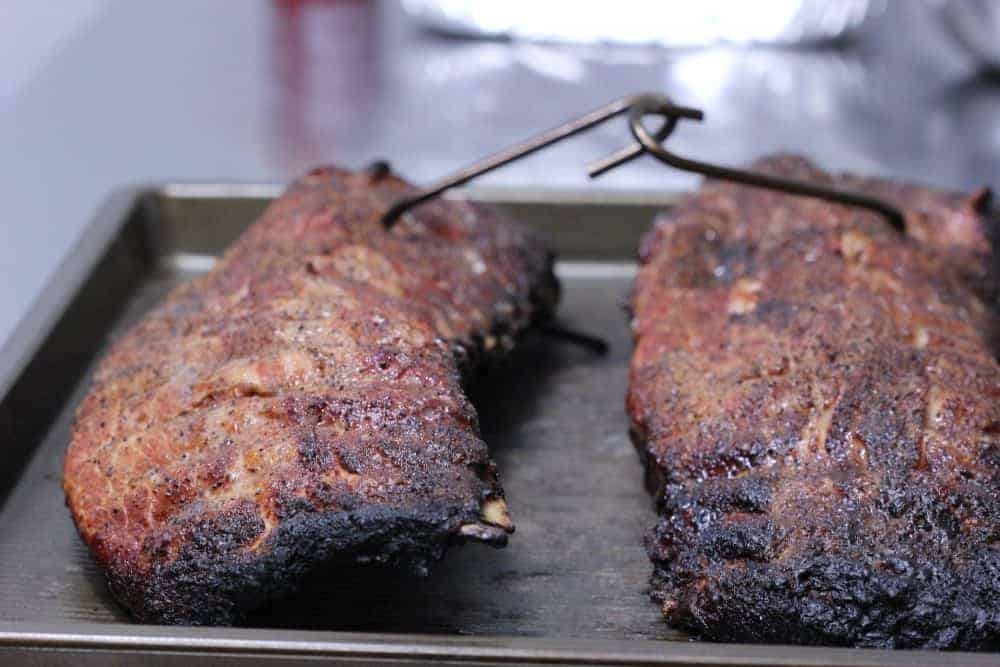
I decided to sauce them a little. This is completely optional and you can easily skip it if you prefer.
If you aren't going to sauce them, just leave them in the cooker until they reach 195°F as measured with a thermometer right between the bones.
I don't like to overdo it but sometimes a little glaze of flavor is what the doctor ordered and in this higher heat environment I knew it would caramelize perfectly.
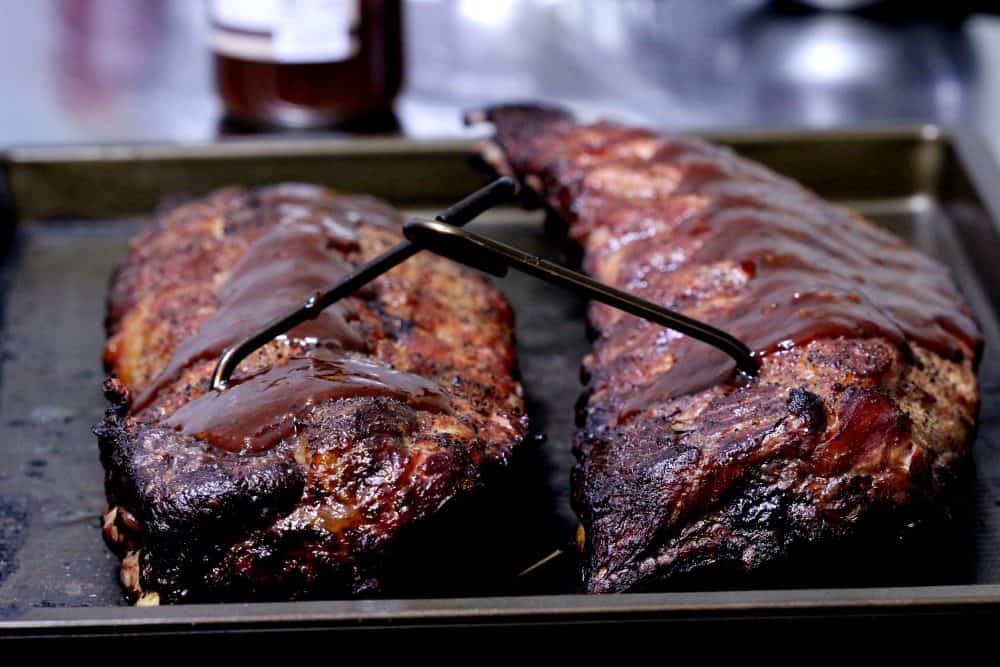
On the PBC, the manual states that you can crack the lid open a little for extra heat for things like caramelizing or for crisping up poultry skin.
I did this for a few minutes after saucing and hanging them back in the cooker.
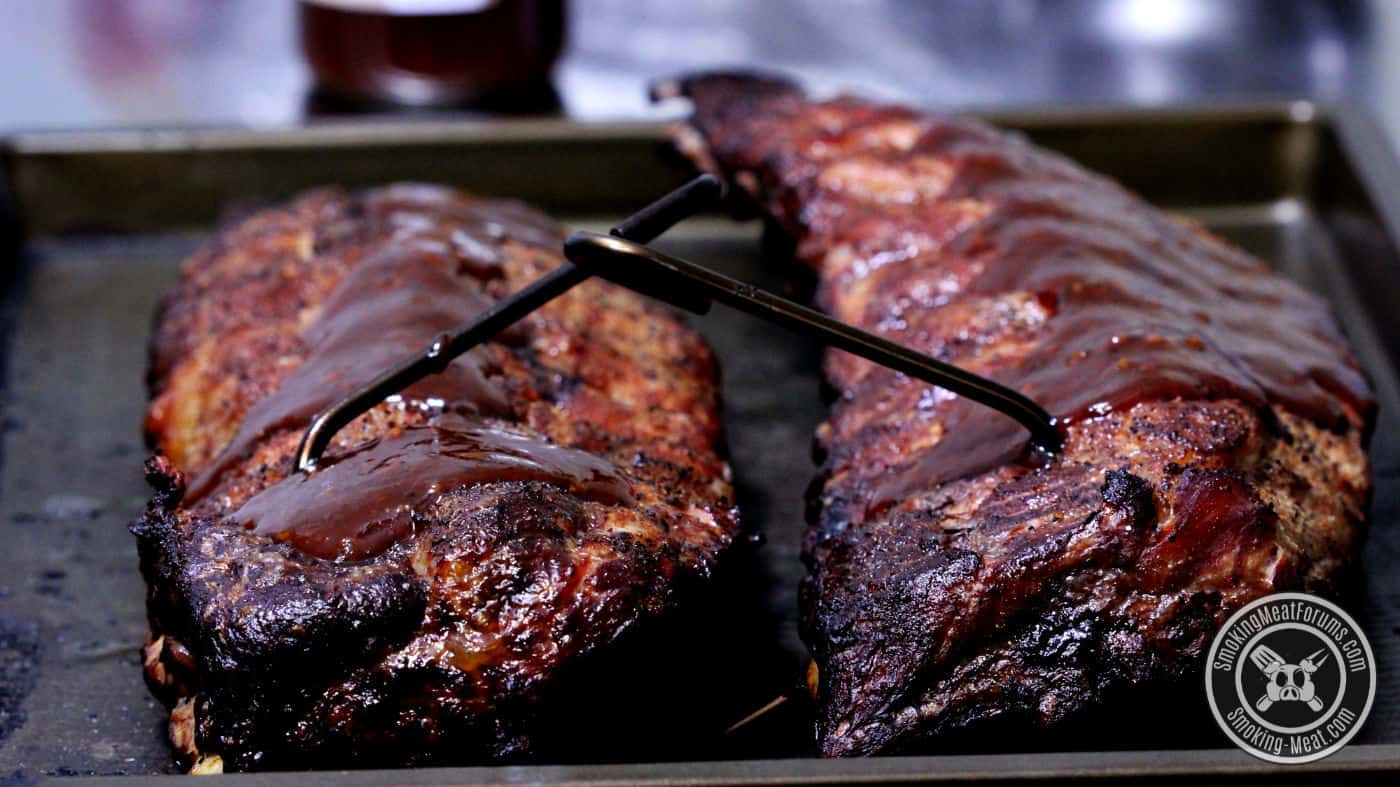
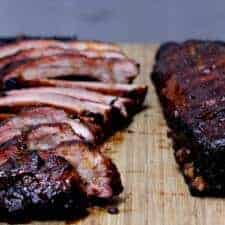
The ribs look perfect!
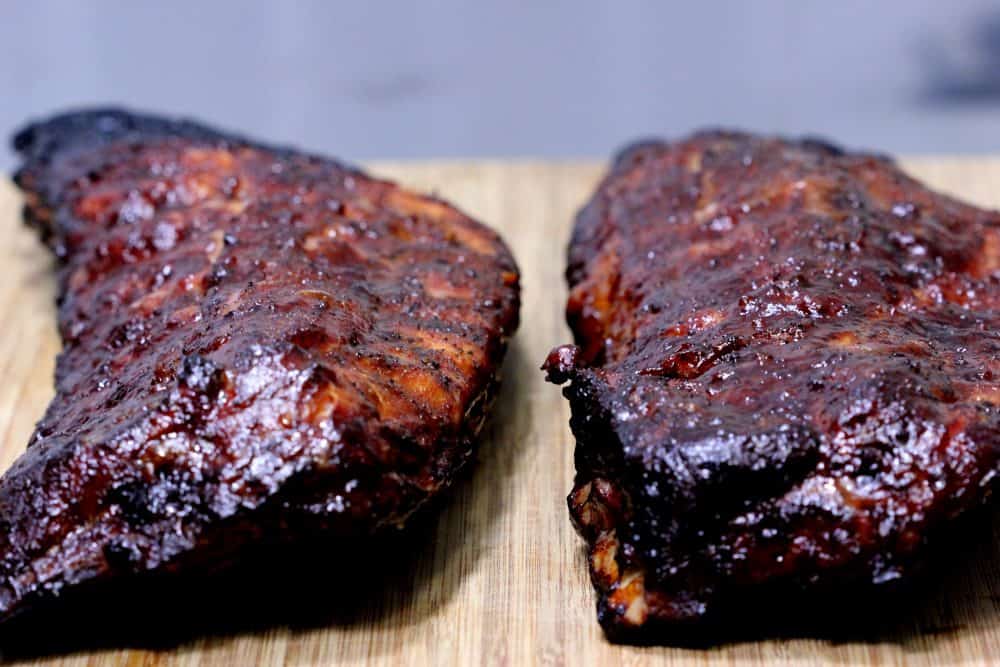
After resting them for about 10 minutes or so, slice them up right between the bones.
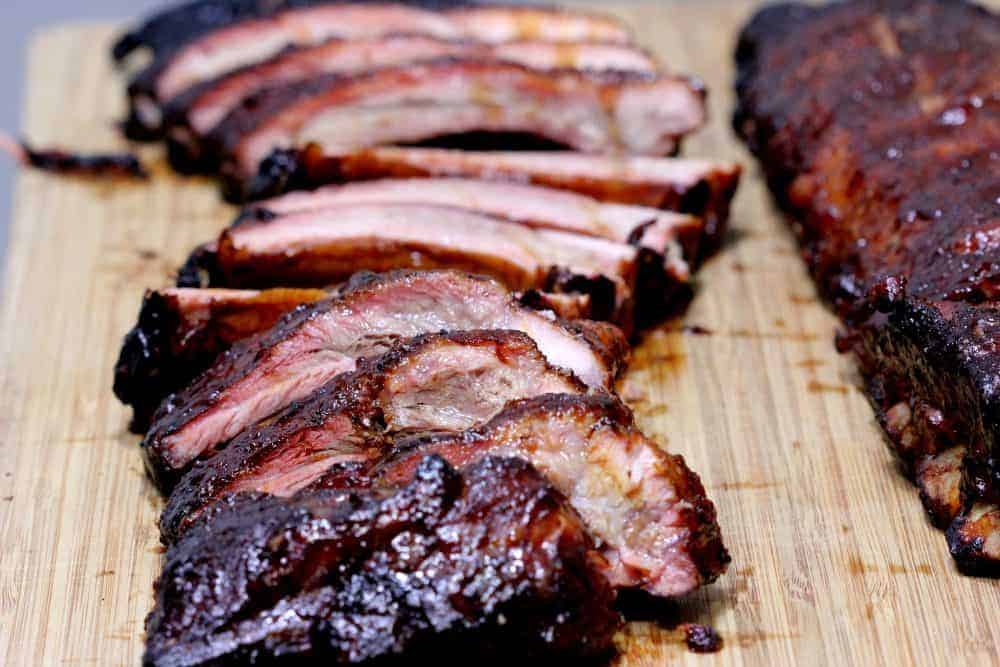
Serve the ribs to your guests and enjoy some of the best ribs you've ever had– homemade!
No problem!
Use the same preparation method but it will take them about 6 hours to cook.
When they reach 195°F (91°C) they are tender and ready to eat.
Here's a few other fan favorite pork rib recipes:
- Coffee Brined, Smoked Baby Back Ribs
- Finger Lickin' Smoked Pork Ribs for Christmas
- Smoked Ribs with Maple BBQ Glaze
- Fall apart pork ribs
Smoked Christmas Ribs on the Pit Barrel Cooker
Ingredients
- 2 racks Baby back pork ribs
- 1 tablespoon Kosher salt
- 3 tablespoons Jeff's Texas style rub
- ¼ cup Jeff's original barbecue sauce
Instructions
- Remove skin on bone side of the ribs if desired
- Sprinkle about 1 to 1.5 teaspoons of kosher salt on the meaty side of each rack of ribs
- Place the ribs in the fridge for at least 2 hours but overnight is also good.
- Do not rinse. Apply about 2 TBS of Jeff's Texas style rub to the top meaty side of each rack of ribs.
- Set up the Pit Barrel Cooker according to manufacturers instruction and when it's ready, hang the racks() of ribs and replace the lid.
- Check the temperature of the ribs after about 2 hours and when they reach 190 °F, apply about ¼ cup of sauce all over (if desired)
- The ribs are finished cooking when they reach 195 °F internal temperature and can be removed from the cooker.
- Rest for about 10 minutes then slice between the bones and serve.


Have tried many of your recipes but this one was my first on my new PitBoss pellet grill. Ran at 225 degrees and it was about 40 degrees outside. The smoker stayed on temp and it took about 5 hrs then I kicked it up to 240 to finish it off a little quicker. Total time was 5 hrs 45 minutes and when I picked them up with my tongs they fell apart. Absolutely delicious!
I have done similar on my HastyBake roughneck. I hang for about 2 hours, then wrap with some apple cider vinegar for about 1 hour. At this point, I unwrap, but leave in the foil “boat”, then light sauce and back on the heat for 10 minutes or so. Super tasty!! Also, I use Jeolous Devil charcoal with some cherry chunks for some added smoke.
Is the guy who can’t correctly spell lose willing to pay to use your site?
My solution to the burned end is just to rehang the rack from the other end after the first hour.
This is especially important when using a rub that has any sugar.
Loose the toilet cleaning Ads in the middle of your recipe description!
What temperature are you cooking these ribs at?
Jeff, the Pit Barrel Cooker is designed to maintain about 275-300°F. You can follow that same temperature in other smokers and get them done in about 3 hours or you can go low and slow (225-240°F) like usual and get them done in about 6 hours.
I realize that this is a loaded question…I have 3 Weber gas grills and one Weber charcoal Performer. I never use the Performer because I find it too much work (haha). I have been considering an offset smoker until I read your review on the Pit Barrel Cooker. I really like it. My question…Should I get the PBC or an offset smoker? Are the results similar? I am leaning toward the PBC. Thanks and I really enjoy your web page.
I recommend the PBC due to how easy it is to use. Offset smokers make great food but many of them are not easy and require a lot of work. Sort of depends on which model you are looking at of course. You can’t go wrong with the PBC in my opinion.
I’ve got my eye on the PBC to purchase sometime this year, thanks for your review, looking forward to more recipes using it!
When hanging ribs, is there any worry that they’ll get ‘fall off the bone’ tender and land in the charcoals?
I have never had ribs fall in the PBC. Once a charcoal was attached to one rack on the bottom, I should have hung it a bit higher.
So yes hanging them super close to coals is problematic due to getting slightly overdone about an inch worth.
Great thing is they are done in 3 hours. Still tender and juicy like you cooked for 6 hours. Maybe because of hanging vertically?
HI Jeff can’t help noticing that you are using brine in lots of the recipes lately. I am on a low sodium diet(high blood pressure) I am wondering how much sodium is added to the meat after brining?
Michael, brining meat is something that makes it just a little better in my opinion but that doesn’t mean it can’t be good if you choose not to brine.
Kosher salt has approximately 1920mg of sodium per teaspoon and we add about ½ teaspoon of kosher salt per pound of meat when dry brining. For a rack of ribs that weighs 3 lbs, that will end up being about 1920mg of extra sodium if I did the math correctly.
1.5 teaspoons of kosher salt x 1920g/teaspoon = 2880mg of sodium
Assuming there are 13 ribs per rack, that is 221.5mg of sodium per rib. A serving of 3 ribs is 665mg of sodium.
You can use a lower sodium rub or seasoning on the outside if you prefer to keep the sodium at a minimum there as well.
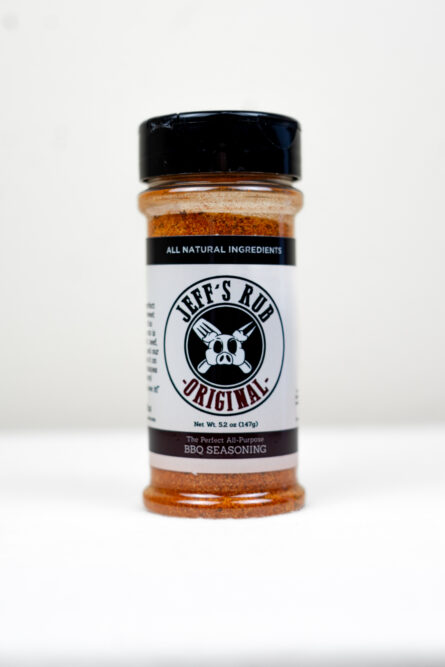
For reference, my original rub contains 140mg of sodium per teaspoon and the Texas style rub contains 300mg of sodium per teaspoon.
Note: If anyone finds that I have computed these figures incorrectly, please let me know.