Wide-Cut Individual Smoked Pork Spare Ribs
Smoking-Meat.com is supported by its readers. We may earn an affiliate commission at no extra cost to you if you buy through a link on this page.
Read this article without ads
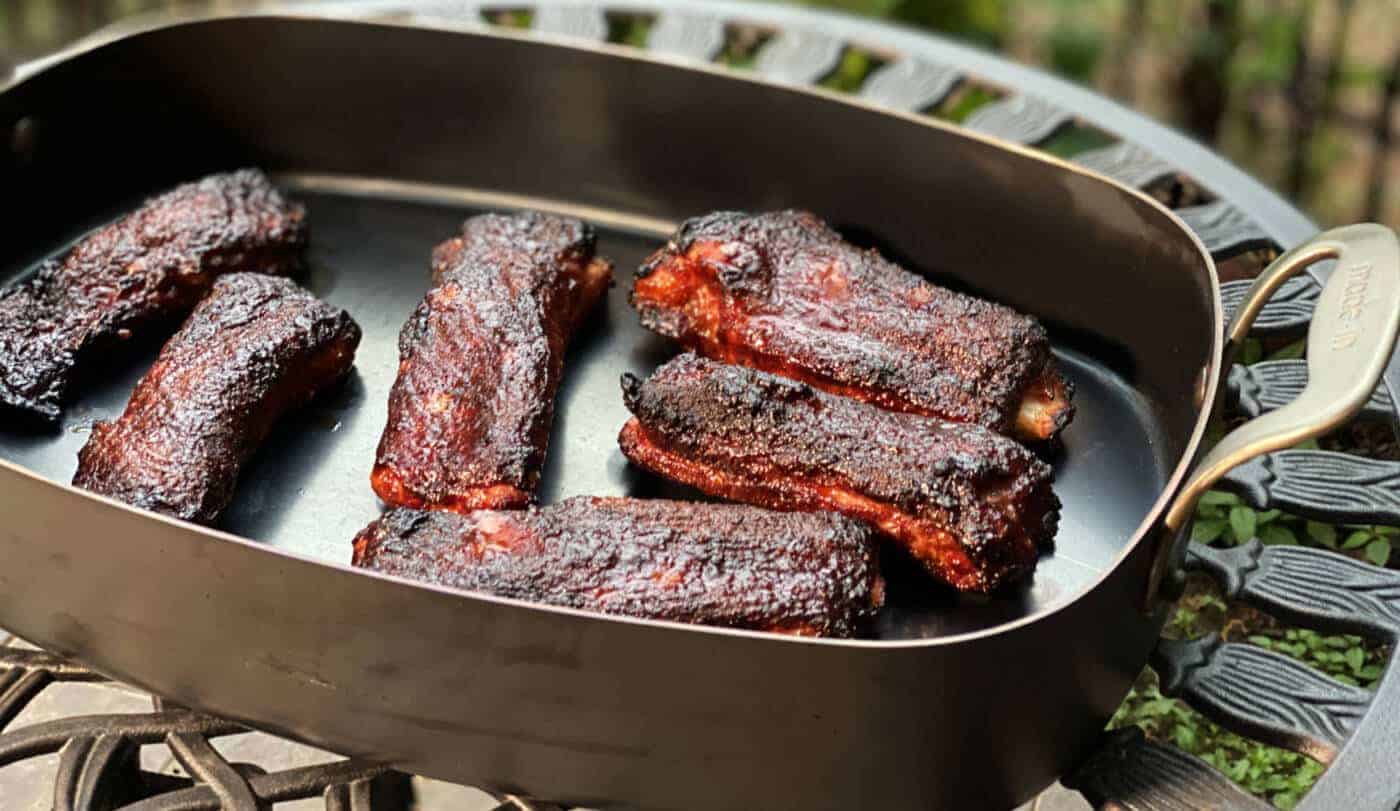
The wide cut spare ribs in this recipe are also known as Hollywood style spare ribs or competition style spare ribs with minute differences between the three depending on who you talk to.
These are cut into individual pieces before they are cooked and cut so as to maximize the amount of meat on each bone.
By cutting the ribs beforehand, you get more seasoning and more smoke on more surface area and you don't have to worry about slicing them before serving.. they come out ready to satisfy!
Let me just walk you through it step by step in the recipe below–
- Prep Time: 30 minutes
- Cook Time: 5 hours
- Smoker Temp: 225°F (107°C)
- Meat Finish Temp: 195°F (91°C)
- Recommended Wood: Pecan or hickory
- 1 or more racks of St. Louis style spare ribs
- Jeff's original sauce
- Jeff's original rub
- Large foil pan (for overnight dry rub brining)
A lot of the ribs I've been getting recently at Costco has the membrane already removed (which I'm completely ok with). If the membrane is still intact on your purchased ribs, use a knife, spoon or just your fingers to start pulling up on that plastic-like membrane that covers the bones.
Then grasp it with a paper towel or catfish pliers to pull it clean off.
Now for the fun part!
Most of the time we smoke the ribs as a whole rack.. not today though;-)
Today we are slicing the ribs apart so that maximum meat is left on both sides of the bone.
To do this make sure the ribs are bone side up so you can see the bones better and slice off the first bone to your left, right against the bone.
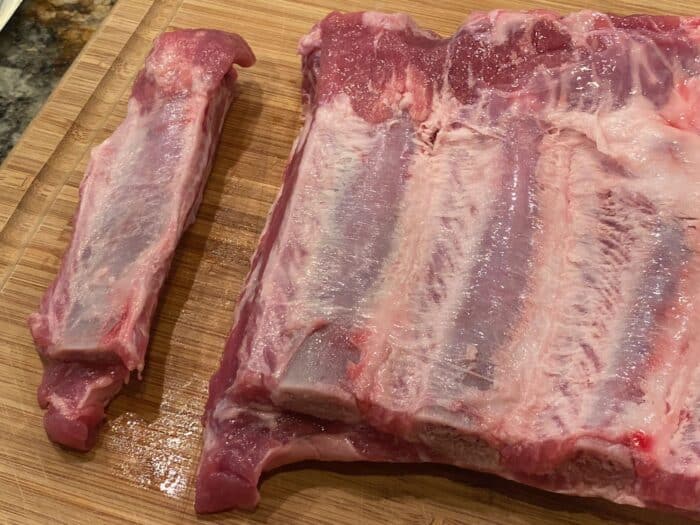
Now slice as close against the bone on the right as you can leaving maximum meat on the bone in the center.. like this:
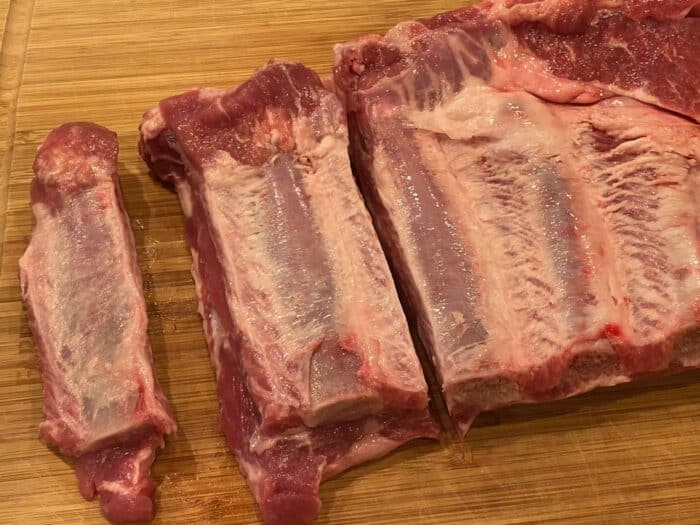
Doing it this way, you get a bone in the center with maximum meat on both sides of the bone.
Continue these same cuts until you end up with about 6 center ribs with lots of meat on both sides.
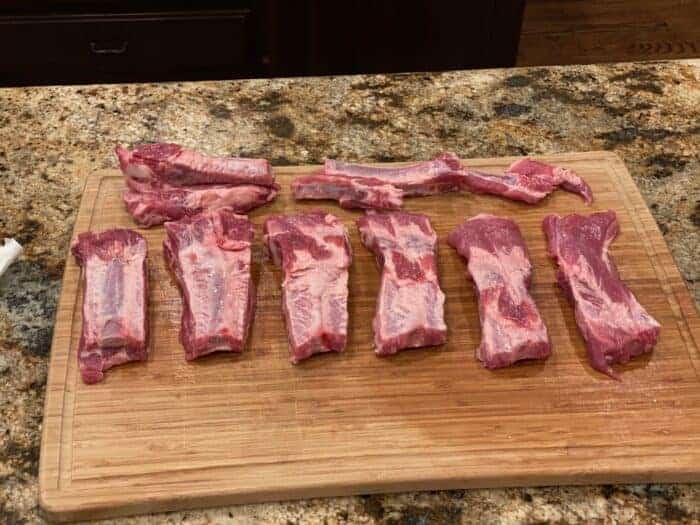
You'll end up with about 7 bone fragments with very little meat on them. Those can be saved for a soup, pot of beans, etc.
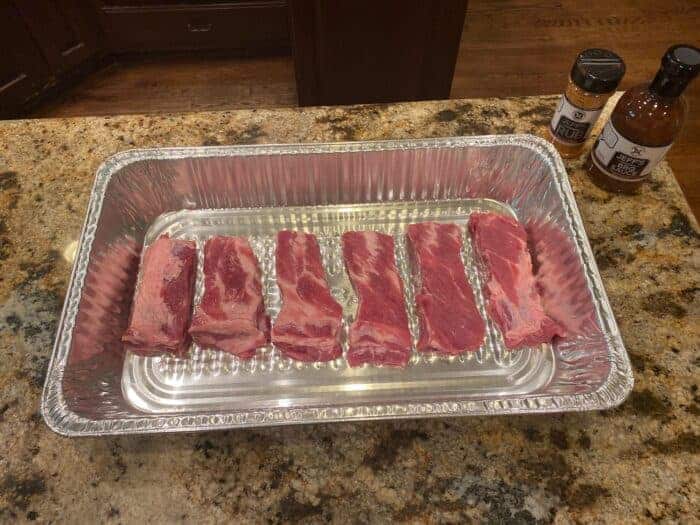
Lay the extra wide ribs down in a foil pan–
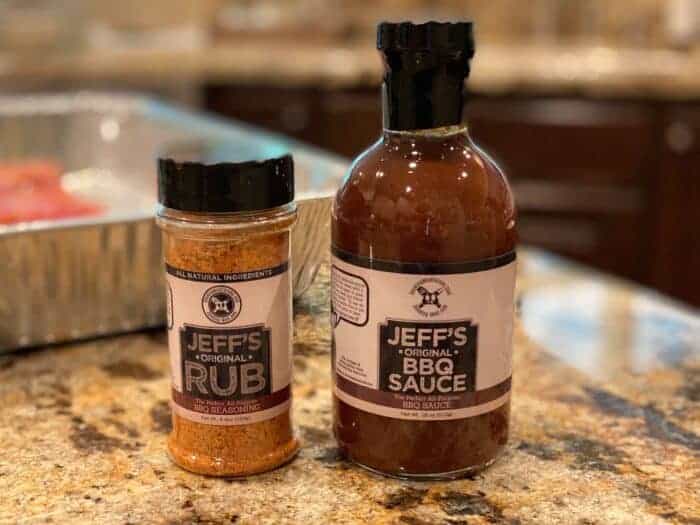
Make sure you have a bottle of my barbecue sauce and original rub (Purchase formula here | Purchase bottled products) for the seasoning part..
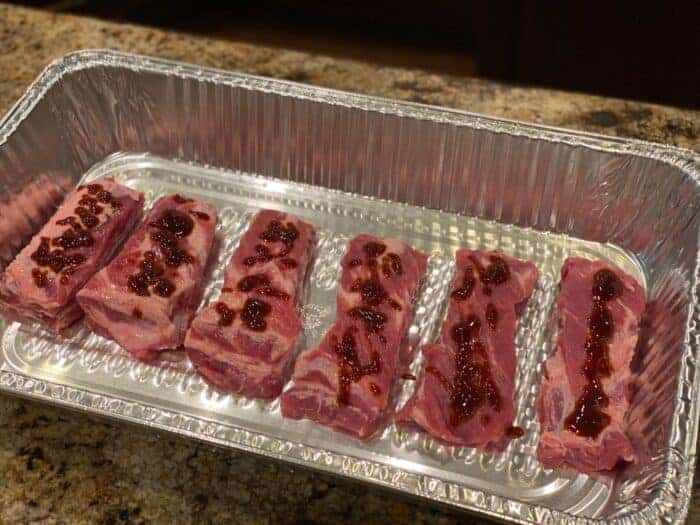
A little sauce on each one first– I wasn't going for dots and blobs but I was finishing off a bottle that just had a little in it. It dribbled out slowly but I was patient and didn't waste a bit!
Get your hands dirty and rub it in to the top, sides and bottom of each one.
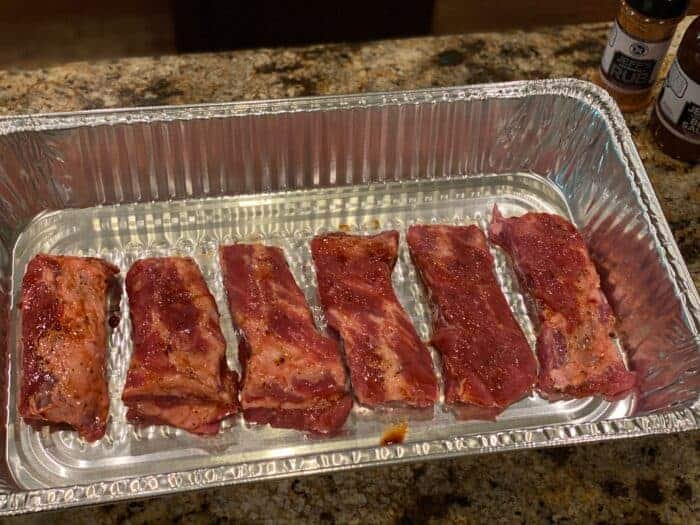
Now apply ample amounts of Jeff's original rub on all sides.. pat it in a little to make it stay before you flip them over.
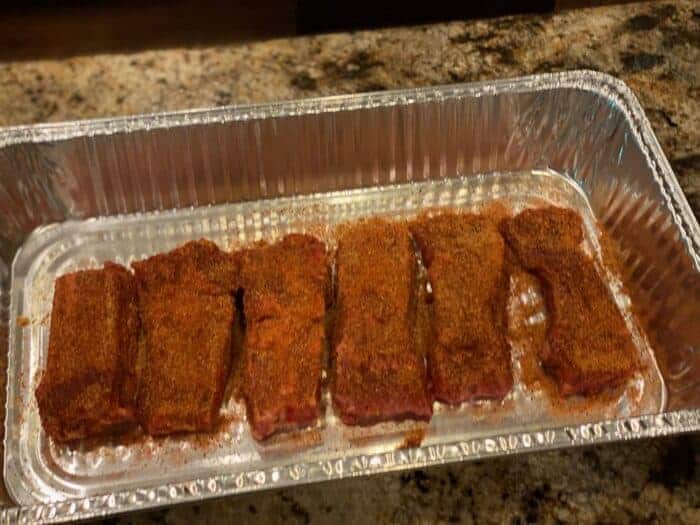
All done and everything needs to spend some time together!
Place the pan of ribs in the fridge for at least 4 hours but overnight is MUCH better.
The small amount of salt in the original rub will pull some of the rib juices to the surface where it will mix with the rub and sauce and become a paste. Some of that salt and other flavor will get absorbed into the meat over the next several hours.
The next morning you'll see that the rub, sauce and meat has become one and it'll smell amazing!
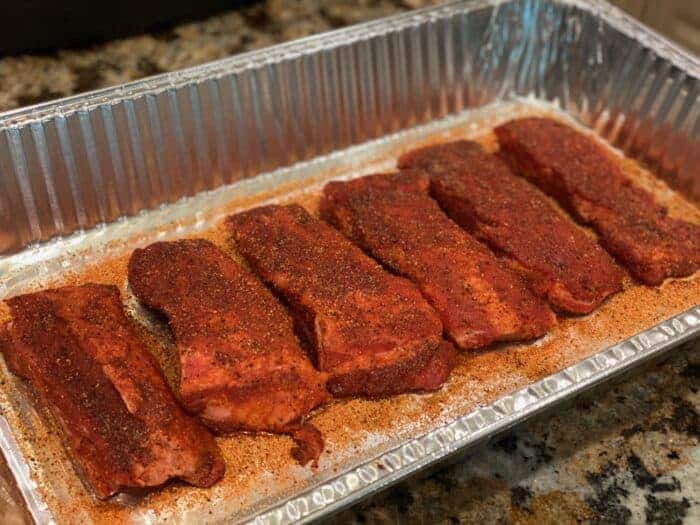
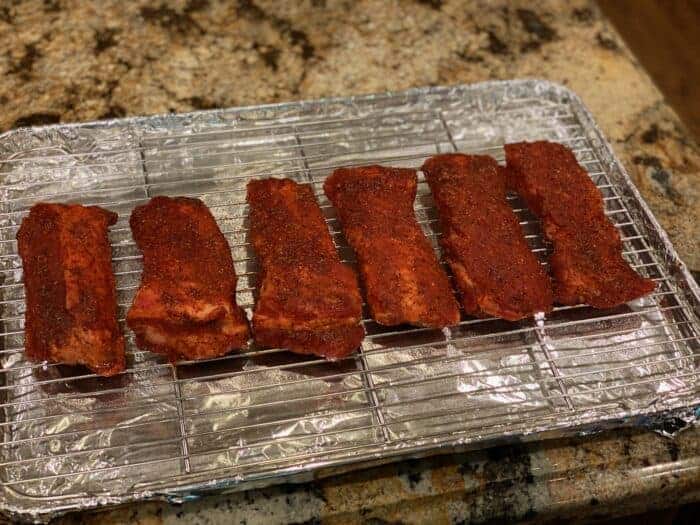
Place the ribs on my new favorite stainless steel rack and pan or a cooling rack if you have one or you can just leave them and place them directly on the grate.
I really like using the stainless steel rack and pan as that holds the meat up off the bottom of the pan, provides a drip pan and still allows the smoke to get all the way around the meat.. all while keeping your smoker grates clean.
Wanna be even more smart and efficient? Wrap the pan in heavy duty foil before you place the grate in there and you'll only have to wash the rack when you're finished!
Lay the extra-wide ribs on the rack and they are ready for the smoker.
I fired up the Camp Chef Woodwind Wi-Fi to Hi Smoke which just means it runs at an average of 220°F (107°C) and creates a very liberal amount of smoke.
Use whatever smoker you have or want to use whether it's charcoal, splits, gas, electric, you get the idea. Run about 225°F (107°C) no matter what smoker you use.
If your smoker uses a water pan, fill it up for good measure.
If your smoker did not come with a water pan (pellet smokers do not) then you can skip this step.
I used pecan but any smoking wood that you have available will work great for these ribs and give them an amazing flavor.
Once your smoker is preheated and ready to cook, get the ribs in there.
Place the pan of ribs into the smoker or you can place them directly onto the grates if you prefer.
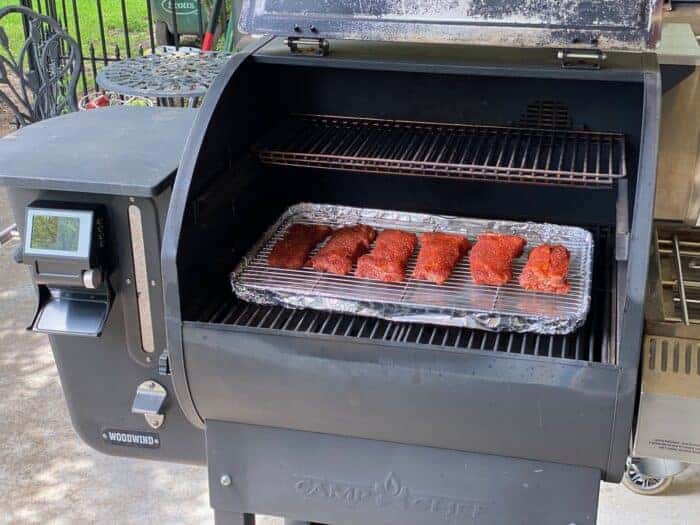
Let them cook for about 3 hours first to form a really good crust. Check them at this point and if they look like the rub on the top is nice and dry, feel free to spritz them with some apple juice, Pepsi, whatever you have. Something with a little sugar in it is best.
At hour 4, it's time to put some sauce on them, of course you should use Jeff's original barbecue sauce but if you have another favorite, well, whatever ;-)
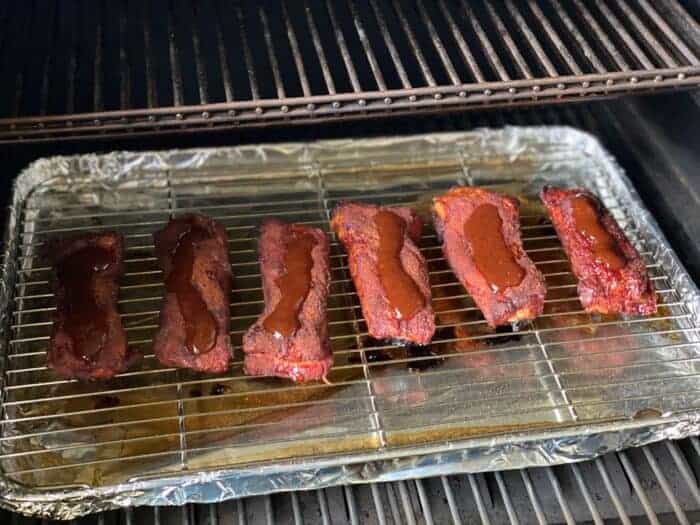
Coat them good and spread it out over the top and sides.
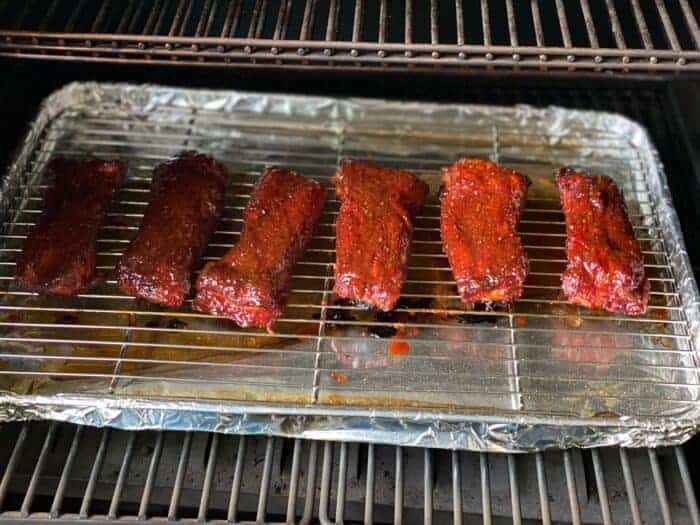
Now crank up the heat. I have a Camp Chef Woodwind so I pushed it on up to 425°F (218°C) to get a good finish on them. If you also have a smoker that can cook hot like that, then I recommend you do the same.
Otherwise, turn it up to the highest heat you can muster whether that's 250, 275 or whatever. You'll get there.
Tip: Another option is to bring them in at this point and put them into the oven preheated to 425°F (218°C).
At this high heat, it took mine an additional 40 minutes to be get the color I wanted on the ribs and to get some char on the sauce.. they turned out beautiful if you ask me!
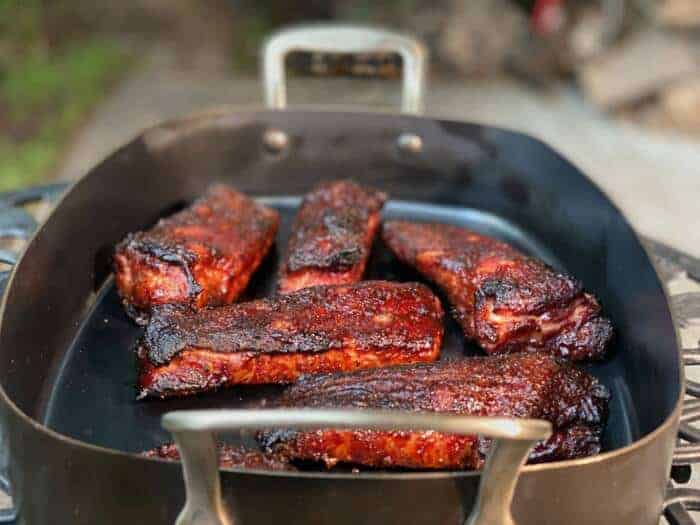
Serve them just as soon as they are finished and watch the smiling faces and enjoy the quietness as everyone stops talking to eat.. that's how you know the food is amazing ;-)
Wide-Cut Individual Smoked Pork Spare Ribs
Ingredients
- 1 or more racks of St. Louis style spare ribs
- Jeff's original sauce
- Jeff's original rub
- Large foil pan (for overnight dry rub brining)
Instructions
- Flip the ribs to bone side up, use a knife, spoon or just your finger to start pulling up on that plastic-like membrane that covers the bones.
- Tip: use a paper towel or catfish pliers for better grip.
- Make sure the ribs are bone side up so you can see the bones better and slice off the first bone to your left, against the bone.
- Now slice as close against the third bone from left as you can leaving maximum meat on the bone in the center
- Doing it this way, you get a bone in the center with maximum meat on both sides of the bone.
- Continue these same cuts until you end up with about 6 center ribs with lots of meat on both sides.
- You'll end up with about 7 bone fragments with very little meat on them. Those can be saved for a soup, pot of beans, etc.
- Lay the extra wide ribs down in a foil pan–
- Apply Jeff's barbecue sauce to the top, sides and bottom of each one.
- Now apply ample amounts of Jeff's original rub on all sides.. pat it in a little to make it stay before you flip them over.
- Place the pan of ribs in the fridge for at least 4 hours but overnight is MUCH better.
- Set up your smoker for cooking at 225°F (107°C) using indirect heat. If your smoker uses a water pan, fill it up.
- I used pecan but any smoking wood that you have will work great.
- Once your smoker is preheated and ready to cook, get the ribs in there.
- Place the pan of ribs into the smoker or you can place them directly onto the grates if you prefer.
- Let them cook for about 3 hours first to form a really good crust. Check them at this point and if they look like the rub on the top is nice and dry, feel free to spritz them with some apple juice, Pepsi, whatever you have. Something with a little sugar in it is best.
- At hour 4, it's time to put some Jeff's barbecue sauce on them to create a glaze.
- Coat them good and spread it out over the top and sides.
- Now crank up the heat to 425°F (218°C) to get a good finish on them. If you can't go that hot, just go as hot as you can and that will work.
- Tip: Another option is to bring them in at this point and put them into the oven preheated to 425°F (218°C).
- At 425°F, it took mine an additional 40 minutes to be get the color I wanted on the ribs and to get some char on the sauce.
- Serve them just as soon as they are finished.


I only made it 10 minutes into the 4th hour, and my Thanksgiving day meat was burnt to a crisp. Terrible recipe!!!
Samuel, I am sorry to hear the ribs didn’t turn out as good as you hoped. This recipe typically turns out really good ribs so I’m now sure what could have went wrong in the process. If you’re interested, feel free to post more details and I’ll be happy to help you troubleshoot.
Some good details to start with would include:
What a great idea! I’m planning to smoke a couple of baby backs and I will use this method. I’m sure they will be great.
Jeff, have you ever explained the different cuts of rib cuts, trim prep each requires, and general characteristics?
Hollywood & competition? News to me. You have to buy what the Piggly Wiggly or Walmart has. Keep up the great work, and how do you stay so slim!🤣
Well, this ended up as a total fail. Did with babybacks on my woodwin wi-fi. All went acording to plan up until hour 4. At this point they looked excellent. I sauced them with Jeff’s sauce and cranked up the heat. The error I made was not checking on them until the 4:40 point. At that point the sauce had burnt into a hard black shell. They were not edible. I really think there is potential here so I will try again, but watch them very closely after they are sauced and the heat goes up.
Would you recommend any changes if I was to use bon-in country style ribs?
Just make sure they are as tender as you like them before calling them done.. the CSR’s are cut from the pork butt so they will start getting tender at around 180°F (82°C) and continue to get more tender all the way to around 205°F (96°C) internal temperature.
I don’t know about “Hollywood Ribs”, but this is standard “Competition Cut”. Delicious, regardless
I would take the “fragments” and season them and smoke them as well so that when you add to beans or soup you are adding more flavor. Great idea, Jeff. Thank, I will try this process.
Total cook time is 3:40, not 4:40, correct?
Chris, spare ribs usually take around 6 hours at normal smoking temperatures however, because these are cut into pieces and because I recommended cranking up the heat at the end, they usually get done faster than a full rack.
Mine usually take just shy of 5 hours using this method.. 4 hours 40 minutes to be exact.
Heat moves a little differently from smoker to smoker and this can cause the actual cook time to vary so be sure to use a thermometer to make sure they reach at least 195°F (91°C) and/or visual cues such as tenderness to tell you when they are done.
Can you use baby back ribs ?
Jeff…thanks for the emails from the smoking world!!! I’m new so all info is welcome. Thanks again.
Looks good. Would this this also work with Baby Back Ribs or is there not enough fat content?
Yes, it works great with baby backs as well.