Buttery Maple Glazed Smoked Turkey Legs
Smoking-Meat.com is supported by its readers. We may earn an affiliate commission at no extra cost to you if you buy through a link on this page.
Read this article without ads
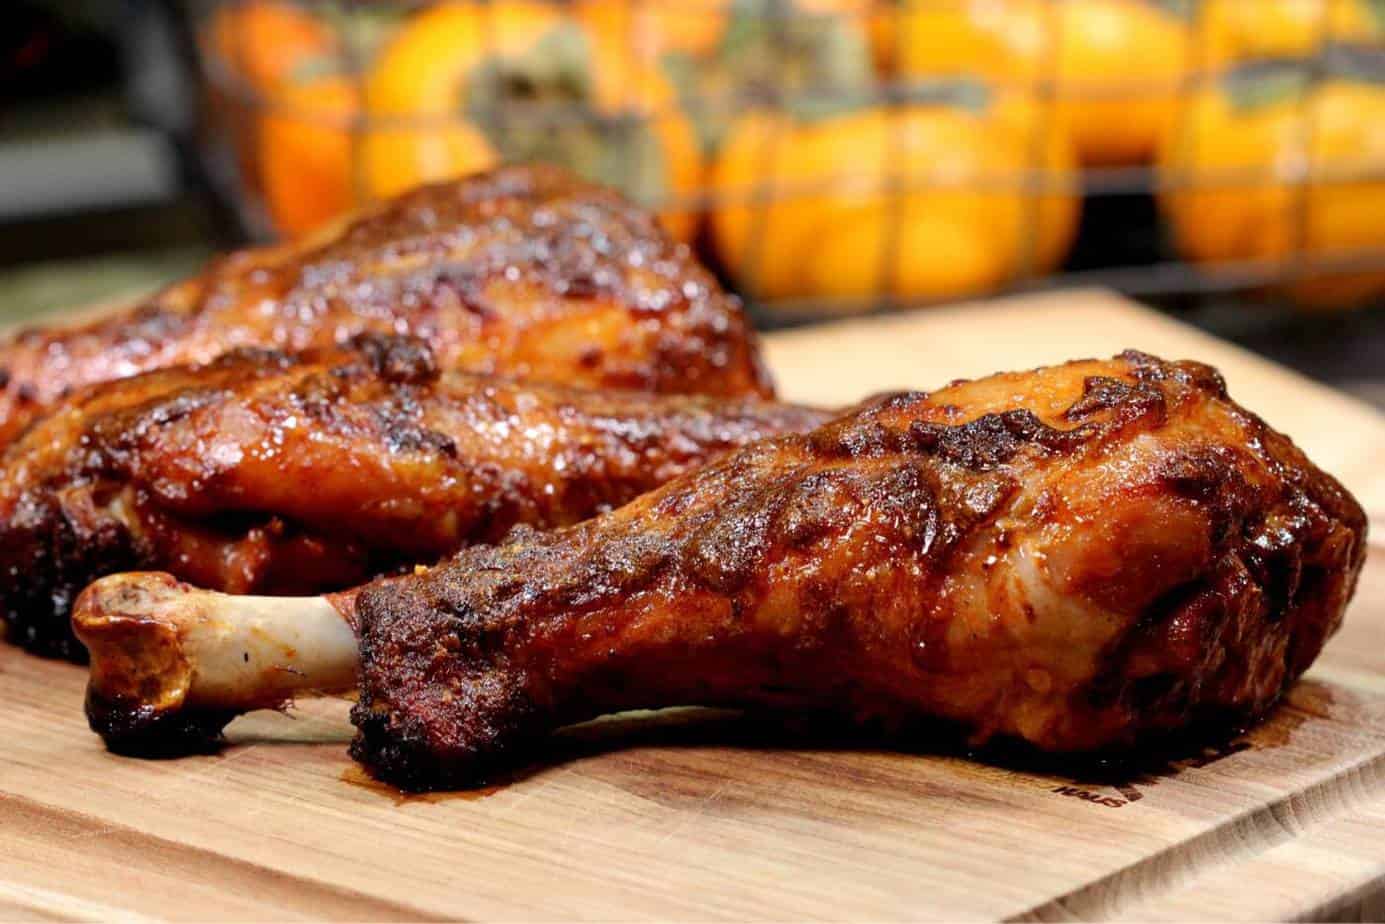
Every time I go to a fair or big event where they are selling turkey legs, I usually get one to gnaw on while I'm walking around but it's never as good as what I can do at home. Here's my go to recipe for smoky, slightly sweet and savory turkey legs that will bring out the carnivore in just about anyone.
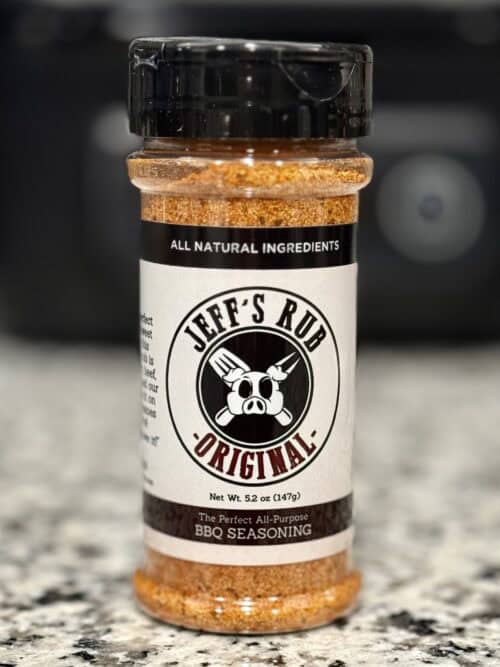
My original rub along with some butter and maple syrup really builds the flavor for these so I recommend you do it my way. You can of course use a different rub or no rub at all but I guarantee you it won't be as good (of course I'm biased). 😀
- Prep Time: 10 minutes
- Brine Time: 8-10 hours
- Cook Time: 3-4 hours (depends on the size of the turkey legs)
- Smoker Temp: 225°F
- Meat Finish Temp: 175-180°F
- Recommended Wood: Hickory (hickory/charwood pellets by Camp Chef)
- Equipment Used: Camp Chef Pursuit Portable Pellet Grill (Here's my review)
- 3 to 4 turkey legs (or more if needed)
- Basic brine mixture (recipe below)
- Mayonnaise (I recommend Duke's but use your favorite)
- Jeff's original rub
- Maple Syrup
- Butter, melted
Brining meat is something we talk about often and it just involves adding salt to meat to make it more tender, more juicy and more flavorful. Dry brining involves simply sprinkling dry salt onto meat but in wet brining, we make a brine mixture using 1 gallon of water to 1 cup of salt and 1 cup of brown sugar. This is what I call a basic brine and it's what we'll be using in this recipe.
Make the Brine
- 1 gallon of cold water
- 1 cup of coarse kosher salt
- 1 cup of brown sugar (dark or light)
It's important to use coarse kosher salt since it tends to dissolve better than table salt. It also measures differently than table salt.
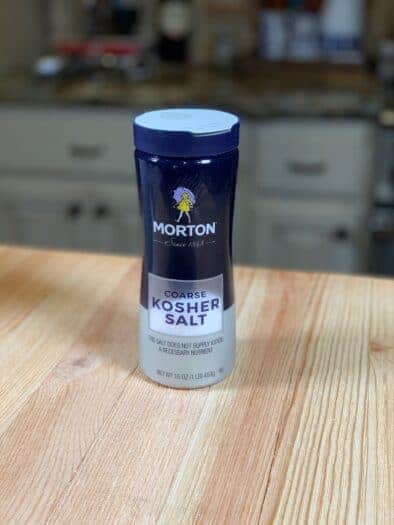
Get your ingredients together..
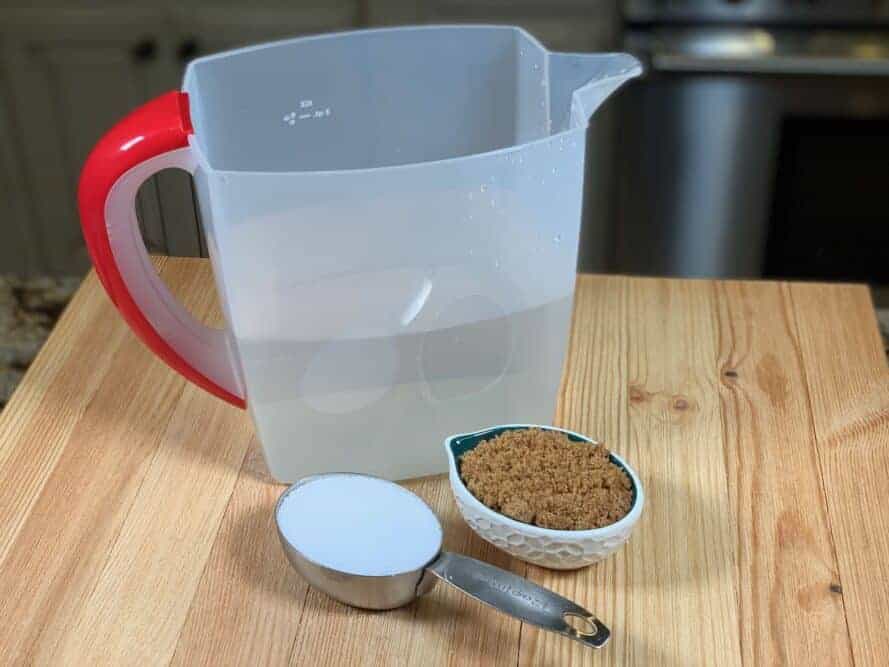
Pour the salt into the water and as you begin to mix it will immediately become cloudy. As you continue to mix, the salt will dissolve after a minute or so and the water will return to clear.
Salt dissolved into the water will look like this:
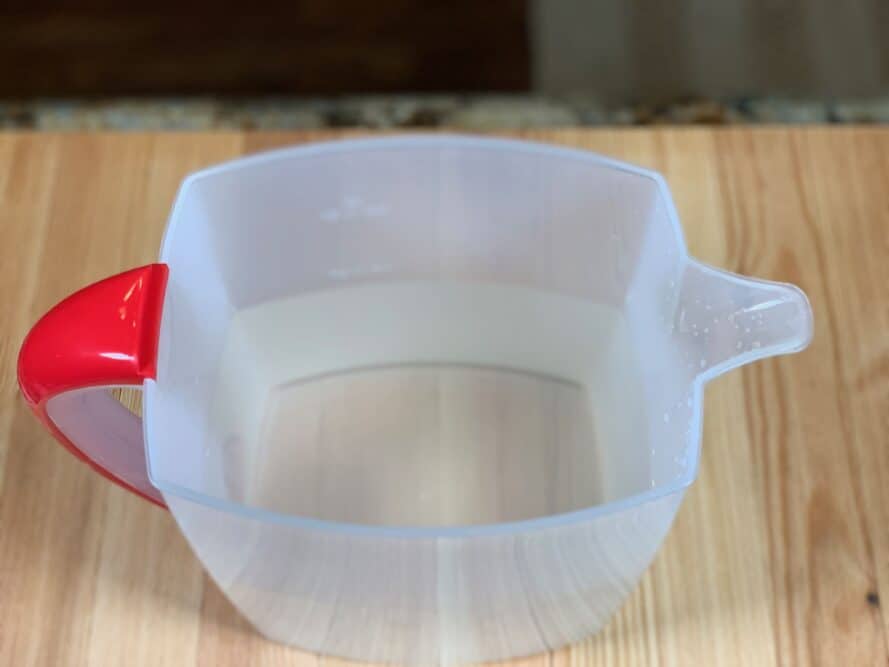
Add the brown sugar and stir to combine.
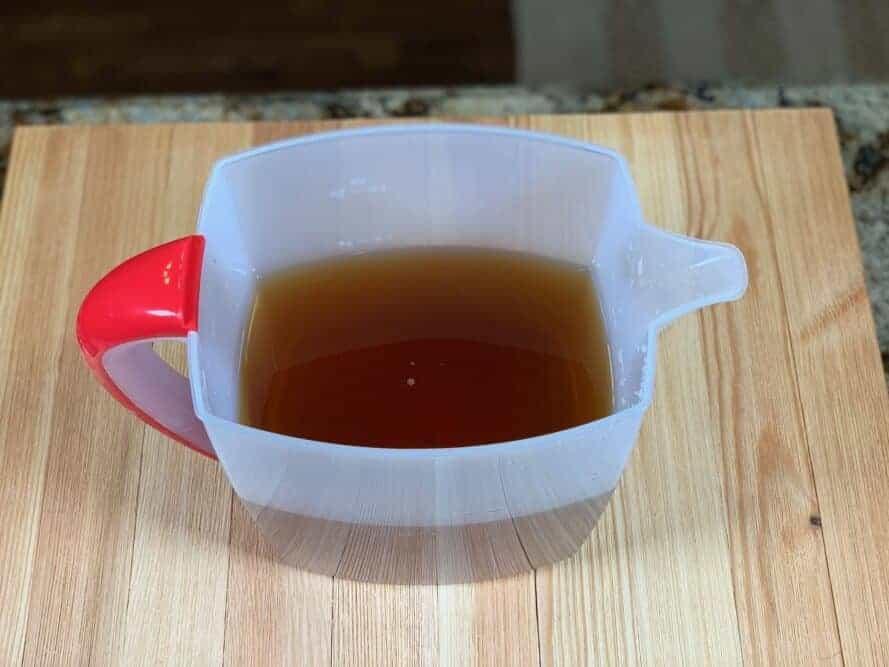
Then add the turkey legs and place it in the fridge for 8-10 hours
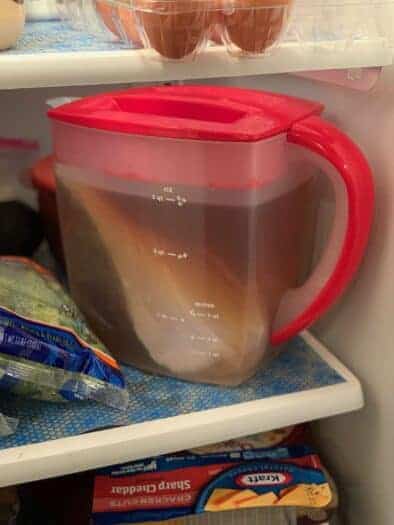
I was only doing 3 turkey legs so they fit into the pitcher. If you do more turkey legs you can use a larger container and pour the brine mixture over the top to cover.
Also, I only needed ½ batch of brine for 3 turkey legs, more than that and you would need a whole batch.
When the turkey legs are done wet brining, it's a good idea to give them a good rinse to make sure there's not residual salt on the outside. The salt that has made it's way into the inside of the meat has already done it's job.
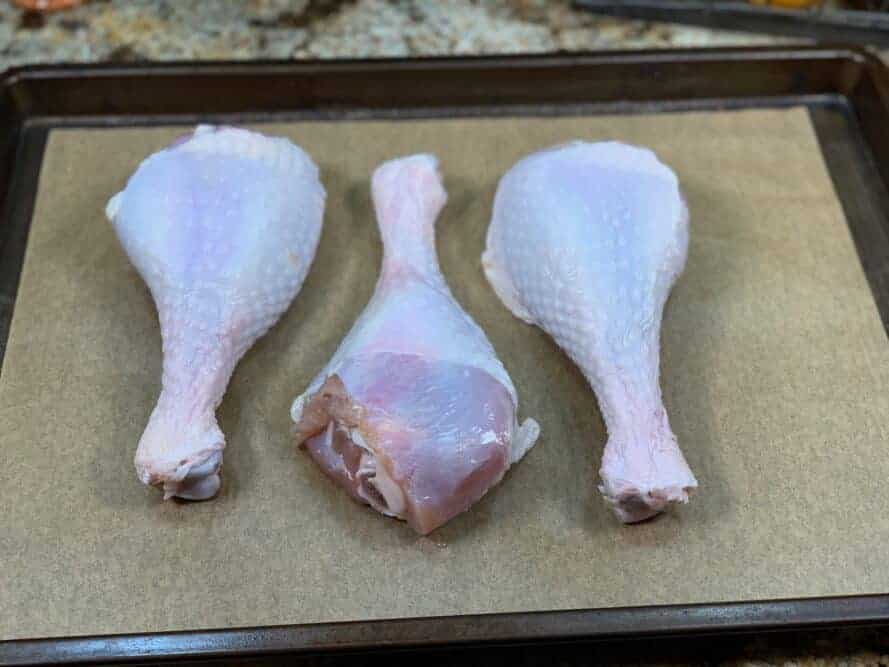
My original rub is such a universal seasoning for so many things whether you are cooking outdoor or inside in the oven and the flavor never ceases to amaze me on whatever I choose to use it on.
On these, I decided to pull an old trick out of my hat and mix the rub with mayonnaise so all of the rub remained intact.
The Rub/Mayo Concoction
- ½ cup mayonnaise (I use Duke's)
- 2 TBS of Jeff's original rub
For those of you (you know who you are) who would imagine that this is NOT a tasty mixture, try it before you knock it. This is basically oil, egg and my rub and it's good enough to eat by itself. But of course, don't eat it– save it for the turkey legs.
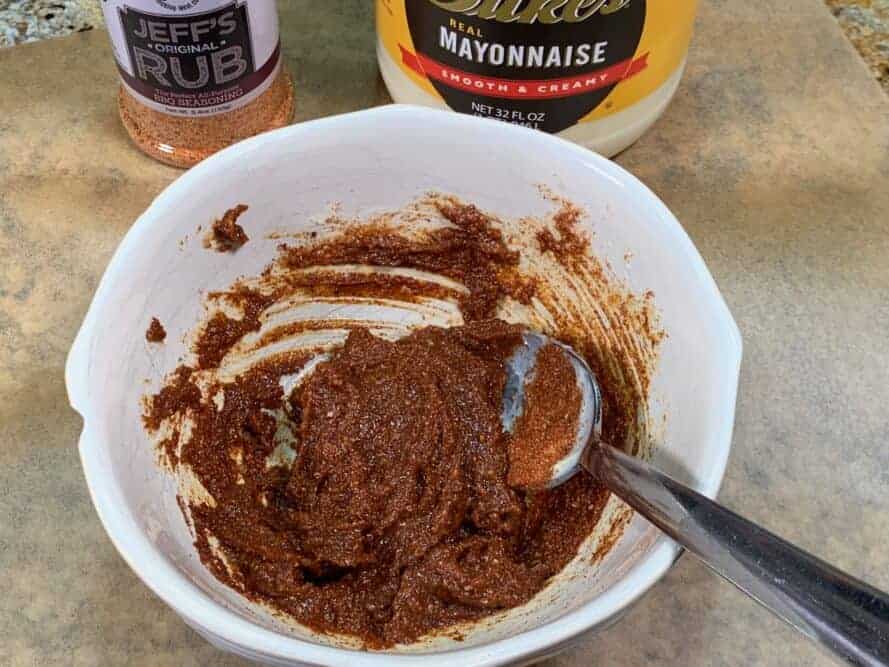
You can of course double the recipe if you have more turkey legs than I did. This was the perfect amount for 3 turkey legs.
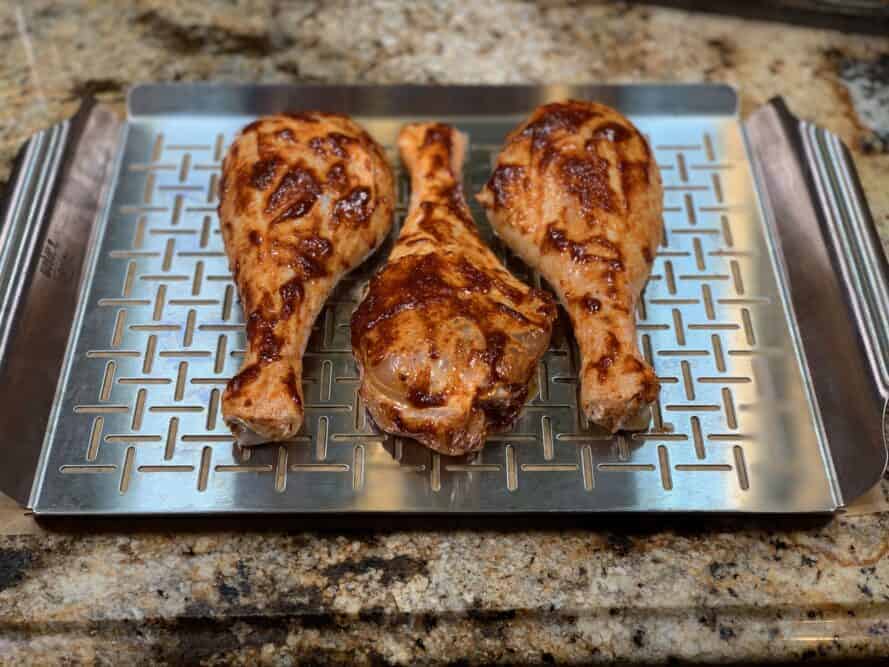
At this point, they are ready for the smoker.
I am using the Camp Chef Pursuit for these. If you haven't heard of this dandy thing– it's a portable pellet grill made by Camp Chef and if you are into camping or RV living, then this is perfect since it folds up into a fairly small transportable pellet grill yet it has 501 square inches of cooking space with a top and bottom grate that is approximately 13 x 18.5 inches each.
It is also big enough to hold a Weber grill pan on the top and bottom grate which is really nice.
Enough about that.. if you're interested you can read my recent review HERE.
You can use ANY smoker for these turkey legs.
Set up your smoker for cooking at 225-250°F using indirect heat. If your smoker uses a water pan, fill it up.
Once the smoker is preheated, get the smoke rolling and place the meat on the smoker.
I recommend hickory for these but any smoking wood will work. (I used hickory/charwood pellets made by Camp Chef)
As you can see in the image below, the top grate was removed from the Camp Chef Pursuit since it wasn't needed for this cook.
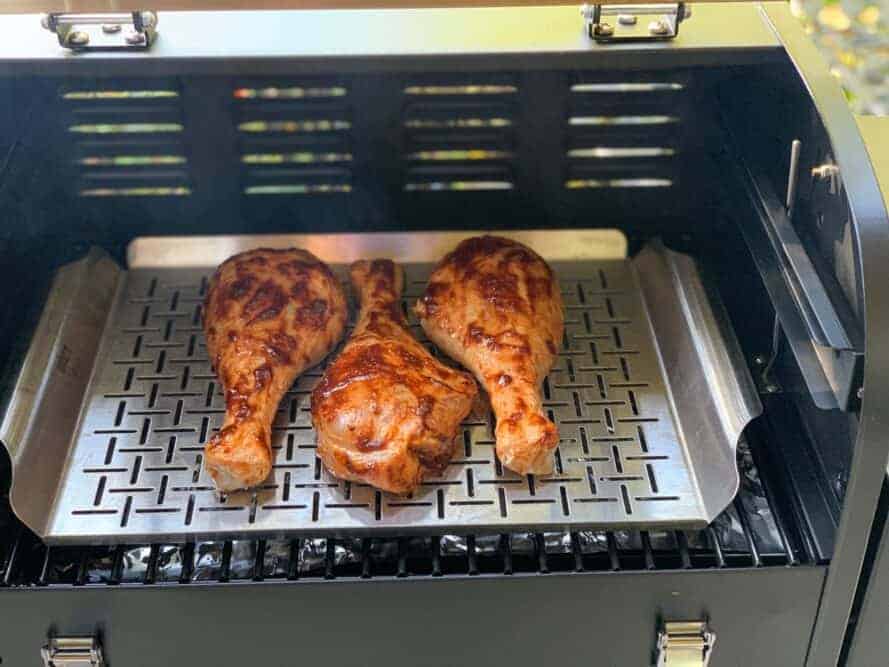
This step is optional but I do recommend it.
When the smoked turkey legs reach about 160°F, it's a good idea to glaze them.
Be sure to use a thermapen or other meat thermometer to check the temperature for best results.
Butter/Maple Glaze
- ¼ cup maple syrup
- ½ stick of butter
- 2 TBS Jeff's original rub
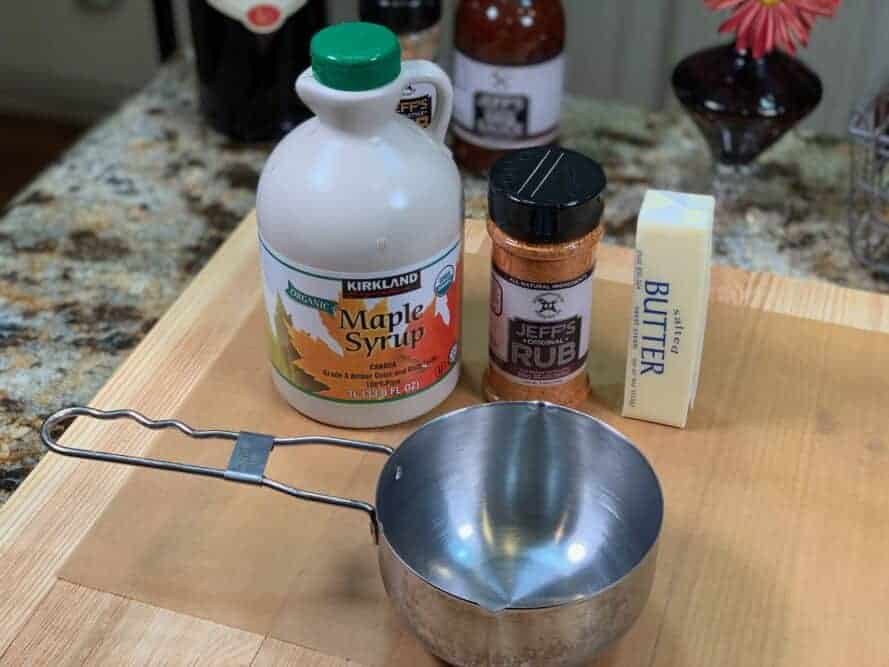
Brush this on a couple of times before removing the turkey from the smoker at an internal temperature of 180°F internal meat temperature.
Depending on the size of your turkey legs, you can figure on about 2 to 2.5 hours for these to reach a good finish temperature of 180°F. I like to take dark meat poultry to a higher temperature than the leaner cuts to make it more tender and due to the extra fat it contains, it can handle it without drying out.
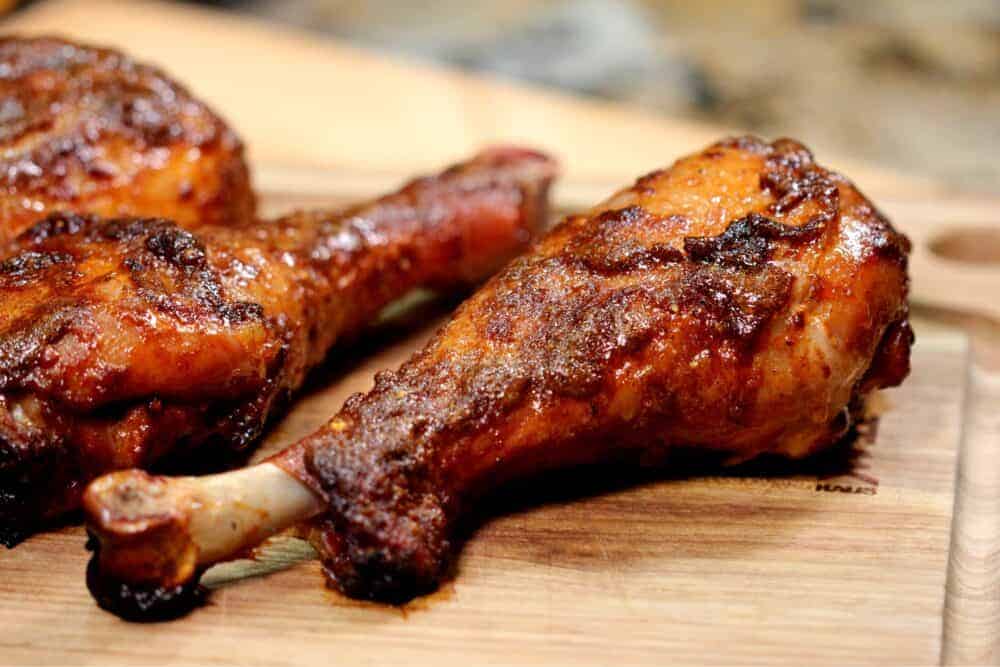
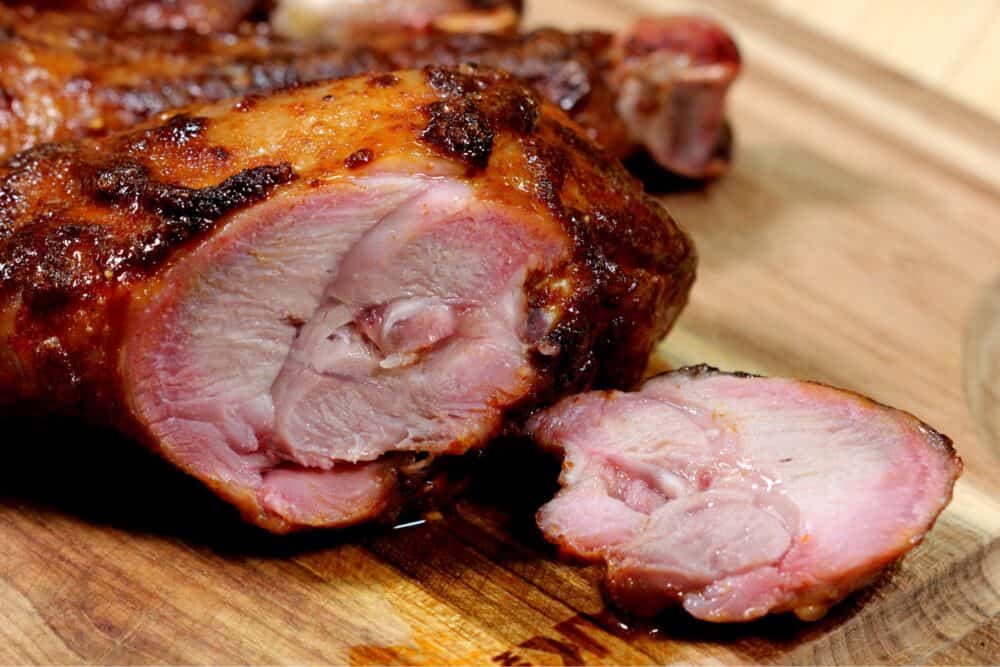
These were so juicy.. I sliced into it and the smoke ring and juiciness were unbelievable!
For pellet smokers, you will most definitely get more smoke at lower temperatures and less smoke as you crank up the heat. Keep the heat low in pellet smokers for the best smoke flavor.
Turkey skin can benefit from cooking at temperatures of 250 to 275°F if your smoker is capable of higher temperatures. This will cut the time down to 1 to 1.5 hours.
To crank up the heat on a pellet smoker, cook the legs for 1 hour at very low heat to get that good smoke flavor then crank up the heat to finish.
Buttery Maple Glazed Smoked Turkey Legs
Ingredients
- 4-6 each turkey legs
- 1 gallon Basic brine mixture (recipe below)
- 1 cup Mayonnaise (I recommend Duke's but use your favorite)
- ½ cup Jeff's original rub
- 1 cup Maple Syrup
- 1 stick Butter (melted)
Instructions
- Make a brine mixture using 1 gallon of water, 1 cup of coarse kosher salt and 1 cup of brown sugar (light or dark).
- Place the turkey legs in a plastic or glass container and pour the brine mixture over them to cover. Chill in the fridge for 8 to 10 hours.
- Rinse turkey legs when they are finished brining.
- Make together 1 cup of mayonnaise and 1/4 cup of rub.
- Apply mixture to all of the turkey legs getting it under the skin wherever possible.
- Set up smoker for cooking at 225°F (107°C) using indirect heat.
- Place turkey legs on smoker grate to cook.
- When the turkey reaches about 160°F (71°C), glaze the turkey with a mixture of 1 cup maple syrup, 1 stick of butter and 1/4 cup Jeff's original rub.
- Glaze again in about 15 minutes.
- When the turkey reaches 180°F (82°C) in the thickest part, it is finished and can be removed from the heat.
- Serve immediately.


For the person who said the skin was rubbery. What I have found that works is to remove the skin (obvious choice). Or if you want to leave the skin on, what I do is brine the bird one day ahead of cooking. Time it so that you remove turkey legs from brine the night before you are going to cook. Leave it in the refrigerator over night. The skin will dry out which is what you want. Then proceed with recipe. Example:
Recipe calls for 8-10 hours of brining. The day before you cook, brine it at 8am in the morning.
Remove bird from brine at 6pm (that’s 10 hrs). Pat dry and put it back in the refrigerator UNCOVERED until the next day you plan to cook. The refrigerator will dry out the skin.
The skin will be tight and dry. Something I wish my face would do LOL!! And the meat will be moist!
Hope this helps.
Hey Jeff, Jan from California here. I smoke turkey legs for Thanksgiving. Are you ready for this I put a touch of Jeff’s sauce ,bourbon smoked sugar and kosher salt in my brine. I put bourbon smoked sugar under the skin too. I also use mayonnaise as a binder for my chicken rub (sorry about that) I glazed the legs with apricot pepper sauce combined with your sauce. It always ends with the grand kids having sword fights with the legs after they gobble them babies down. Great seeing you this summer. Jan
Jan, sounds delicious and sure hope the Spice Tin is doing great! You inspired me to use my barrel more when you were here in Tulsa and I’ve been doing that.. the flavor is so good!
I did one before an skin was rubbery .
Thank you!
Just letting you know that I did it using turkey thighs (not big on legs). 10 stars. Wife says 10 stars as well. Thanks for sharing this one – it’ll be a regular at our home. Next time I’ll do both thighs and breasts using two IT probes. (Love turkey breast that’s at 150 IT, SO jucy!!!)
I reduced the amount of brine to 1/2 but it was still way too much for two pieces. Next time I’ll base it on 1 qt water.
Hey Jeff,
How would I go about re-heating these bad boys if I wanted to server later or take to an event?
Gene, you could put them in a foil pan covered with foil and when ready, reheat them at 275 for about 25 minutes or until they reach a good eating temperature OR you could wrap them individually with foil like they do at the fair and reheat them that way for the same amount of time. I prefer wrapping them individually.
Hey Jeff, Thanks for the reply. I think I’ll go with the “Fair Method” as well. Thanks
Can this be used for chicken legs
Absolutely but the time would be a little less. Probably 1 to 1.5 hours to reach 175-180°F depending on how hot you run the smoker.