Smoked Tri-Tip in the Pit Boss Copperhead 7 Series
Smoking-Meat.com is supported by its readers. We may earn an affiliate commission at no extra cost to you if you buy through a link on this page.
Read this article without ads
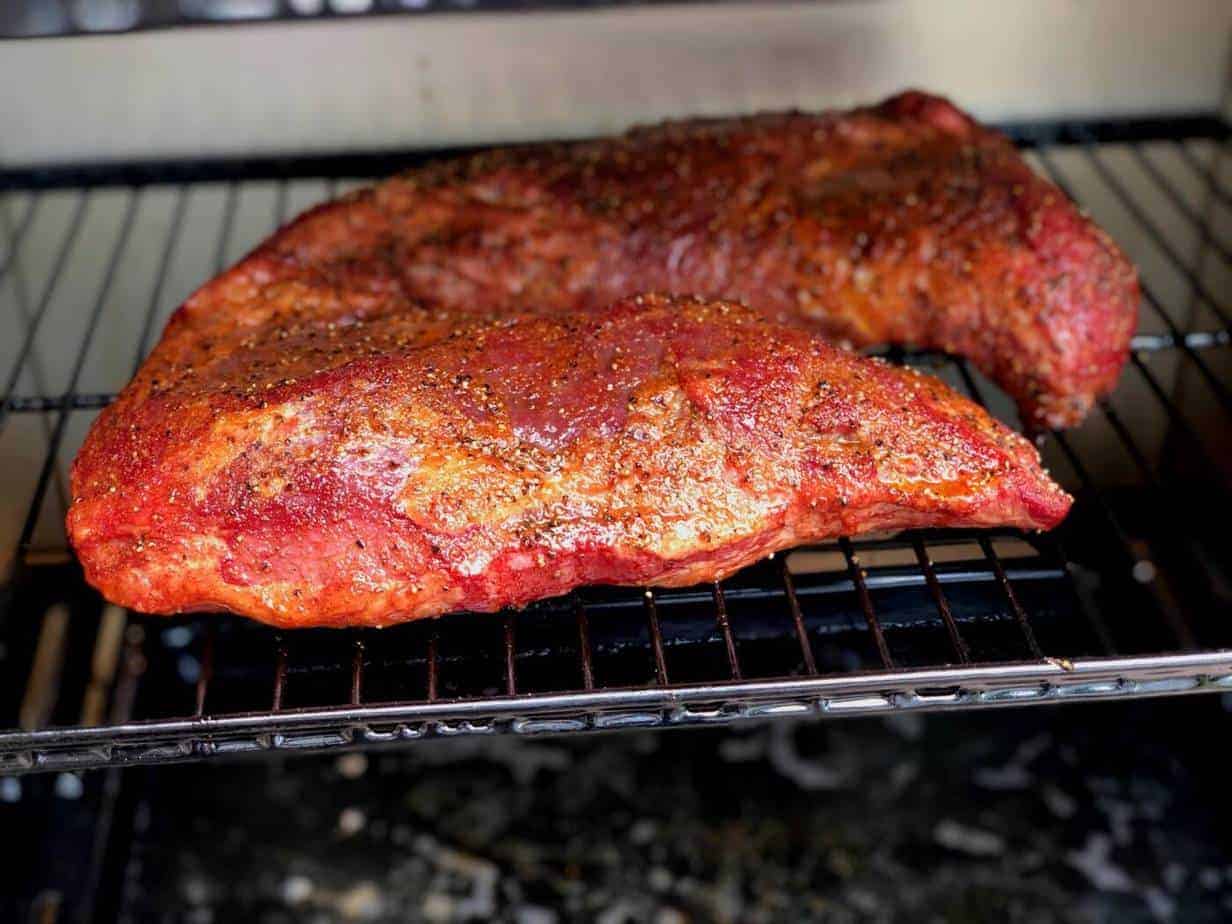
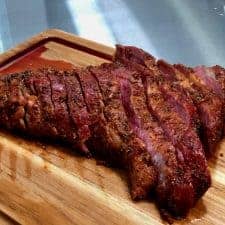
I found a couple of good looking tri-tips at my local grocer and decided to cook them on the new Pit Boss Copperhead 7 Series on it's maiden voyage. Beefy, juicy, delicious and competition worthy!
My Texas style rub didn't let me down either. If you don't have the rub n' sauce, you better get some;-)
- Prep Time: 10 minutes
- Brine Time: 4 hours
- Cook Time: 2 hours
- Smoker Temp: 240°F
- Meat Finish Temp: 130°F
- Recommended Wood: Maple-Hickory-Cherry Blend
- Tri-tip (about 2 lbs each)
- Morton's (or equivalent) coarse kosher salt
- Jeff's Texas style rub
- 1 stick (¼ lb) salted real cream butter, melted
- 2 heaping tablespoons Jeff's original rub
- Foil pan(s)
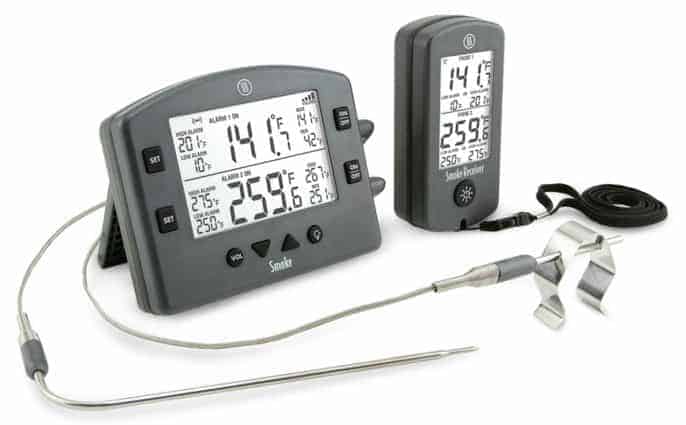
- “Smoke” thermometer (or similar) remote digital meat thermometer
As we've talked about many times before, dry brining is a great way to add some salt to the inside of the meat and this brings out the natural flavor of the meat like nothing else can.
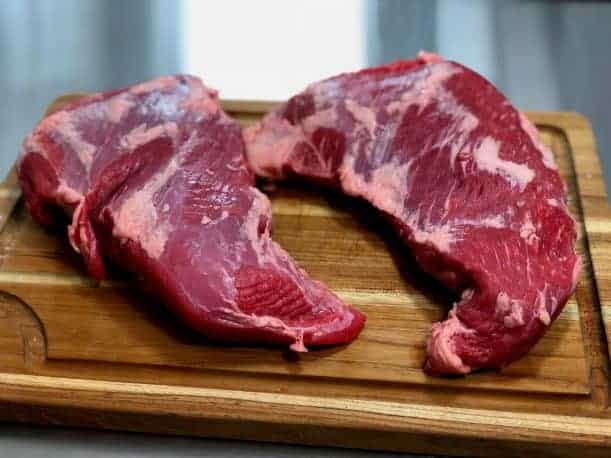
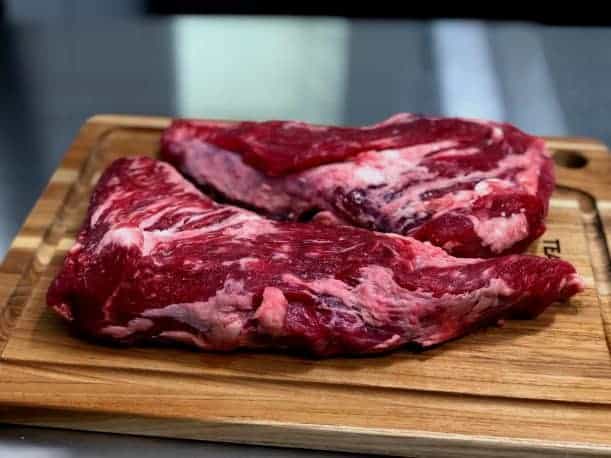
Lay the meat on a cutting board.
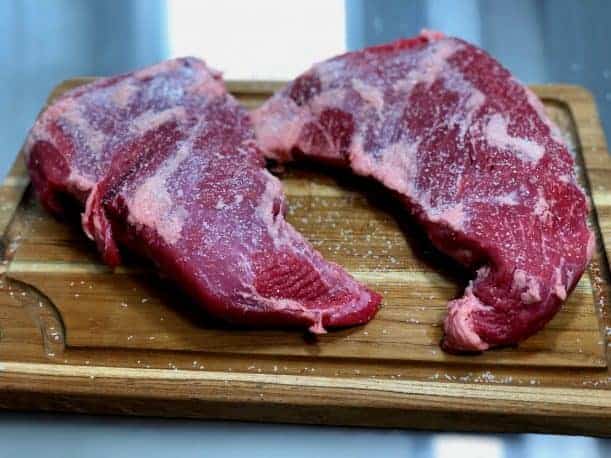
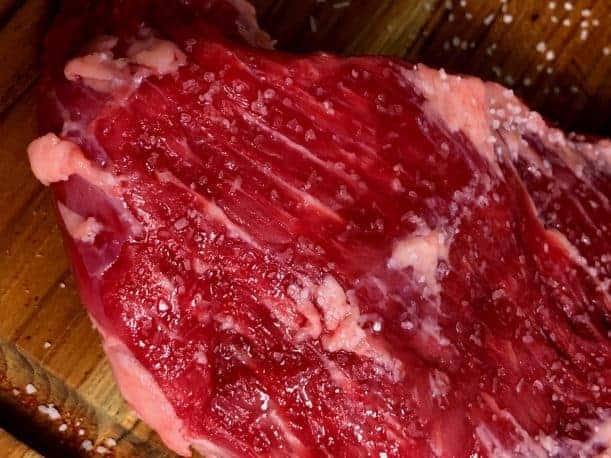
Sprinkle coarse kosher salt on the top side of the meat as shown. Most people recommend 1 teaspoon per lb of meat but I usually go by the way it looks.
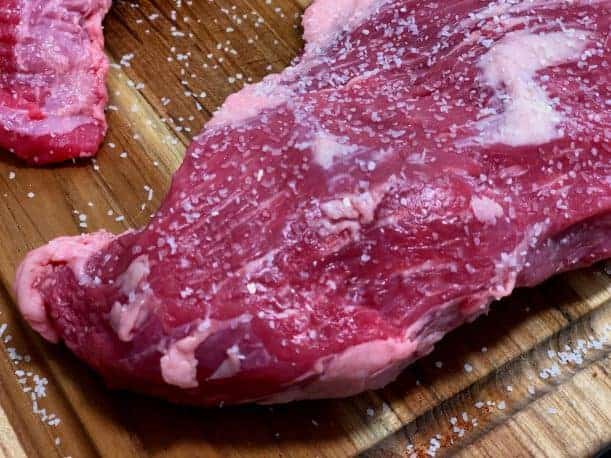
Here's a closeup to give you a better idea on the coverage..
Place the whole cutting board in the fridge for about 2 hours. You can also place the meat down in a foil pan or similar if you prefer.
No need to cover.
For those new to dry brining, here's what going to happen in the fridge:
- First the salt will begin to draw some of the meat juice to the surface.
- Those juices will melt the salt and leave a “slurry” pooled on the top of the meat.
- The salty liquid will re-absorb into the meat
Over time I have discovered that it's pretty much done all it's going to do in about 2 hours.
And, for steaks, chops, etc. that are thicker than about ¾ to 1-inch, I usually do both sides for 2 hours each.
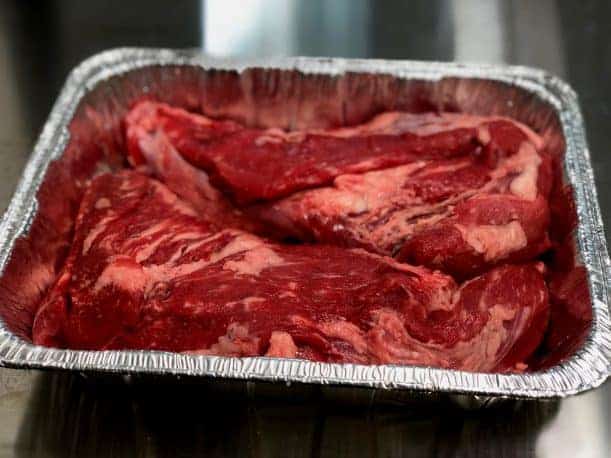
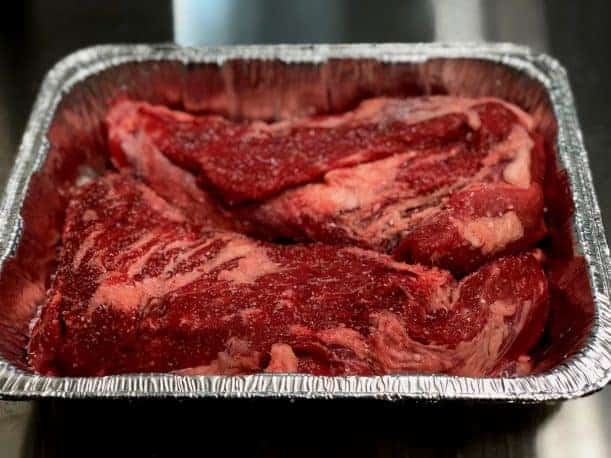
Here's a look after about 20 minutes..
You can see the liquid that has been drawn out of the meat and the salt is getting real “melty”.
At the end of 2 hours, remove the tri-tip from the fridge.
Flip the tri-tip over..
..and apply the same salt coverage to the bottom side.
Place the tri-tip back into the fridge for at least 2 more hours.
Unlike wet brining, because the salt is portioned out at a certain coverage, if you need to leave them overnight, it's not a problem.
When the dry brining process is over, remove the meat from the fridge and it's ready to proceed.
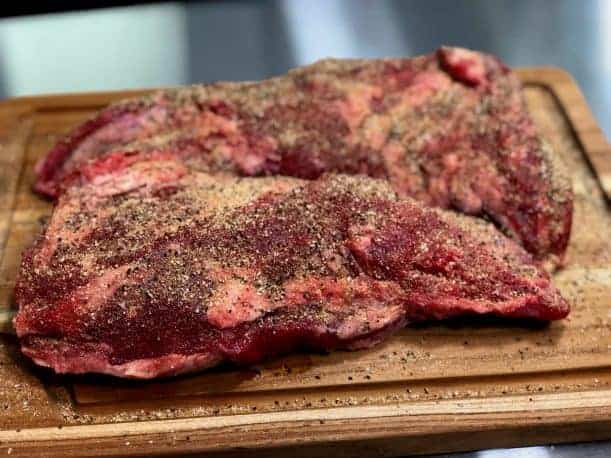
With the dry brining process finished, it's time to add a little seasoning to the top side of the meat.
You're probably wondering why season it since you added salt to the inside, great question!
The dry brining process does add some salt to the inside of the meat but it won't be salty and you'll want a little crust on the outside. This thick piece of meat can handle it well and it only makes it better.
Luckily, my Texas style rub is not overly salty although it does call for more salt than the original rub so you'll want to use it a little less liberally.
Ok, let's place some seasoning on the top and rub it all over the top and sides.
I just added the seasoning to the meat without any oil or something to make it “sticky” and help it bind to the meat since the meat was already moist from the brining but if you want to brush on some olive or vegetable oil before adding the Texas style rub , it won't hurt a thing.
Let the meat sit on the counter while you go get the smoker ready.
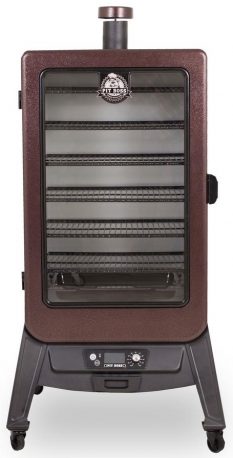
You can cook this smoked tri-tip on any smoker as long as you can maintain about 225 to 240°F and provide a little smoke while it cooks. I opted to take this opportunity to try out my new Pit Boss Copperhead 7 Series vertical pellet smoker.
Set up your smoker or cooker for indirect heat and if your smoker uses a water pan, fill it up.
Set up whatever smoker you are using for cooking at about 225-240°F and be sure to use a remote digital meat thermometer so you'll know exactly when it reaches the perfect temperature. I rarely cook without my Thermoworks Smoke and/or my Thermapen in hand.. I feel that these tools help me to not only keep my family and friends safe but I'm able to cook food to the correct temperature and deliver it to my guests perfectly done.
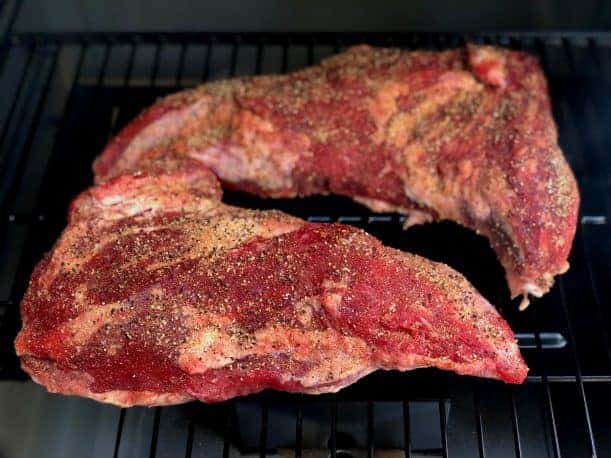
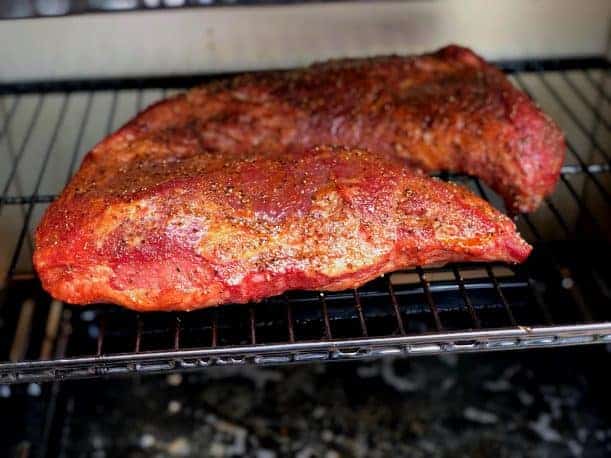
Once your smoker is preheated and ready to cook, it's time to put the meat on the grate.
You can set the tri-tips on a Bradley rack, Weber grill pan or cooling rack or you can place them directly on the smoker grate if you prefer.
Once the meat is in the smoker, close the door/lid and let it smoke away.
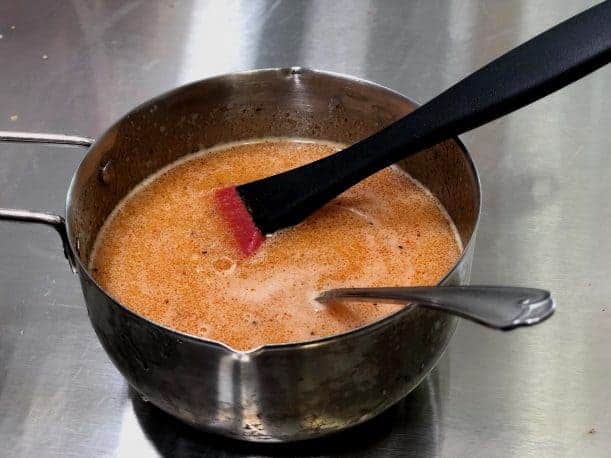
These tri-tips can dry out during the cooking time so I like to mop them with a butter/rub mixture.
Make the Mop
- 1 stick (¼ lb) of salted cream butter, melted
- 1 cup of warm water
- 2 heaping tablespoons of Jeff's original rub
Mix the ingredients together and keep it warm and stir occasionally as you're using it to keep the ingredients well combined.
Mop the top of the tri-tip(s) every 20-30 minutes while it cooks to keep the meat moist.
This mixture also works well for mopping brisket, pork butts, fish, chicken, almost anything really.
You may want to drink it but try to resist the urge.. the meat needs it worse than you do;-)
Maintain the temperature throughout the cooking process until the meat reaches an internal temperature of about 130°F or medium rare.
I was fortunate enough to get a Pit Boss Copperhead 7 Series smoker and this is really cool since it's one of the few vertical pellet smokers available and I was anxious to see how well it performed.
This smoker has intrigued me for a while due to the fact that it has a such a large amount of cooking space with 6 porcelain coated racks at 14 x 21 inches each.
And get ready for this.. it holds 60 lbs of pellets and the hopper has a side window that let's you see how much you have left.
Because of it's vertical layout, it's really easy to clean from top to bottom if you're like me and like to keep your smokers spotless.
To help it stay clean there's a large water pan that covers a large area below the grates and if any grease happens to leak down onto the floor of the smoker, there's a drain hole that leads to a removable grease drawer.
There's a lot to love about this smoker and I have a feeling you'll be hearing more about this unit as the summer progresses.
Color me impressed and while I can't speak for longevity yet, I'm lovin' it!
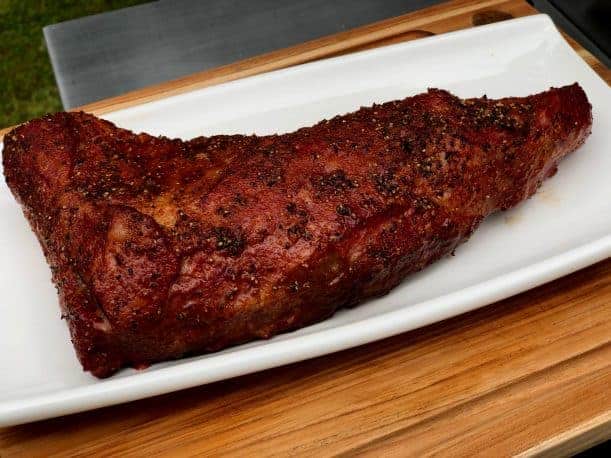
When the tri-tip reaches about 130°F internal temperature as measured by a digital remote meat thermometer, remove it from the smoker.
Set it on the counter with a piece of foil tented over the top.
During the resting period, it will continue to cook for a few minutes and the temperature will continue to rise for a few more degrees. This is called carryover cooking and is a good reason for removing the meat just shy of where you want it to end up.
As the tri-tip sits there resting, the juices that have moved to the surface of the meat due to all the heat and pressure, will begin to redistribute throughout the piece of meat. Waiting for this to happen will keep a lot of that juice inside of the meat instead of all of it running all over the cutting board.
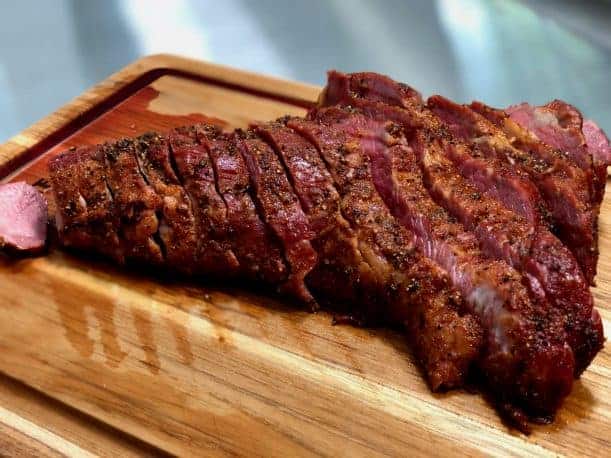
After resting, use a very sharp knife to slice the smoked tri-tip into ¼ inch thick pieces against the grain.
Tip: It's a great idea to take notice of the grain direction before adding the Texas style rub* on to the meat and mark it somehow. I sometimes place a toothpick through the corner of the meat to show where my cuts need to be once it's finished cooking.
*
Once the meat is sliced, serve immediately and enjoy!
Texas Style Smoked Tri-tip
Ingredients
- 4 lbs Tri-tip (about 2 lbs each)
- Morton's (or equivalent coarse kosher salt)
- Jeff's Texas style rub
- Foil pan
- "Smoke" thermometer (or similar remote digital meat thermometer)
Butter and Rub Mop
- 1 stick salted butter (melted)
- 2 heaping tablespoons Jeff's original rub
- 1 cup warm water
Instructions
- Lay the tri-tip on a cutting board or in a pan.
- Sprinkle coarse kosher salt onto the top of the meat at a coverage of about 1 teaspoon per lb.
- Place the meat in the fridge for 2 hours.
- Flip the meat over and dry brine the bottom side with the same coverage of coarse kosher salt.
- No need to rinse.
- Season the top and sides of the tri-tip with Jeff's Texas style rub .
- Set up your smoker for cooking at about 225-240°F using a blend of hickory, maple and apple or whatever smoking wood you have available.
- Place the tri-tip on the smoker grate.
- Combine butter and rub ingredients and keep the mop warm stirring occasionally while you use it.
- Mop the meat with this mixture about every 20-30 minutes while it cooks to keep the meat moist.
- Let the meat cook for about 2 hours with smoke or until it reaches about 130°F internal temperature as measured by a digital remote meat thermometer.
- Let the meat rest under foil for about 10 to 15 minutes then slice against the grain at about ¼ inch thick.
- Serve and enjoy!


I noticed you used the wet mop in this recipe but not in the recipe you have for “smoked and seared Tri-tip.” If I want to sear it at the end, can I still use the wet mop? I have not tried it yet but planning on it this weekend or the next. Thanks
Yes, I don’t see why not. That mop is great on almost anything you cook to provide moisture during the cook and flavor during the meal.
First we found an amazingly trimmed tri-tip at our local specialty market. Then used a technique I saw on Instagram, oil and place rosemary on both sides and wrap tight in plastic wrap. ( I used thyme as we had some. Could have used both.). Leave in fridge overnight.
Next day remove wrap and herbs. Then follow Jeff’s recipe with dry brine and rub. I made the butter sauce but added an ounce of bourbon! Why not? No open bottle of wine yet that day. Cooked 200-240 until the temp reached 130 degress. Then did a quick reverse sear for 2 mins a side. So good looking, then let rest for 15 mins tented.
My wife said it was the best tri- tip she’d ever tasted! Ever ! Thanks to Jeff and my Camp Chef Woodwind!
Jeff, hope you have better luck with your 7 than I am having with my 3. Bad temp fluctuation,
can’t set temp dial more than 200, or it errors out. Can’t cook more than200. Do NOT recommend buying it
for those looking to buy…
Melvin, I am sorry you are having issue with your Pit Boss smoker. I have had my 7 series for over a year now and no issues so far. I assume you have contacted the company about this? I’d be interested to hear how they handle issues like this.
Jeff, I just purchased the Pit Boss Copperhead 3 (smaller version of your 7), and I encountered 2 issues my first ever smoke on the unit. Wild temp fluctuations ranged 180-325 while set at 225 (75 degrees outside; smoker in shade, vent 1/8th open) throughout the 7 hour smoke. Water pan was full the entire smoke. Used a separate, trustworthy thermometer, one in meat and the other at rack level. I also did not get the smoke flavor I thought I would considering the smoke produced. I used Pit Boss’ competition blend and put the meat on straight from the fridge. The roast turned out great, and overall I was happy with the result. Any tip on controlling the temp (if I need to worry at all) and getting more smoke flavor?
On your pit boss 7: do you know how turn off the smoke after a few hours (say you want to smoke a brisket to 150 then wrap and finish to 200 degrees without smoke)? New to the pit boss and cant find this info. Thanks.
Janet, because pellet smokers burn 100% wood for heat and smoke, there is no way to artificially “turn off” the smoke. Having said that, in a pellet smoker, more smoke is produced at lower temperatures than at higher temperatures so to reduce the smoke, simply turn up the heat. You can also just place the brisket in a large foil pan and move the brisket to the oven to finish if you do not want to continue adding smoke flavor.
Hi love your original rub, the Texas rub is way tooo much pepper for me & my wife. For beef I’ve been using McCormick Grill Mates Montreal Steak Seasoning with very good results. Love all recipes.
The RUBS & SAUCES are all I ever use now. I do Add to the sauce more brn sugar, honey, molasses, pineapple and marachino cherry juices, of course more rub, and cook down slowly. We like it sweet. Caramelized on meat it is like candy on the meat. Guffaw if you wish, but, great recipes are made by experimenting, trial & error.
Game hens, chicken & ribs. All love it.
I use Camp Chef Woodwinds pellet smoker & sear box.
Before saucing country style ribs, I smoke to 25° short of done then sear both sides, place back in smoker, then sauce one side. When thickens a bit, flip & sauce, turn heat up to 350/400° until caramelized, remove, tent & rest. WOW
I also use my Digital Masterbuilt 30″ smoker. Briskets & such.
Nice smoker (you can call that a real pellet smoker). I will try your tips out and this recipe real soon. Thanks Jeff!
Johnny B
Frankly I normally can’t find this ‘cut’ big enough to bother to smoke. Even at 225F, a 2 pounder is done in no time and any smoke added only makes the neighbors wonder what’s cooking today. But you’re right, it’s one heck of a piece of meat, and any butcher should have it, at least they do in Chicago, and often times I have to go to two places as the first one might be sold out.
I was loving the one or two page printer friendly versions I could save. What happened?
Troy, can you explain further the problem you are having? Nothing has changed as far as I know and the “Printable Recipe” is still at the bottom of this post.