Smoked Cupcake Chicken
Smoking-Meat.com is supported by its readers. We may earn an affiliate commission at no extra cost to you if you buy through a link on this page.
Read this article without ads
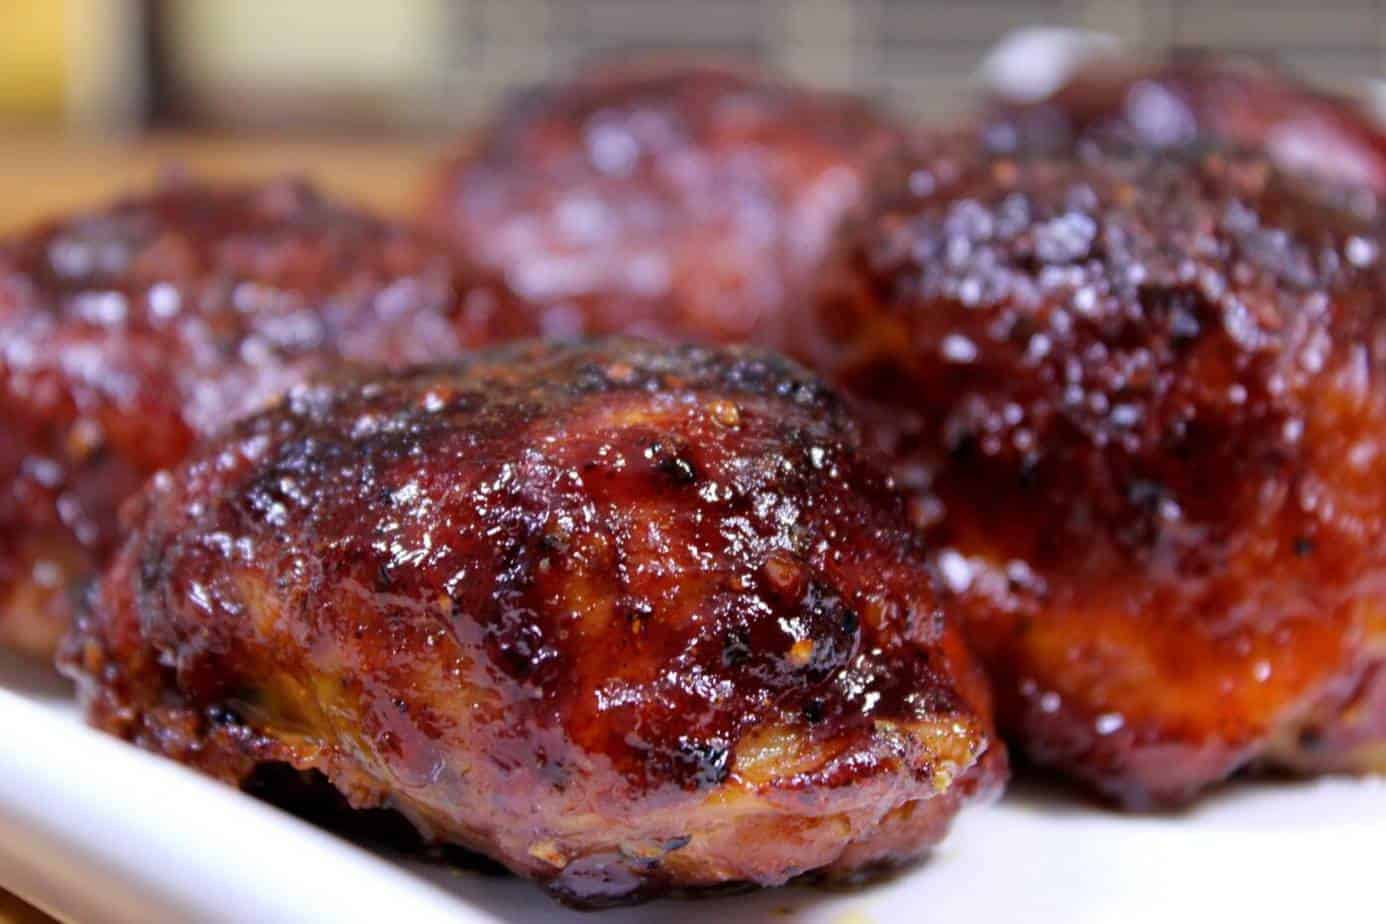
Smoked cupcake chicken was made popular on the barbecue competition trail and is a way to make smoked chicken thighs so that they come out uniform, juicy and properly seasoned.
I made a few changes as I usually do but the basic method remains the same and it's definitely a great recipe to try when you have a hankering for smoked chicken thighs.
I used my original rub at the end caramelized onto the delicious chicken skin.
- Prep Time: 30 minutes
- Cook Time: 3 hours
- Smoker Temp: 275°F
- Meat Finish Temp: 175°F
- Recommended Wood: Cherry
- 6 or more chicken thighs, bone-in and skin on*
- Muffin pan, disposable, silicone or a cheap one
- Large cookie sheet
- Jeff’s original rub
- Jeff's original barbecue sauce
*Boneless, skinless will work however it will be important to keep the outside of the chicken moist as skinless chicken tends to dry out on the smoker.
The pan needs to have a ¼ inch hole drilled in the center of each cup to allow any liquid that collects to drain off.
This is a lot easier if the pan is one of the foil ones or a silicone one as the hole can be made with scissors, a nail or any number of implements you mind find around the house.
If you decide to use a regular metal pan, then you'll need a drill and bit. I recommend a 1/8 inch bit to start and then a ¼ to open it up to full size.
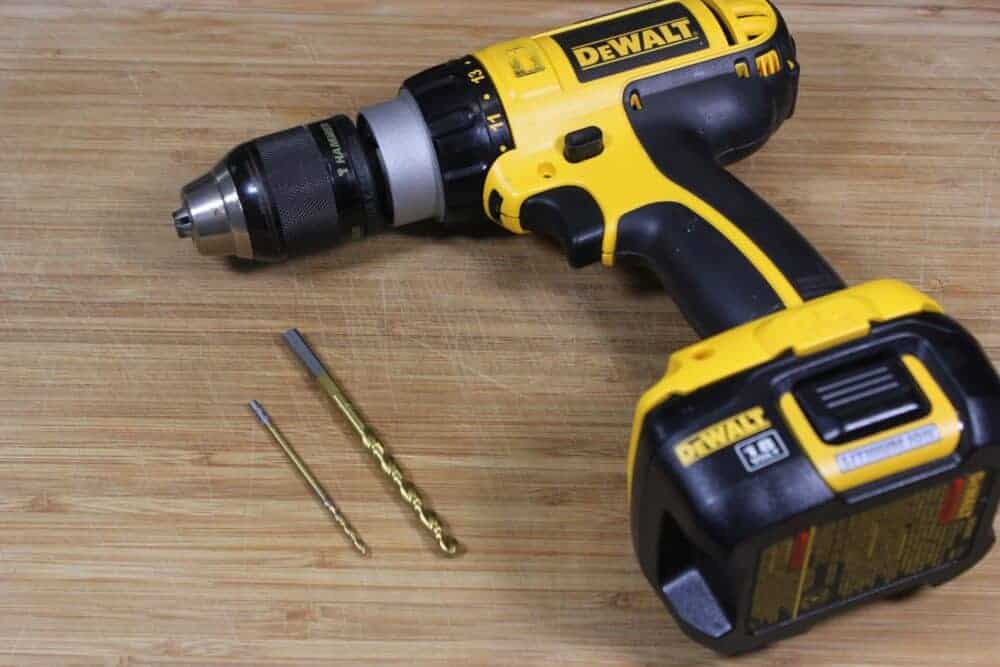
Drill from the inside out so the burrs will be on the outside and easily filed off.
1/8 inch bit first.. I just eyeballed the center.
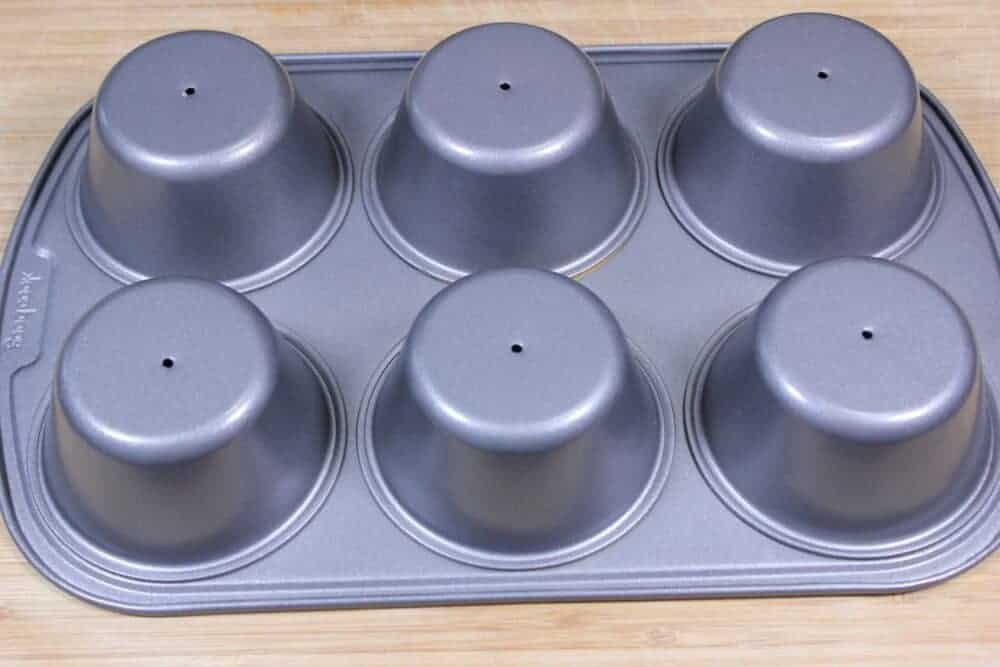
¼ inch to open up the hole..
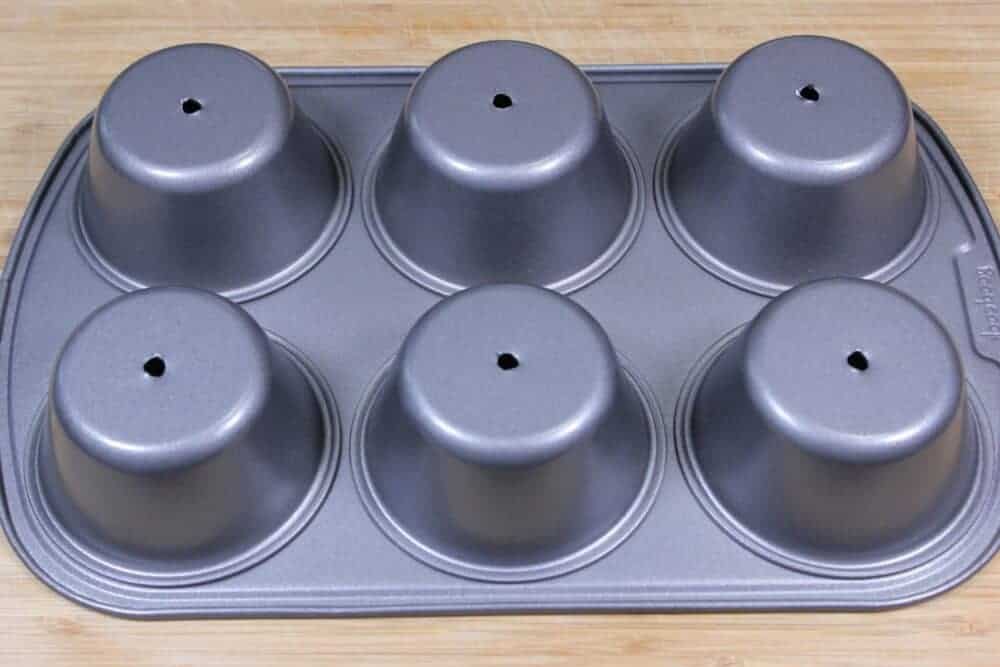
File off the burrs on the outside, wash the pan with soap and you're ready to cook.
Lay the chicken thighs on a cutting board bone side up and find the knuckle.
I like to remove the entire bone but most just clip off the knuckles on the ends of the bones with heavy duty kitchen shears or something similar.
This is to reduce the width of the chicken and allow it to conform to the shape of the muffin tin cups without hindrance.
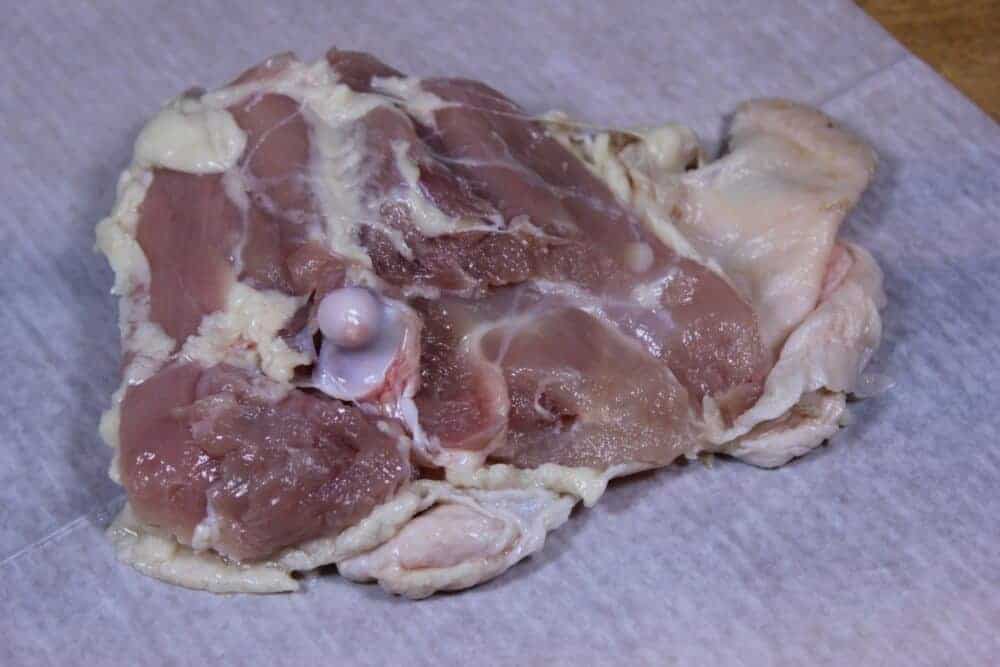
I removed the bone by cutting along both sides with a very sharp knife but you really don't have to do that.
Note: You can purchase and use the boneless, skinless chicken but just make sure you keep the chicken basted with oil a few times during the cook to make sure the meat does not dry out.
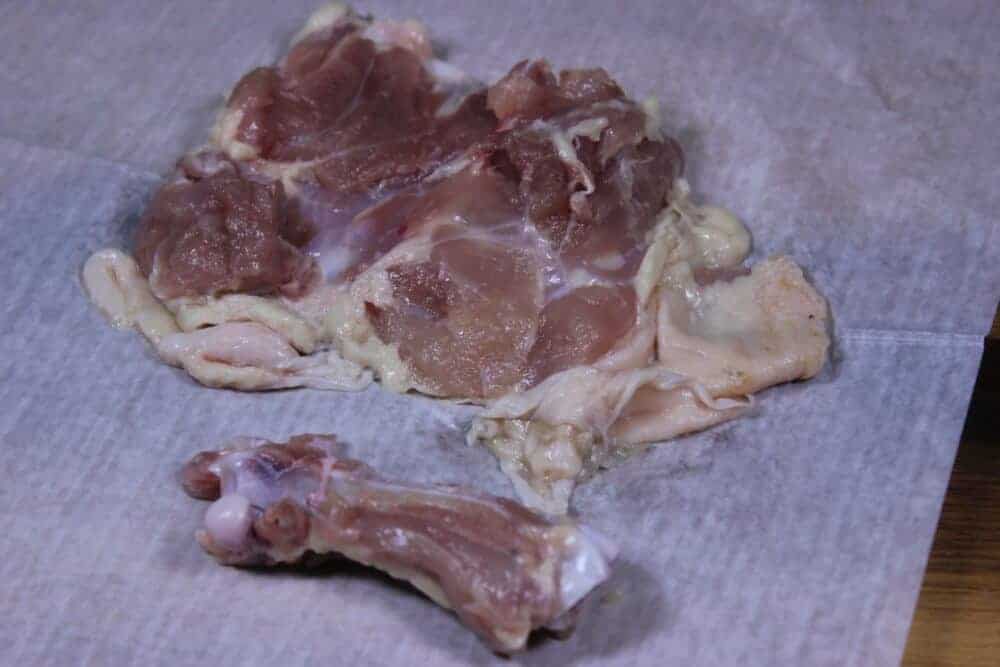
Flip the piece of chicken over and remove the chicken skin.. it should just pull right off like it's meant to happen.
I also squared up the skin a little but unless you are competing and serving to judges, it may be overkill.
While you are at it, if you see any large pieces of fat, just cut it off with a knife or kitchen scissors.
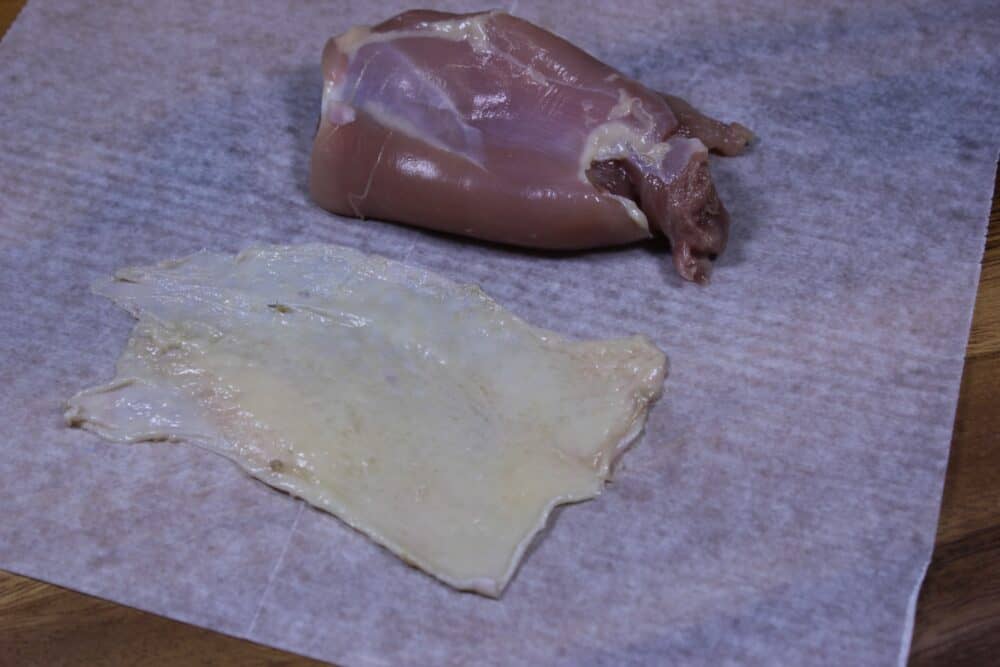
With the bones snipped or removed and the skin removed, place the thighs in a pan or container to be seasoned.
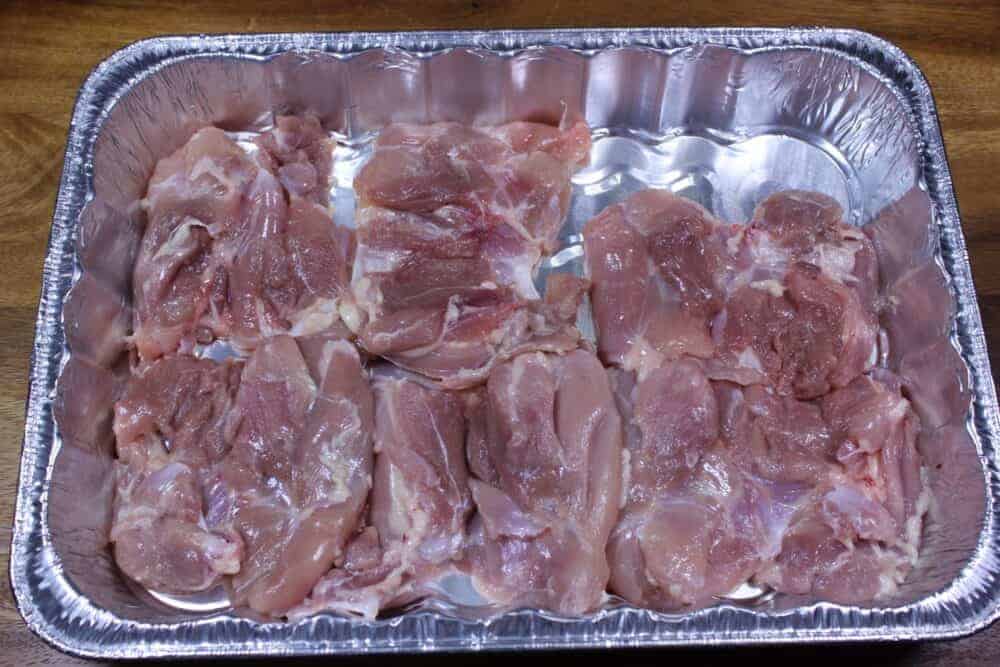
I like to do a light coat of seasoning on both sides.
Be sure to use the Jeff's original rub for these.. it's very tasty!
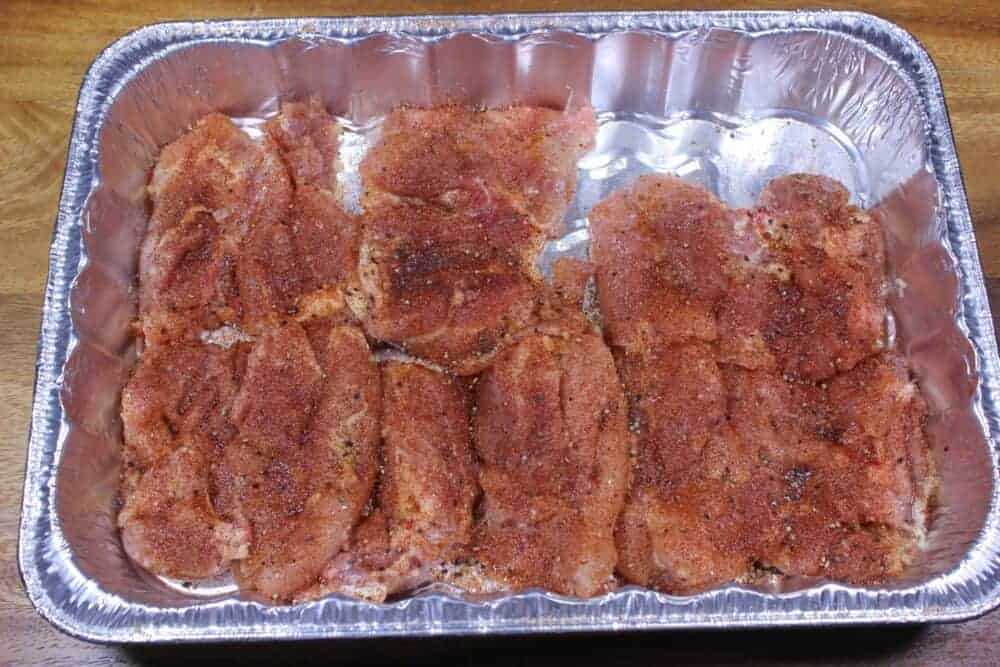
Optional: place the seasoned meat and the skins you removed into a ziptop bag or container and let it marinate overnight in the original rub and chicken juices.
The meat is now ready to be made back into skin covered thighs again.
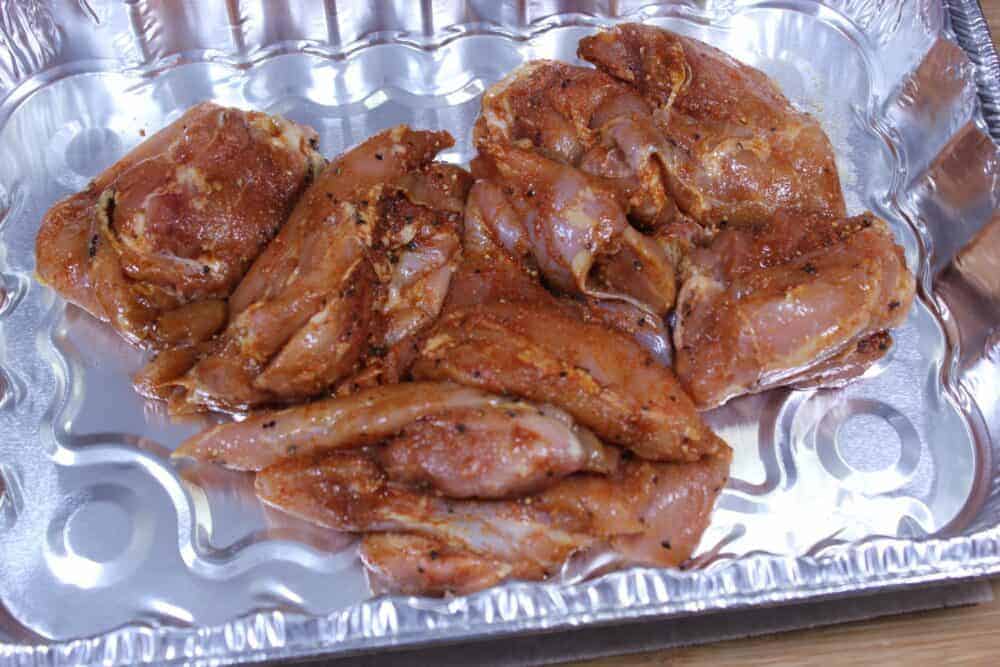
You will notice that I did not bother seasoning the skin.. we'll do that in a later step.
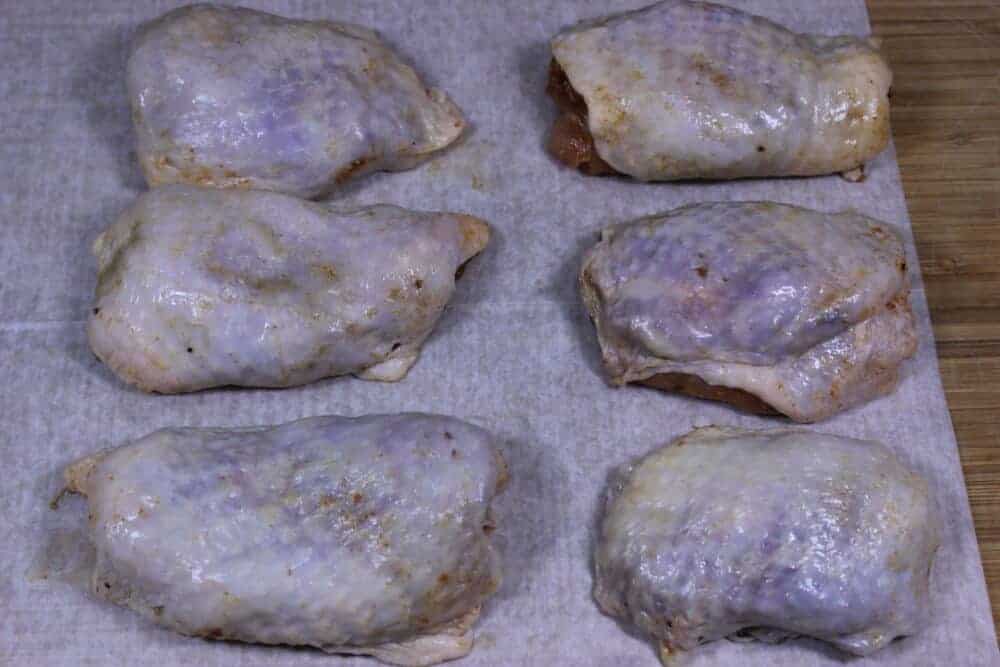
Place the skin (outside part of the skin facing down) into the muffin tins first then place the thigh meat on top.
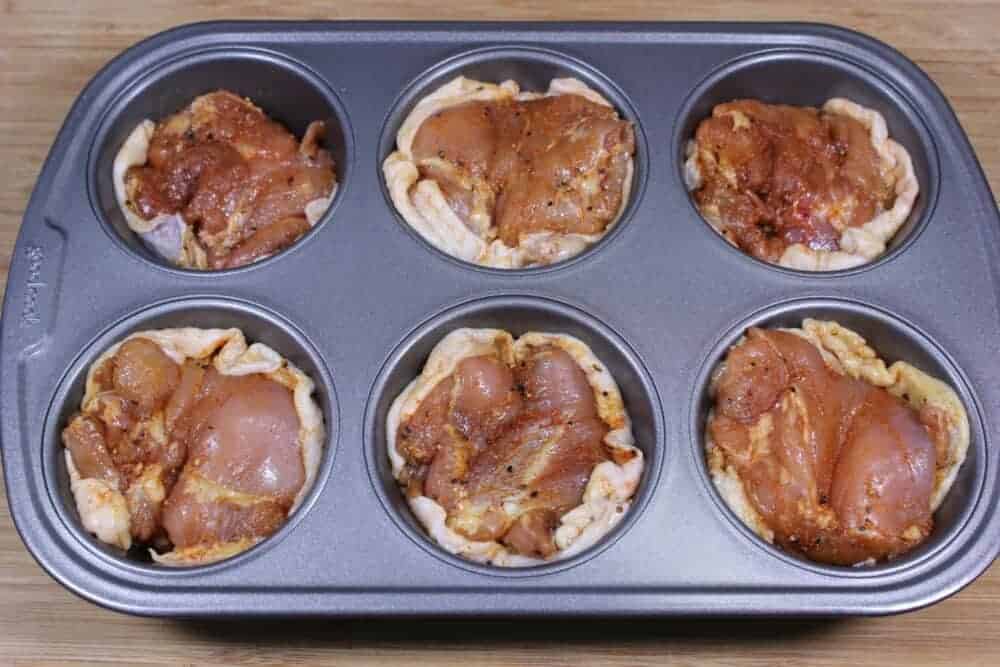
Set the muffin pan onto a cookie sheet..
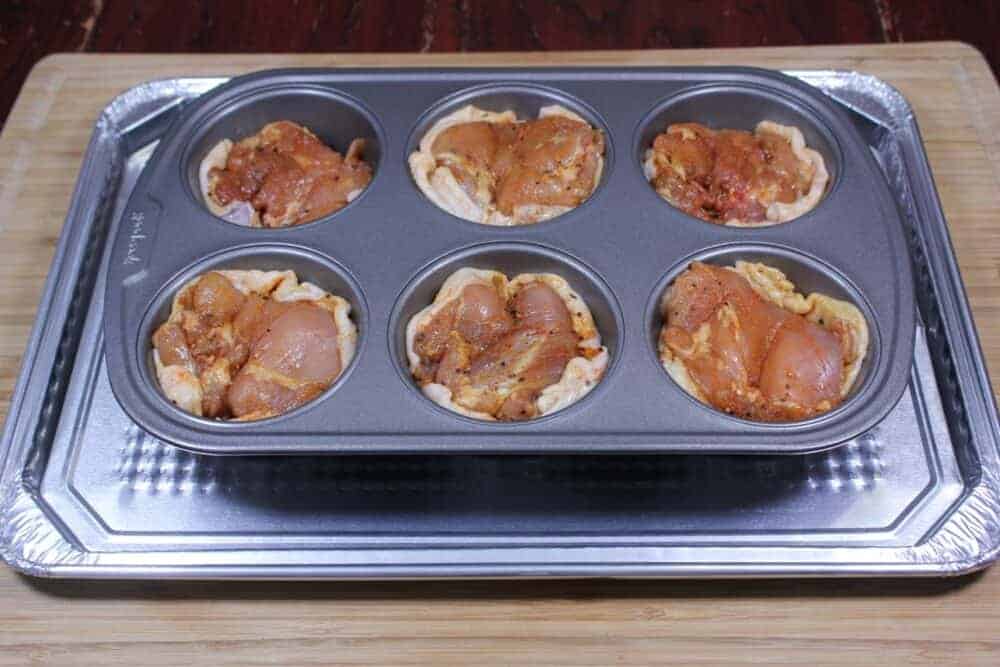
We are going to add some liquid to the cookie sheet eventually but I prefer to do that once it's in the smoker.
Set up your smoker for cooking at about 275°F with indirect heat. This higher heat helps to cook the chicken faster and creates a better bite-thru on the skin.
The entire process takes about 3 hours and I recommend keeping the smoke going throughout. I used cherry wood for smoke but any good smoking wood will work just fine.
Place the muffin pan/cookie sheet on the smoker grate.
Fill the cookie sheet with about ¼ inch of liquid. Most recommend chicken broth but you can use other things if you wish. The options are endless and include things like soda pop, fruit juice, wine, vegetable broth, etc.
Keep the chicken in this configuration for 1.5 hours at 275°F.
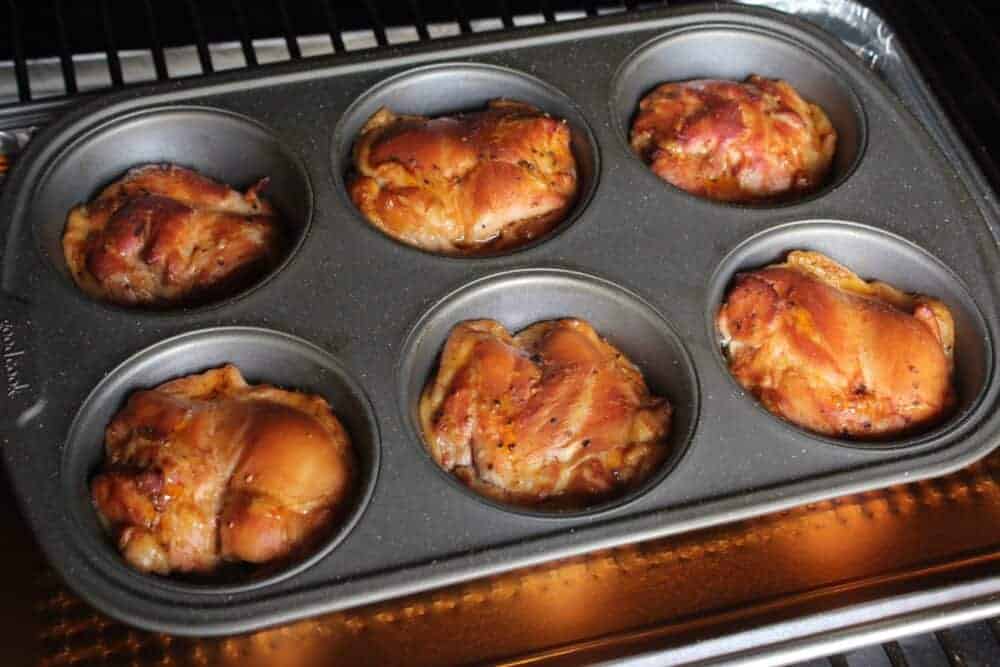
At the end of this stage the chicken temperature was at 140°F.
Carefully dump the chicken out of the muffin pan and into the cookie sheet.
You may have to use a butter knife to unstick the chicken from the edges if they seem to be having trouble coming out.
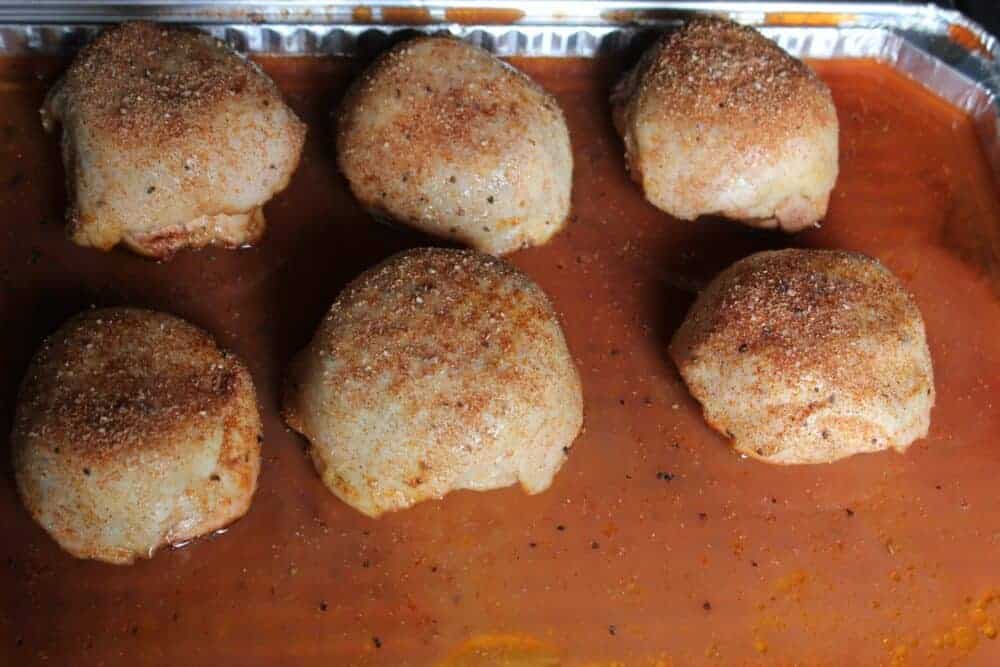
Put the chicken back into the muffin cups skin side up.
Add a sprinkling of Jeff's original rub on top and go for another 45 minutes.
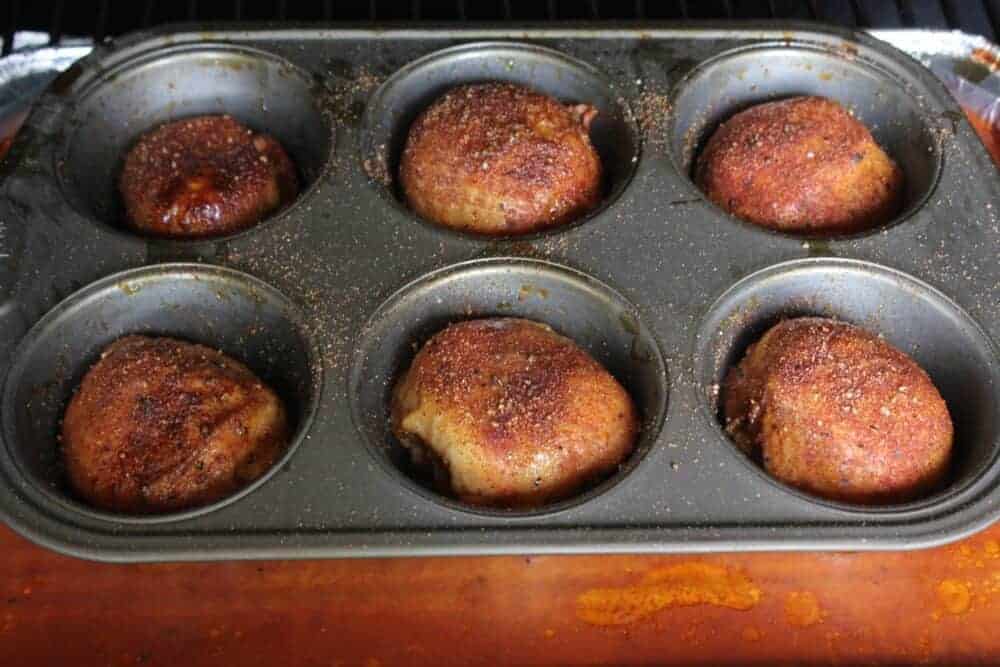
I checked the temperature at this stage and they were at 170°F which is great for chicken thighs.
Chicken thighs have a lot of fat in the meat and tends to end up more tender if you cook it a little higher than it's safe temperature (165°F). I even go as high as 175 to 180°F sometimes.
Remove the chicken from the muffin pan and set them skin side up on the dry cookie sheet (I poured off any juice that remained in the cookie sheet).
Brush the top and sides with Jeff's original barbecue sauce (Purchase formula here | Purchase bottled sauce) and leave them in the smoker for 30 minutes to let the sauce get real good and caramelized.
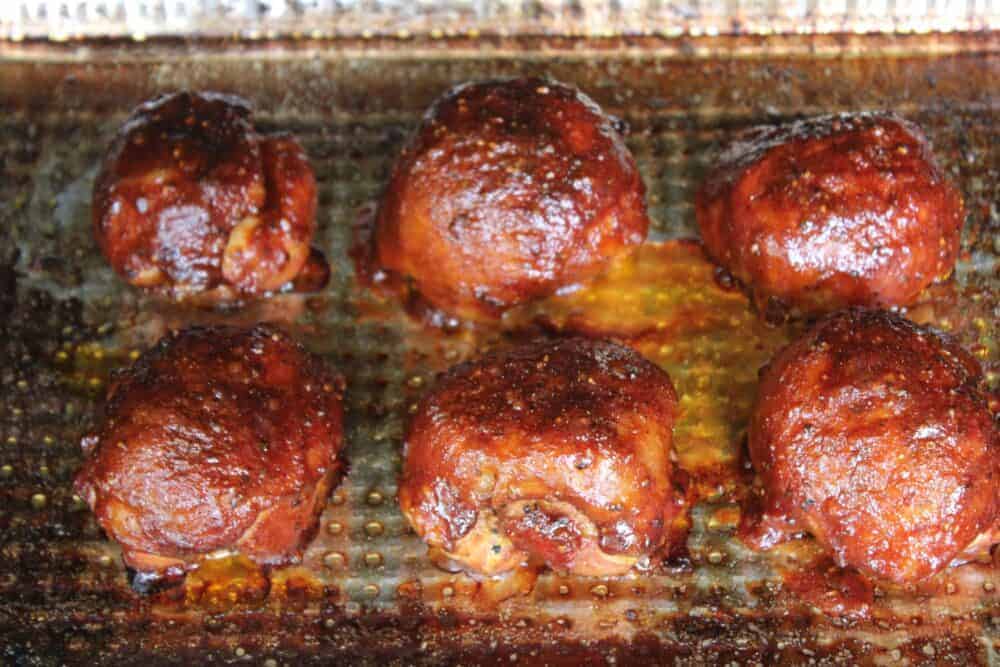
Once the smoked chicken thighs are finished, serve them up immediately.
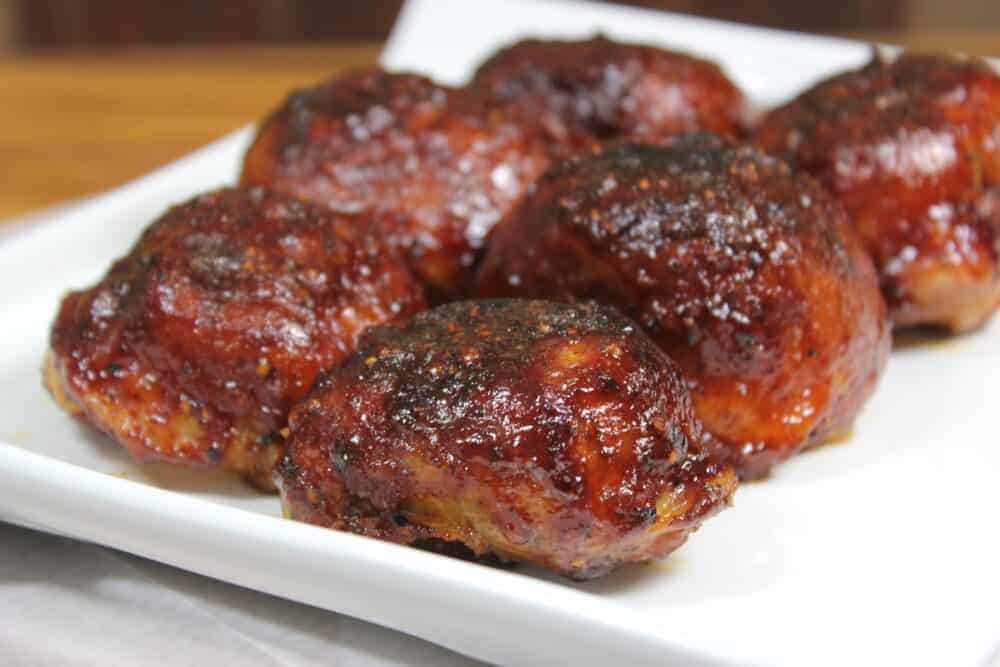
All in all, a little more labor intensive than most other smoked chicken thigh recipes but I think it's worth it and something fun to do occasionally.
Smoked Cupcake Chicken
Ingredients
- 6 or more chicken thighs (bone-in and skin on)
- Muffin pan with 6 compartments
- Large cookie sheet
- ¼ cup Jeff's original rub
- ¼ cup Jeff's original barbecue sauce
Instructions
- Remove skin from thighs and set aside, snip knuckles from bones and remove any excess fat.
- Sprinkle Jeff's original rub onto chicken thighs on top and bottom then place the thighs into a zip top bag and into the fridge overnight or about 8 hours.
- While the chicken is in the fridge, find an old muffin tin with 6 compartments and drill a ¼ inch hole into the bottom center of each compartment to allow the juices to drain off. File off any burrs for safety then wash with soap and warm water.
- The next morning, lay the thighs on a cutting board and replace a piece of the chicken skin onto each thigh.
- Place each chicken thigh, skin side down, into special, pre-drilled muffin pan.
- Set up your smoker for cooking at 275°F (135°C) using indirect heat. If your smoker uses a water pan, leave it dry.
- Place a cookie sheet filled with ¼ inch of chicken broth onto the smoker grate and then set the muffin tin with the chicken onto the cookie sheet. Smoke cook for 1.5 hours.
- Flip chicken over in muffin pan to skin side up, add some seasoning and smoke cook for another 45 minutes.
- Remove chicken from muffin pan and place skin side up onto cookie sheet.
- Sauce top and sides and smoke cook for an additional 30 minutes to let the sauce caramelize or until the internal temperature reaches 175℉.
- When the chicken is finished cooking, remove it from the smoker and serve immediately.


Hey hey, I know this is an old recipe, but *why* do you drill those holes in the muffin pan? I read this whole page and comments probably 3 times but for the life of me I can’t figure it out.
Benny, great question! This is to allow any juices that collect to drain off so the chicken can crisp up. I have added this information to the recipe to clarify.
Worth all the time to make. Jeff’s removal of the whole bone as opposed to just the knuckle Myron clips is a great modification. Getting rid of that bone and any other fatty parts prior to cooking lets your guests use a fork and knife to jump right in and enjoy without encumbrance. Also was pretty awesome drilling those holes in the cupcake pans!
Just did the cupcake chicken thighs and they turned out wonderful. I used an apple BBQ sauce I make and the flavors really came together. Used apple wood for the smoke portion – just great.
I’m new at this and want to try chicken leg quartes. What temp. And how long?
I agree with Jon G on this wonderful recipe. They turned out spectacular but would like to know if the skin is necessary for a quality result. Maybe someone can make this recipe and leave one of the thighs without the skin and do a comparison. I know I will next time. Removing the thigh bone was a bit of a pain, especially if I wanted to make a lot of these for company.
I made these recently, and they were excellent! Only issue I had was that I had to buy leg quarters, so I split them, then removed the bones from the thighs. After that, there wasn’t a lot of meat left. Not sure if they were small to begin with, or if I’m not that good at de-boning. I found our market sells boneless skinless thighs, which would make the work a lot easier. But I’m wondering how critical the skin is to the recipe. If I use skinless, will it be OK still?
I’m gonna shoot just this one on Sunday.